


Sunday, March 31, 2013
*click on image to view full size*
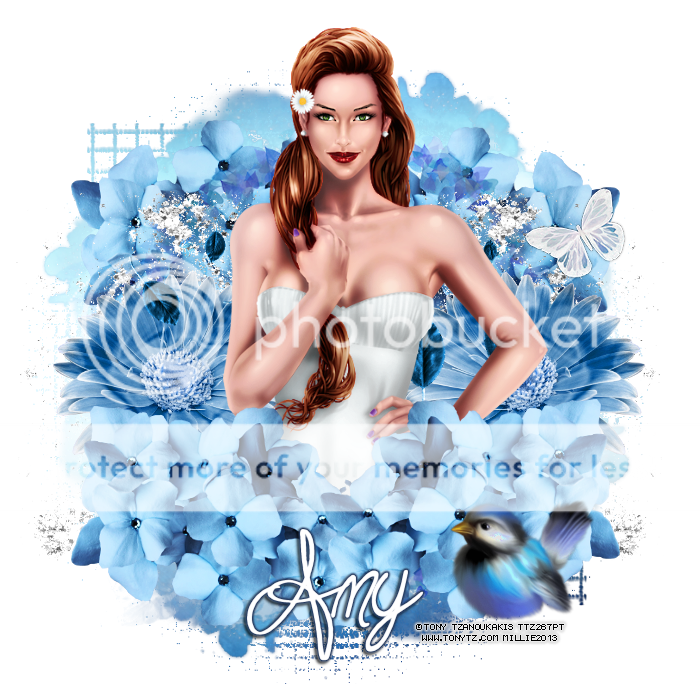
FTU Soft Blue
This tutorial was written by me on March 31, 2013.
It was made out of my own creation and any similarity is purely coincidental.
I used pspx2 but any version should work without problems.
Let's get started!
Artist: Tony Tzanoukakis
Scrapkit: Rhapsody in Blue by Gimptastic Scraps
Mask: Mask 45 by Moonbeams and Spiderwebs
Plugins: Xero - radiance
Font: Road Trip
*open your mask and minimize it in your workspace*
File - New - 700x700 - fill with white - rename background
Open frame 1 - resize by 90% - c/p as new layer
Open glitter - c/p as new layer - place to left - duplicate - mirror
Open flower 2 - c/p as new layer - place to left - duplicate - mirror
Open leaves - c/p as new layer
Open half tube - c/p as new layer - duplicate
xero - radiance - change opacity to 52
Open flower 3 - c/p as new layer - place down and to the left
Duplicate - mirror - merge down
duplicate - change blend mode to overlay - change opacity to 65
merge down - duplicate - flip - move down so its layer above background
Back on top layer
Open bird - c/p as new layer - place to the bottom right
Open butterfly - resize by 60% - sharpen - c/p as new layer - place right
Go to background layer - click inside it w magic wand - new layer
Open paper7 - c/p into selection - deselect
Layers - new mask layer - from image
Find mask in source window - create mask from source luminance - hit ok
Merge group - resize by 90% - duplicate - change blend to screen
Delete background layer - merge visible - add credits and name

*click on image to view full size*
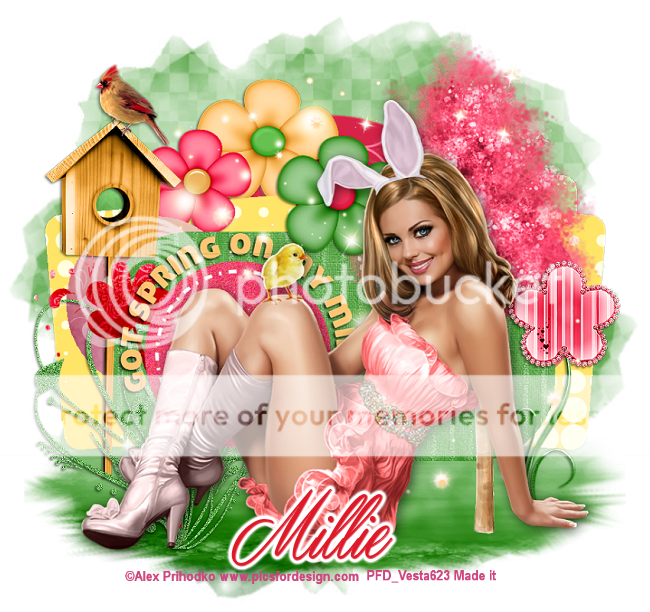
PTU Welcome Spring
This tutorial was written by me on March 31, 2013.
It was made out of my own creation and any similarity is purely coincidental.
I used pspx2 but any version should work without problems.
Let's get started!
Artist: Ismael Rac
Scrapkit: Welcome Spring by Niqui's Designs
Mask: Melissaz Creationz Mask 9
Plugins: Xero - Porcelain
Font: Script Regular
*open your mask and minimize it in your workspace*
File - New - 700x700 - fill with white - rename background
Open ele41 - resize by 50% - sharpen - c/p as new layer
Click inside frame w magic wand - expand by 10 - new layer
Open paper3 - c/p into selection - deselect - move under frame
On frame layer
Open ele23 - resize by 50% - c/p as new layer - place to right
duplicate - mirror
Open ele57 - resize by 50% - sharpen - c/p as new layer
Open ele30 - resize by 50% then by 75% - sharpen - c/p as new layer
Place to the bottom
Open ele52 - resize by 50% - sharpen - c/p as new layer - place to top
Open ele14 - resize by 50% 2x - sharpen - c/p as new layer
place it to the right
Open ele17 - resize by 50% 2x - sharpen - c/p as new layer
place down and to the right some
Open ele50 - resize by 50% 2x - sharpen - c/p as new layer
Place to the top left
Open ele33 - resize by 50% - sharpen - c/p as new layer
Open tube - resize tube to fit tag - c/p as new layer - place to right
Xero - porcelain - change blue channel to 0
On background layer - click inside with magic wand - new layer
Open paper2 - c/p into selection - deselect
Layers - new mask layer - from image
Find your mask in source window - make mask from source luminance - ok
Merge group - resize mask by 75%
Open ele34 - resize by 85% - c/p as new layer
open ele36 - resize by 50% - c/p as new layer
Place to the left of the frame - duplicate - mirror
Crop your tag to your liking - delete background layer - merge visible
Add credits and your name
Saturday, March 30, 2013

Tuesday, March 26, 2013

You can download it HERE
Monday, March 25, 2013

You can download it HERE
Saturday, March 23, 2013

*click on image to view full size*
PTU Cutest Bunny
This tutorial was written by me on March 23, 2013.
It was made out of my own creation and any similarity is purely coincidental.
I used pspx2 but any version should work without problems.
Let's get started!
Artist: Pandora-Creations
Scrapkit: Cute Bunny by Hania's Designs
Mask: circle mask of choice
Font: Signerica
*open your mask and minimize it in your workspace*
File - New - 700x700 - fill with white - rename background
Open paper5 - c/p as new layer
Layers - new mask layer - from image
Find mask in Source Window - create from Source Luminance - hit ok
Merge group - resize mask by 115% - sharpen
Open ele20 - c/p as new layer
Open ele98 - resize by 80% - sharpen - c/p as new layer
Open ele71 - c/p as new layer - place to the bottom left
Open ele93 - resize by 50% 2x - sharpen - c/p as new layer
Effects - Mura Meister - Copies w following settings:

Open ele30 - resize by 50% - c/p as new layer - place to bottom some and left
Open ele38 - resize by 60% - c/p as new layer - place to the right
Open ele53 - resize by 50% - c/p as new layer - place to the right
Open your tube - resize by 50% 2x
With your selection tool draw around the tube so that you have half selected
c/p as new layer above frame layer - resize to fit tag
Open ele59 - c/p as new layer - place to bottom - duplicate - change blend to screen
Open ele21 - resize by 65% - sharpen - c/p as new layer - place to left
Write Cutest Bunny - foreground blue from tag - background pink from tag
Background - gradient - linear - foreground/background - repeats 1 - angle 45
Aka Dora font - STroke of 1 - add drop shadow of liking when done
Place it to the bottom
Delete background layer - merge visible - resize to 600x600
Add credits and your name
Thank you for trying my tutorial :)


Thursday, March 21, 2013


This tag was made with the AMAZING work of Roman Zaric.
This tube is called Sandra and she is coming soon to the Roman Store.
Keep an eye on his store HERE
I used PTU IBK-Enamorte11-1 kit by Abstract Creations!
You can find this awesome kit in CDO.
I made template 227

You can download it HERE
Thanks so much for stopping by :)
Wednesday, March 20, 2013
Welcome to the Scrapping Your Heart Out Blogtrain!!
These month's theme is Elegant Spring and we have some wonderful goodies for everyone!
Here is my part of the train.

You can download them HERE

Remember to visit all other stops since they all are offering some awesome freebies!
Thanks!
Tuesday, March 19, 2013

*click on image to view full size*
PTU No Bunny Like Me
This tutorial was written by me on March 19, 2013.
It was made out of my own creation and any similarity is purely coincidental.
I used pspx2 but any version should work without problems.
Let's get started!
Artist: Ismael Rac
Scrapkit: My Pastels by Wacky Winnie's Designs
Mask: Moonbeams and Spiderwebs Mask 23
Template: 226 by me HERE
Plugins: Xero - Radiance
Font: Rage Italic
*open your mask and minimize it in your workspace*
Open the template - duplicate - close original
Make background layer visible - delete copyright layer
Merge layer 2 down to 1 - selections all - float - defloat - new layer
Open paper26 - c/p into selection - new layer
Selections - select selections borders - size 2 - both sides
Flood fill with a gradient of choice - I used dark color from paper and white
Adjust - add noise - uniform - 50% - add drop shadow - deselect
Open flower string2 - free rotate to the left by 90 degrees
Resize by 65% - sharpen - c/p as new layer - place to left
align with left column - duplicate - mirror - align with right column
Merge layer4 down to 3 - selections all - float - defloat - new layer
Open paper6 - c/p into selection - new layer
Selections - select selections borders - size 2 - both sides
Flood fill with a gradient of choice - I used dark color from paper and white
Adjust - add noise - uniform - 50% - add drop shadow - deselect
Open fan2 - c/p as new layer - place to top left above left circle
Duplicate - mirror - flip
On layer 5 - selections all - float - defloat - new layer
Open paper14 - c/p into selection
Open calla lillies2 - resize by 50% 2x c/p as new layer - place to left
Duplicate - mirror
Open flower spray1 - c/p as new layer - place on bottom left
Duplicate - mirror - flip
On layer 6
Open tube - c/p as new layer - place face inside of circle - invert - delete - invert
On layer 6 again - new layer - flood fill with gradient used before
Adjust - blur - gassian blur - 6.00
Open paper 30 - c/p as new layer - invert - delete
Change opacity of paper to 81
On tube apply xero - radiance - default settings
Change blend to overlay and opacity to 68
new layer Selections - select selections borders - size 2 - both sides
Flood fill with a gradient of choice - I used dark color from paper and white
Adjust - add noise - uniform - 50% - add drop shadow - deselect
On layer 7 - selections all - float - defloat - new layer
Flood fill w gradient - deselect - add drop shadow
Open full tube - resize to fit tag - c/p as new layer - place to right
Duplicate - xero - radiance - default settings - change opacity to 50
merge down - add drop shadow
On layer 8 - using your color changer change the color to match your tag
add drop shadow
Move the bunny that is layer 10 next to the bunny that is layer 9 and merge down
Move the layer up some and add a heavy drop shadow
Change blend mode to overlay - duplicate
On background layer - click in it with magic wand - new layer
c/p paper 30 into selection - deselect
Layers - new mask layer - from image - find mask in source window
create mask from source luminance and hit ok - merge group
Delete background layer - merge visible - add credits and name

*click on image to view full size*
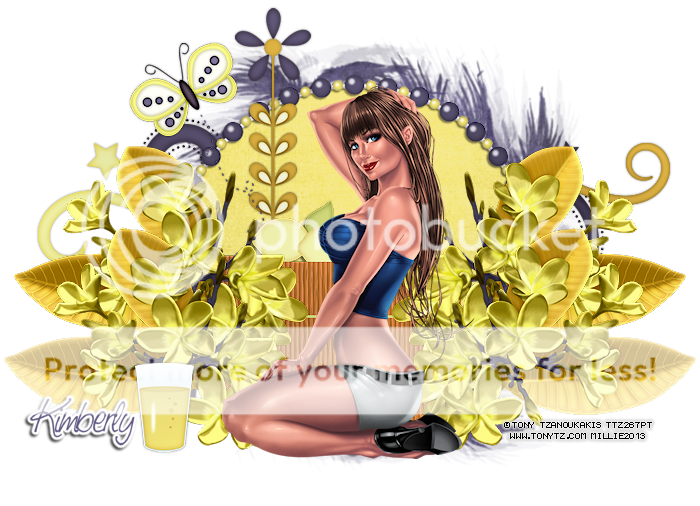
PTU Taste My Sweet Lemonade
This tutorial was written by me on March 19, 2013.
It was made out of my own creation and any similarity is purely coincidental.
I used pspx2 but any version should work without problems.
Let's get started!
Artist: Tony Tzanoukakis
Scrapkit: Cool Lemonade by Bookworm Dezines
Mask: WSL mask59
Plugins: xero - porcelain
Font: Saginaw Bold
*open your mask and minimize it in your workspace*
File - New - 700x700 - fill with white - rename background
Open ele28 - c/p as new layer - click inside frame w magic wand - expand by 5
Open paper12 - c/p as new layer - invert - delete - deselect - place under frame
Add drop shadow to your frame - close background - merge visible
resize by 80% - sharpen - open background layer
Open ele13 - resize by 50% - sharpen - c/p as new layer - place to left
Open ele45 - resize by 50% - sharpen - c/p as new layer - place to left
Open ele2 - resize by 50% - c/p as new layer - place to bottom
Open ele34 - c/p as new layer
Open ele17 - resize by 65% - sharpen - c/p as new layer
Place to the right and move up so its in middle a bit - duplicate - move down
merge down - duplicate - mirror
Open ele3 - resize by 50% 2x - c/p as new layer - place to left
Open tube - resize to fit your tag - c/p as new layer
Xero - porcelain - change blue channel to 0
On background layer
click inside it w magic wand - new layer - c/p paper of choice into selection - deselect
Layers - new mask layer - from image
Find your mask in source window - create from source luminance - hit ok
Merge group
Open ele43 - c/p as new layer
Delete background layer - merge visible - add credits and name

*click on image to view full size*
PTU Blowing You Kisses
This tutorial was written by me on March 19, 2013.
It was made out of my own creation and any similarity is purely coincidental.
I used pspx2 but any version should work without problems.
Let's get started!
Artist: Roman Zaric
Scrapkit: Pink to Make The Boys Wink by Candy's Treats
Plugins: Xero - porcelain
Font: Satisfaction
*open your mask and minimize it in your workspace*
File - New - 700x700 - fill with white - rename background
Open frame 8 - c/p as new layer - click inside frame w magic wand
Open paper 6 - c/p as new layer - invert - delete - deselect
Move paper under your frame - go back to frame layer
Open silver flower - resize by 50% - sharpen - c/p as new layer
place to the right
Open twisted ribbon - c/p as new layer - mirror
Open butterfly1 - c/p as new layer - place to right
Rotate to the right w deform tool
Open doodlewCharms - resize by 80% - sharpen - c/p as new layer
Place to the top fo the frame
Open rouche2 - c/p as new layer - place to the bottom
Open cluster1 - c/p as new layer
Open your tube - resize it to fit your tag - c/p as new layer
Xero - porcelain - change blue channel to 0
With eraser tool take off excess of tube's legs so it looks like she's inside frame
Open flower8 - resize by 50% 2x - sharpen - c/p as new layer - place to left some
Open flower 6 - resize by 75% - c/p as new layer - place to bottom - merge down
Duplicate - mirror - move up a little bit
Open shoe2 - resize by 50% 2x - c/p as new layer - place to left
On background layer
Open smudge - c/p as new layer - place to right - duplicate - place to left
Open bubbles2 - resize by 50% - sharpen - c/p as new layer - place to top right
Duplicate - mirror
Open vine - resize by 65% - sharpen - c/p as new layer - place to right
Duplicate - change blend mode to screen - merge down - duplicate - mirror
Delete background layer - merge visible - add credits and your name
Thanks for trying my tutorial

Pamela made this fabulous tut using one of my temps
FTU Dreaming of You tutorial you can find on her blog HERE
Thank you so much!
Love it.
Monday, March 18, 2013

Rhonda made this awesome FTU tutorial called "Dreaming Of You" using one of my templates!
If you want to give it a go you can find it on her blog HERE
Thank you so much Rhonda :) xx love it.
Here are some lovely tags that people have sent me using my templates!
I really appreciate the use of my stuff and love seeing what you all do!
Thanks!
From Vesta

From Sandra

From Dwana

From Chrissandra

Another one from Chrissandra

From Ingrid

From Betty Alexander

From Vi

From Shelli
I hope I haven't forgotten any. If I did its not intentional.
Thank you again for my taggies!


This tag was made with the fabulous work of Ismael Rac.
I used upcoming Yummy Bunny tube!
She'll be out soon so keep your eyes on the store.
The kit I used was made to match the tube by Rissa's Designs.
I also made a template.

You can download it HERE

Sunday, March 17, 2013

*click on image to view full size*
PTU Treat Me Right
This tutorial was written by me on March 17, 2013.
It was made out of my own creation and any similarity is purely coincidental.
I used pspx2 but any version should work without problems.
Let's get started!
Artist: Pandora-Creations
You can find this lovely tube "Bunny" in PicsForDesign
Scrapkit: PTU Estrella by Hania's Designs
Plugins: Xero - radiance
Font: Angilla Tattoo
File - New - 600x600 - fill with white - rename background
Open ele70 - resize by 65% - sharpen - c/p as new layer
Draw a circle with your ellipse tool a bit bigger than the inside of the frame
Convert to raster layer - move under frame
On your material palette make the following changes:
Background color: #bf4f79 Foreground color: #e6a6c0
Make background into a gradient with following settings:
Style: Linear - Angle 36 - Repeats 1 - invert checked
Click inside the circle you drew with your magic wand - new layer
Flood fill with gradient - deselect for now
Open your tube - c/p as new layer - place face inside of frame
Click inside circle you drew with magic wand - on tube layer invert - delete - deselect
On tube layer - xero - radiance - default settings
Change blend mode to luminance (L) - change opacity to 40 - duplicate
Change blend mode to screen - opacity to 100
Add a drop shadow to your frame - close background layer - merge visible
Make your background layer visible again
On merged layer
Open ele 58 - resize by 65% - c/p as new layer
Open ele 55 - resize by 50% - sharpen - c/p as new layer - place to left
Duplicate and move it up some - merge down - duplicate - mirror
resize by 85% - move down some
Open ele28 - resize by 50% - sharpen - c/p as new layer - place to left
Rotate to the left a bit with your deform tool
Open ele67 - resize by 50% - sharpen - c/p as new layer - place to bottom left
Open tube - resize it to fit your tag - c/p as new layer - place to the right
Duplicate your tube - xero - radiance - change blend to screen - opacity 78
Merge down - add drop shadow
On background layer
Open ele 18 - c/p as new layer
Open ele57 - resize by 85% - sharpen - c/p as new layer
Open ele14 - resize by 50% - sharpen - c/p as new layer - place to the top
Duplicate - change blend mode to screen - add drop shadow
Open ele31 - resize by 65% - sharpen - c/p as new layer
Place to the left - duplicate - mirror - merge down
Duplicate - change blend mode to screen - merge down - add drop shadow
Delete background layer - merge visible - add credits and your name.
Thanks for trying my tutorial :)
Saturday, March 16, 2013

This tag was made with the fabulous work of Tony Tzanoukakis.
This tube is called Spring Breeze and you can find it in his store HERE
I used awesome brand new kit by Bookworm Dezines called Spring Fantasy.
It is now and only available for purchase at Scrap Candy.
You can get it HERE
I also used template 223

You can download this template HERE
Thanks for stopping by :)
Friday, March 15, 2013

*click on image to view full size*
FTU Dreaming Of You
This tutorial was written by me on March 15, 2013.
It was made out of my own creation and any similarity is purely coincidental.
I used pspx2 but any version should work without problems.
Let's get started!
Artist: Roman Zaric
Scrapkit: Dreaming Of You by Kittz Kreationz
Mask: any of choice
Template: 222 by me. You can find it HERE
Plugins: Xero - Porcelain
Font: Masterics
*open your mask and minimize it in your workspace*
Open template - duplicate it - close original template
Make your background visible - delete copyright layer
Canvas size 700x700 flood fill background with white
On your materials palette change your foreground to #fbe9da and background to
#ffcaca
Change your background to gradient with the following settings:
Angle: 45 Repeats: 1 Invert: checked Style: Radial - hit ok
On layer 1 - Selections All - float - defloat
New layer - Selections - Smooth
smoothing amount: 10 - Anti Atlas: checked - hit ok
Flood fill w gradient - new layer
Open paper4 - c/p into selection - deselect
Change blend mode to overlay
On layer 2 - Selections All - float - defloat
New layer - Selections - Smooth
smoothing amount: 10 - Anti Atlas: checked - hit ok
Flood fill w gradient - new layer
Open paper1 - c/p into selection - deselect
Change blend mode to overlay
Open ele51 - resize by 50% - sharpen - c/p as new layer - place to right
Open ele29 - resize by 60% - c/p as new layer - place to left
rotate to the left with your deform tool a little
Merge layer 4 down to layer 3
Selections all - float - defloat
New layer - Selections - Smooth
smoothing amount: 10 - Anti Atlas: checked - hit ok
Flood fill w gradient - new layer
Open paper3 - c/p into selection - deselect
Change blend mode to luminance (L) - change opacity to 50
Duplicate - change blend to screen - opacity to 100
On layer 5 - add noise - unform - 50% - hit ok
On layer 6 - Selections All - float - defloat
New layer - Selections - Smooth
smoothing amount: 10 - Anti Atlas: checked - hit ok
Flood fill w gradient - new layer
Open paper5 - c/p into selection - deselect
Change blend mode to overlay
Open ele47 - resize by 60% - c/p as new layer
Place so its above layer 6
Open ele50 - resize by 75% - c/p as new layer - place to the right
Go to layer 8 - c/p tube as new layer - place face inside circle of 8
Click inside circle (layer 8) w magic wand - selections - smooth w settings as above
New layer - flood fill with gradient
On tube layer - invert - delete - deselect
Xero - porcelain - change blue channel to 0
Change blend mode to overlay - merge tube down to gradient
merge gradient down to layer 8
Duplicate layer 8 - mirror and place on top of layer 7
Delete layer 7
Merge layer 10 down to layer 9 - add drop shadow
Open ele27 - resize by 50% - sharpen - c/p as new layer place to right
Open ele26 - resize by 50% - sharpen - c/p as new layer place to right
Duplicate 2x and place them in a row next to each other, merge them together
Open your tube - resize to fit your tag - c/p as new layer - place to bottom
Xero - porcelain - change blue channel to 0 - hit ok
Duplicate tube - change blend to soft light - merge down
Open ele28 - resize by 60% - c/p as new layer - place to left
Go to row of flowers to the right under tube - duplicate them - mirror
Place above tube layer
On layer 11 - selections all - float - defloat - new layer
fill with gradient and apply inner bevel with these settings:
Bevel: 2 - Width: 4 - Smoothness: 5 - Depth: -8 - Shininess: 12
Color: white - angle: 315 - intensity: 38 - elevation: 45 - hit ok
Add drop shadow - merge layer 12 down to 11
Go to background layer - click in it with magic wand - new layer
Flood fill with gradient - new layer
Open paper 5 - c/p into selection - deselect - change blend to overlay - merge down
Layers - new mask layer - from image
Find your mask in source window - create mask from source luminance - hit ok
Merge group - delete your background layer - merge visible
Add your credits and your name
Thanks for trying my tutorial :)

You can download it HERE

*click on image to view full size*
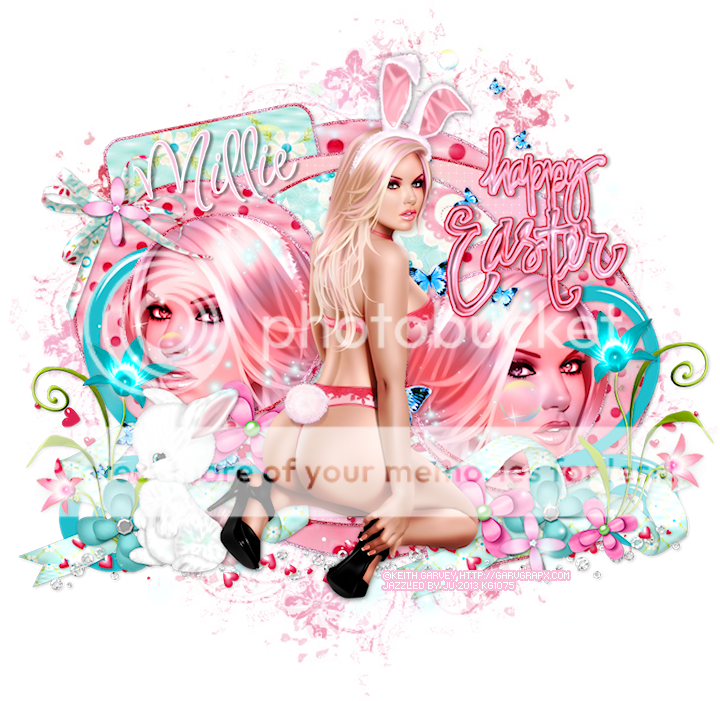
PTU Easter is Here
This tutorial was written by me on March 15, 2013.
It was made out of my own creation and any similarity is purely coincidental.
I used pspx2 but any version should work without problems.
Let's get started!
Artist: Keith Garvey
Scrapkit: Hoppy Easter by Stef's Scrapkits
Mask: Melissaz Creationz - Mask 9
Plugins: Xero - radiance, FM Tools - Blend Emboss
Font: Jellybaby ITC
*open your mask and minimize it in your workspace*
File - New - 700x700 - fill with white - rename background
Open ele25 - resize by 80% - sharpen - c/p as new layer
Open your tube close up - c/p as new layer - place under your frame
Click inside frame with your magic wand - expand by 10
On tube layer - invert - delete - deselect - duplicate tube and mirror
Move the mirrored one so that it fits inside the other side of the frame - merge down
Xero - radiance - change blend mode to screen
On frame layer again click inside both frames w magic wand - expand by 10
new layer - open paper4 - c/p into selection - deselect - move under tube layer
Add drop shadow to your frame
Open ele13 - resize by 75% - c/p as new layer - place to left
Open ele49 - resize by 65% - c/p as new layer - place to right
Open ele52 - resize by 80% - c/p as new layer - place to the bottom
Open ele15 - resize by 50% - c/p as new layer - place to left
Open ele59 - resize by 75% - sharpen - c/p as new layer - place to top
Open ele97 - resize by 60% - c/p as new layer - place to bottom left
Open ele09 - resize by 50% - then by 65% - sharpen - c/p as new layer - place to left
Open ele73 - resize by 50% - c/p as new layer - place to bottom
Go to background layer - click inside it with your magic wand - new layer
Open paper5 - c/p into selection - deselect
Layers - new mask layer - from image
Find your mask in your source window - make mask from source luminance - hit ok
Merge group - apply FM Tools - Blend Emboss to your mask
Open ele66 - c/p as new layer - crop your tag to your liking
Delete background layer - merge visible - add credits and your name
Thanks for trying my tutorial :)
Welcome to the Wilma4Ever Blogtrain!
This month's theme is called "Feeling Lucky"
This month's theme is called "Feeling Lucky"
Here is my part of the train.
I made 4 tag templates for your use.
I hope you like them and can use them.

You can download it HERE
There are a lot of wonderful designers on this train so make sure you swing by each stop and collect some awesome goodies.
The list of stops is located below.

Thursday, March 14, 2013
Welcome to the Fantastically Free BlogTrain!

*****************************

This Month's theme is called "Thinking of Spring"
I made some spring templates and I hope you all enjoy them.

You can download my part HERE
Below you will find all the other stops on the train.
You should visit every one since there is a fantastic assortment of spring goodies.
Have fun and try and leave some love for everyone.
*****************************
*****************************

Wednesday, March 13, 2013


This awesome upcoming easter tube is called "Elegance"
She will be available along with the matching kit really soon at Arthur Crowe's Factory.
So make sure you check it out.
Tuesday, March 12, 2013

BethAnn wrote this adorable easter tutorial with my template 220.
It is called Easter - BYOC and you can find it on her blog HERE if you want to give it a go.
Thanks so much Beth Ann, I love it.
Julie made me this fabulous Easter tag with another one of my easter temps.
Thanks so much Julie, I love this tag and the set that goes with it.
They're my new clothes at misfits lol.
Angelique made this beautiful tag using one of my spring collabs with Kimberly.
It came out so soft and pretty. Thank you so much. xx

Chrissandra made this hot tag with my Crazy Rock temp.
I don't recall which number it is.
This tag is full of attitude. I love it.
Thanks so much!
Thank you ladies for my pressies and for using my templates :)
Subscribe to:
Posts
(Atom)


