


Showing posts with label PTU Tutorials. Show all posts
Showing posts with label PTU Tutorials. Show all posts
Thursday, April 11, 2019

-CT KAJENNA ART-
This tutorial was written by me on April 11,2019.
It was made out of my own creation and any similarity is purely coincidental.
I used pspx9 but any version should work without problems.
If you're doing this tutorial you must have good PSP knowledge and be familiar with the tools.
Let's get started!
-MATERIALS-
BIP tube by Kajenna Art HERE
ADU Blossom and Bloom Trinket HERE
Paper for mask from Blossom and Bloom Kit by ADU HERE
Mask by Dee HERE
Font: ARACHNA
Open BlossomANDBloom_templateCluster_01
Press CTRL + D to duplicate the file.
Close the original file.
On open canvas now
Go to Image menu - Canvas Size - 800x800 - press OK
Open your mask. Minimize it in your workspace.
Go to Raster1 - make visible - Fill with white
Rename your layer BACKGROUND
Click on CIRCLE BACKING layer
Open your tube
Copy tube and paste as a new layer
(tube should be right above CIRCLE BACKING layer)
Resize your tube by 50% two times
Move your tube to the left so that the face is inside the frame circle
Duplicate your tube
Image - Mirror - Mirror Horizontally
Duplicate your tube
Objects - Align - Horz Center in Canvas
Merge down two times
(you should have the tubes in just one layer together)
Rename your layer TUBE
Let's use magic wand
Mode - Add(shift)
Go to the CIRCLE BACKING layer
Click inside each circle with the magic wand so all of them are selected
Go to TUBE layer - Selections - Invert - press Delete
Selections - Invert
Go to the CIRCLE BACKING layer
Layers - new raster layer
Fill with color of choice
I used dark purple from the tag itself
go to TUBE layer
change mode to Luminance (L)
Duplicate TUBE layer
change mode to screen - opacity 69
Effects - Texture Effects - Blinds
Width 2, Opacity 20, Color White, Light from left/top checked
Press OK
Effects - Texture Effects - Blinds
(same settings but make sure Horizontal is checked)
Selections - Select NONE
Go to BACK CIRCLE 2 layer
Merge down once so that it is merged to BACK CIRCLE 1
Copy your tube
Paste as a new layer
Resize by 50% one time
change Opacity on that layer to 50
rename to TUBE2
Move tube so it is placed with its face inside the circle
(it is up to you how you like it best)
Once you are happy with the placement, go to BACK CIRCLE2 layer
Using your magic wand click inside the circle
Go to TUBE2 layer - selections - invert - press Delete
Selections - Invert
Selections - none
Duplicate TUBE2
Image - Mirror Horizontal
Image - Mirror Vertical
merge down
Change mode to Luminance (L)
duplicate
Change mode to screen
Effects - Texture Effects - Blinds
Width 2, Opacity 20, Color White, Light from left/top checked
Press OK
Effects - Texture Effects - Blinds
(same settings but make sure Horizontal is checked)
Selections - Select NONE
Go to wordart Layer
Add drop shadow 3 2 80 5 black
Go to the background layer
Click on background with the magic wand
Layers - New raster layer
Use paper of your liking. I used paper 01
Copy paper and paste into selection
Selections - Select NONE
(REMEMBER you already have your mask minimized in your workspace)
Layers - New Mask Layer - From Image
Pick your mask from the drop-down in the source window
create mask from source luminance
Press Ok
On Group-Raster2 layer
Right-click - merge group
Resize by 75% - move to the left to your liking
Duplicate - move to the right and down some
Make background layer not visible
Merge visible
Copy and paste your tube as a new layer
Resize by 50%, then resize by 75%
Add drop shadow to your tube 10 5 35 20 black
Move tube to the left some (see the tag for placement
Merge visible
Your tag is now complete
Add credits and your name
Monday, August 3, 2015
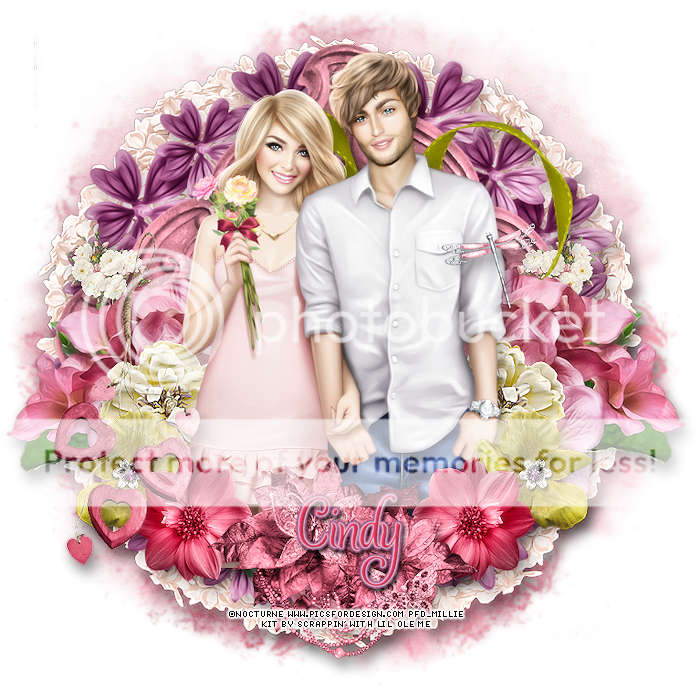
CT FOR NOCTURNE AND SCRAPPIN' WITH LIL OLE ME
Tutorial HERE
Artwork by Nocturne
Scrapkit by Scrappin' With Lil Ole Me
Tuesday, July 7, 2015

Sunday, May 31, 2015
Wednesday, May 13, 2015
Wednesday, May 6, 2015

Thursday, April 30, 2015

Sunday, April 26, 2015

Sunday, April 19, 2015

Sunday, April 12, 2015

Sunday, March 29, 2015

Tuesday, March 24, 2015

Friday, March 20, 2015

Sunday, March 1, 2015

Friday, February 27, 2015
Thursday, February 26, 2015
Saturday, February 21, 2015

Sunday, February 15, 2015

Sunday, February 8, 2015

Friday, February 6, 2015

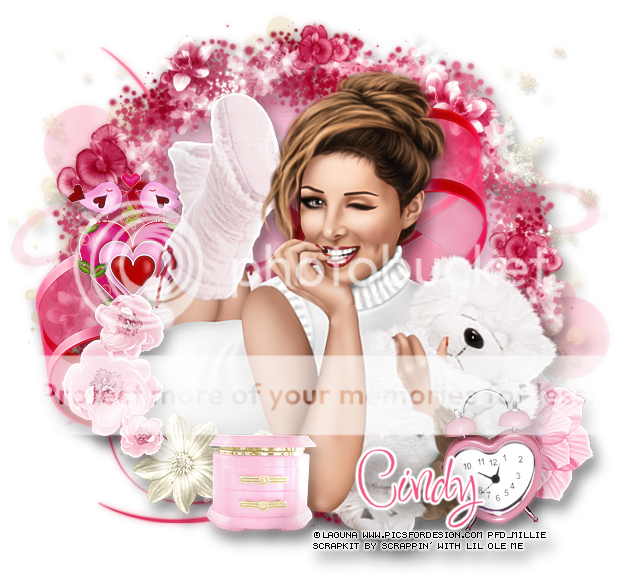
I used Bianca Cherry by Freya Langford-Sidebottom
I used PTU Cherry Berry Crush by Gimptastic Scraps
Tutorial HERE
Subscribe to:
Posts
(Atom)