


Showing posts with label Thanksgiving. Show all posts
Showing posts with label Thanksgiving. Show all posts
Sunday, November 15, 2015
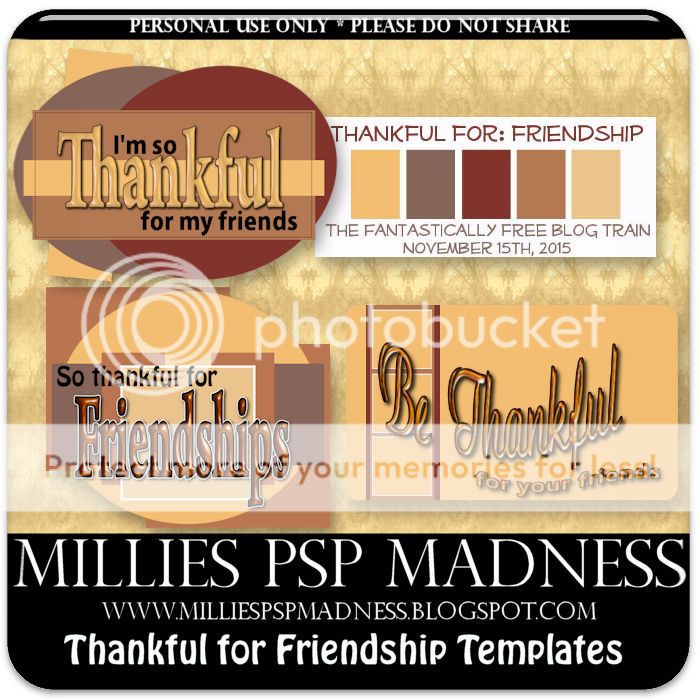
You can download my part HERE
Be sure to check out all of the other stops on this train...
*******************

********************
Honored Scraps
*******************
Tutorial using one of my temps from this pack!

Tut by Pammers Passions
You can try it HERE
*******************
Tutorial using one of my temps from this pack!
Tut by Pammers Passions
You can try it HERE
Monday, November 10, 2014

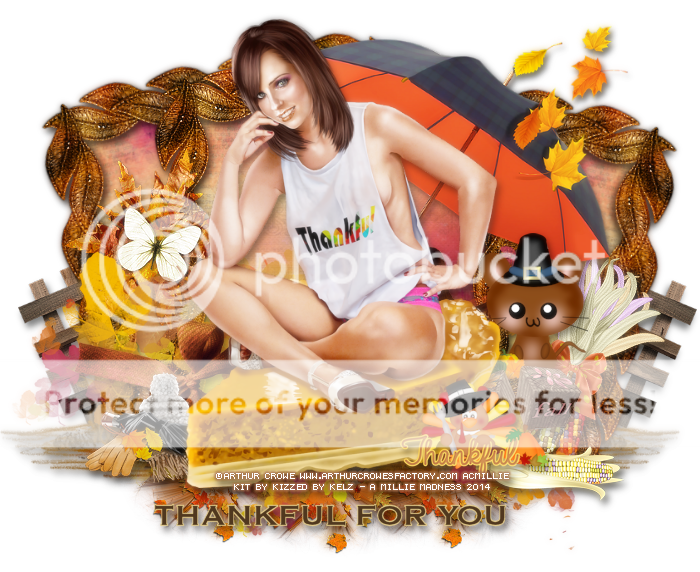
This tag was made with awesome Thankful Babe by Arthur Crowe
Matching scrapkit by Kizzed by Kelz
Find them both HERE
I also made some snags for you all.
Please do not alter in any way or claim as your own.
Come download from here.
*click each image to save as full-sized*


Monday, November 18, 2013
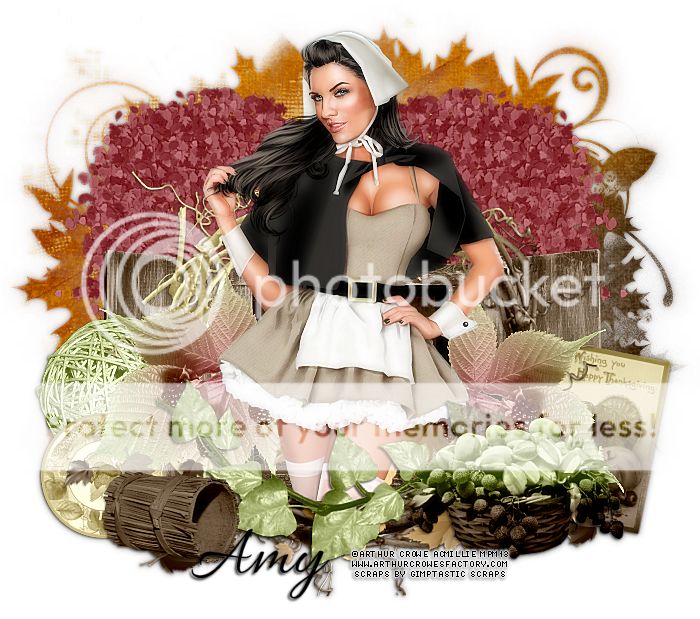
*click on image to view full size*
PTU Be Thankful
This tutorial was written by me on November 18, 2013.
It was made out of my own creation and any similarity is purely coincidental.
I used pspx5 but any version should work without problems.
If you're doing this tutorial you must have good psp knowledge and be familiar with the tools.
Let's get started!
Artist: Thankful BONUS by Arthur Crowe
Scrapkit: Be Thankful by Gimptastic Scraps
Mask: Fall Mask 6 by Dangerously Delicious Designz
Font: Allura
*open your mask and minimize in your workspace*
*add light drop shadow to your elements as you go*
File - New - 700x700 - flood fill w white
Click on background with magic wand - new layer
Open paper4 - c/p into selection
Layers - New mask layer - From Image
Find your mask in source window - hit ok
Merge group
Open mask - c/p as new layer
Open tree - resize by 65% - place to right - duplicate - mirror
Open cabinet - place to the bottom
Open ball - place to the left
Open postcard - resize by 50% - place to the right
Rotate to the right w deform tool
Open plate - resize by 50% - place to the left
Open frame 6 - resize by 85% - c/p as new layer
Open berries2 - place to the right - duplicate - mirror
Open leaf scatter - place to the bottom
Open deco 1 - resize by 50% - place to the bottom left
Open basket of fruit - resize by 75% - place to bottom right
Delete background - merge visible
Add credits and name

Thursday, November 14, 2013
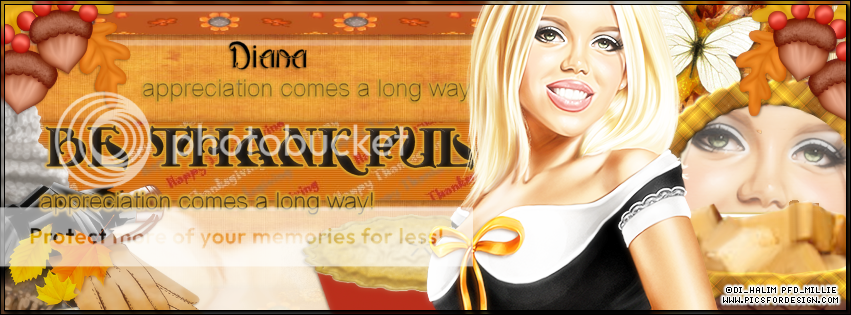
Tuesday, November 12, 2013
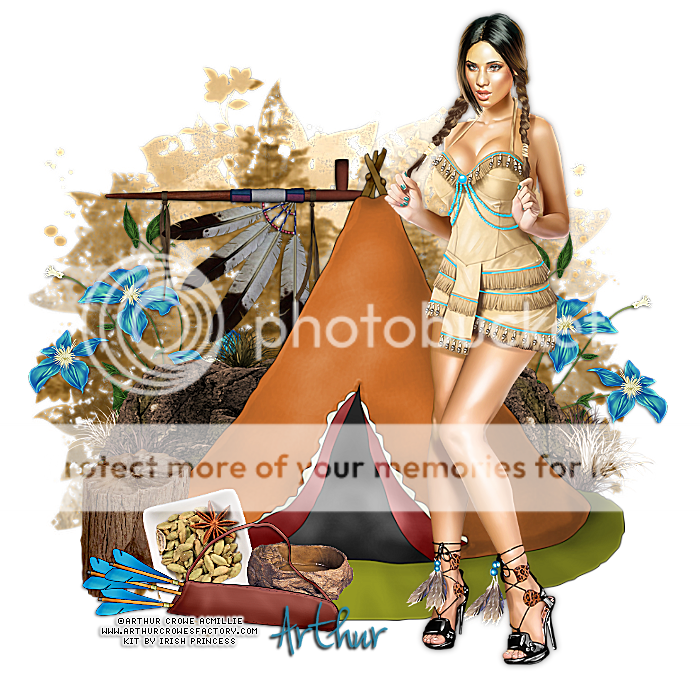
This tag was made with fabulous THANKFUL Bonus tube from Arthur Crowe coming soon!
You can find it in his store soon!
Made some snags for you all!
Please do not alter them in any way.


Friday, November 9, 2012

You can download it HERE
Sunday, November 4, 2012
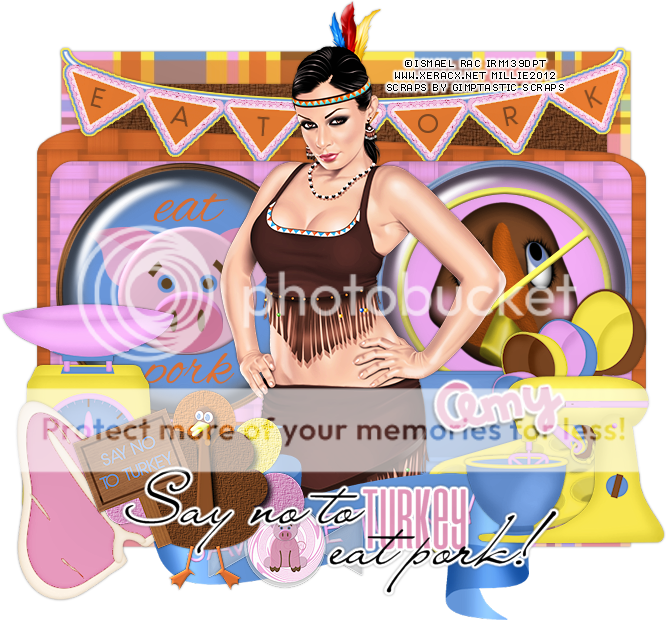
*click on image to view full-sized*
This tutorial was written by Millie on November 4, 2012.
Any similarity to any other is pure coincidence.
If you're doing this tutorial you have psp knowledge.
I used PSPX2 but any version should be ok.
PTU Pork Thanksgiving
Artist: Ismael Rac
Scrapkit: Turkey Day Protest by Gimptastic Scraps
Template: 114 by me HERE
Font: I used LD Buttercream
Plugins: eyecandy - gradient glow
Open your mask and minimize it in your workspace.
*drop shadow throughout 1 1 65 5 black*
Open Template 114 - Duplicate - Close original
Delete Raster 1 which is the CR layer
Go to layer 1 - selections - float - defloat - new layer
Open paper 5, c/p into selection, selections - none
Go to layer 2 - selections - float - defloat - new layer
Open paper 10, c/p into selection, selections - none
Go to layer 3 - selections - float - defloat - new layer
Open paper 7, c/p into selection, selections - none
Open banner, c/p as new layer
Place so is aligned with layer 1 at the top
Merge layer 5 down to 4
selections - float - defloat - new layer
Open paper 8, c/p into selection, selections - none
Merge layer 7 down to 6
Open Flair1, c/p as new layer
Place so is above the left circle
Open Flair2, c/p as new layer
Place so is above the right circle
c/p your tube as a new layer and place in the middle
Duplicate tube, change blend mode to soft light
Change opacity to 65
Open banner - resize by 65%, sharpen
c/p as new layer, place in center but by tube's legs
*see mine for placing or just put it where you like best*
Open muffin pan, resize by 50%, sharpen
c/p as new layer, move to the right of tag
Open pan, resize by 50%, sharpen
c/p as new layer, move to the right of tag
Open mixer, resize by 50%, sharpen
c/p as new layer, image - mirror, move to the right of tag
Open piggy candy, resize by 50%, sharpen
c/p as new layer, move to the right of tag
Open protest turkey1, resize by 50%, sharpen
c/p as new layer, move to the left of tag
OPen porkchop, resize by 80%, sharpen
c/p as new layer, move to left of tag and place under turkey
Open scale, resize by 60%, sharpen
c/p as new layer, move to the left, place under porkchop
Merge layer 9 down to 8
Effects - plugins - eyecandy - gradient glow
Settings: Basic tab 3, 25, 100. draw only outside selection checked
Color tab: Fat
Move to the middle of the tag
Add and remove any elements you want.
There are loads to play with.
When you are done, delete your background layer and merge visible
Add your credits and your name
Thank you for trying my tutorial :)


Friday, November 2, 2012

I am ready for Thanksgiving. Yum Yum!
Here's a Thanksgiving Template to decorate your FB Timelines
Anyway, you can download it HERE

*click on image to view full-size*
PTU Happy Thanksgiving
This tutorial was written by Millie on November 2, 2012
Any similarity to any other is just coincidence.
I used PSPX2 but any version should work just fine.
Let's get started!
Artist: Keith Garvey
I got this tube when he was selling at MPT
Scrapkit: Gobbles and Glitters by BLT-Dezignz
Mask: Any of choice
Font: I used Homicidal 1 and LainieDaySH for the name
*use this drop shadow all throughout 0 0 50 3*
c/p means copy and paste
sharpen by going to adjust menu and then to sharpen
File - new - 700x700
Flood fill with white, rename background
Open Thks_Frame2, resize by 65%, sharpen
c/p as new layer, rename it frame
Add drop shadow
Open your full tube, c/p as new layer
Place in the middle to your liking
Duplicate layer, change blend mode to soft light
Merge down and add drop shadow
Duplicate tube, move one under the frame layer
Back to the top tube, with eraser, erase the legs that are showing in front of frame
Go to background layer
Open Thks_pp13, c/p as new layer
With your selection tool draw a rectangle bigger than the center of your frame
Selections - invert - delete - selections - none
Go to your frame layer
Open Thks_branch1, resize by 50%, sharpen
Move to the top right of your tag, add drop shadow
Duplicate this layer and move down and to the left some
With your eraser tool, erase part of the branch that is showing on left side of tube
Go to the very top layer
Open your Thks_Button1, resize it by 50% 2x, sharpen
c/p as a new layer, with your deform tool rotate it to the right some
Move it to the right of your frame and add drop shadow
Open your Thks_Turkey2, resize by 50% 2x, sharpen
c/p as a new layer, move it to the left of your frame, add drop shadow
Open Thks_ribbon2, resize by 50%, sharpen
c/p as new layer, add drop shadow, move under button layer, and center it some
Go to your frame layer
Open Thks_Tag2, resize by 50%, sharpen
c/p as new layer, add drop shadow, place to your liking
Open Thks_scarecrow1, resize by 50%, then 80%, sharpen
c/p as new layer, move to the left of the frame, add drop shadow
Open Thks_flowers, resize by 50%, c/p as new layer
Place to your liking on the left side of your tube
With your eraser tool, erase some of the excess branch showing above frame
Add drop shadow
This kit is full of lovely elements, open them resize them, sharpen them.
Use them to your liking and when you are done, close your background layer
Merge visible
Open Thks_pp18, resize to 700x700, c/p as new layer
Move above your background layer
Apply your mask
Layers - new mask - from image
Find your mask in your source window, create from source luminance
Hit ok, merge group
Resize your paper to 200x200 and minimize it
Go to your text tool
With Homicidal 1 font change your background to texture and pick your paper
Put a color from your tag in your foreground
Size 72, anti-atlas sharp, stroke 2
Go to your top layer and write Happy Thanksgiving
Convert to raster layer
Effects - 3d effects - inner bevel
bevel 2, width 5, smoothness 2, depth 2, ambiance 2, shininess 2
angle 315, intensity 50, elevation 30, color - white
Add drop shadow of 2 2 50 5
Move text where you like it
Delete background layer
Merge visible
Add the credits and your name
We are done!
Thanks for trying my tutorial :)
Subscribe to:
Posts
(Atom)