


Saturday, August 31, 2013


*click on image to view full size*
PTU It's My Attitude
This tutorial was written by me on August 31, 2013.
It was made out of my own creation and any similarity is purely coincidental.
I used pspx5 but any version should work without problems.
If you're doing this tutorial you must have good psp knowledge and be familiar with the tools.
Let's get started!
Artist: Ismael Rac
Scrapkit: Scary Cool by Gimptastic Scraps
Font: Ventography
File - New - 700x700 - flood fill w white
Open stamp - place to the right - duplicate - mirror
Open paper 1 - c/p as new layer
Open frame 2 - c/p as new layer
Open tube - c/p as new layer - place so face is inside frame
Click inside frame w magic wand - expand by 10
On tube layer - invert - delete - invert
On paper layer - invert - delete - deselect
On tube - xero - porcelain - change blue channel to 0 - hit ok
Change blend mode to luminance (L)
Duplicate - change blend mode to screen - opacity to 44
Open deco 2 - c/p as new layer - place to bottom
Open tube - resize to fit your tag - c/p as new layer
Place to the left of the tag - Xero Porcelain - same as above
Opne shopping bags - resize by 75% - c/p as new layer
Place to bottom right
Open tape - c/p as new layer - place to right
Open skull head - c/p as new layer - place to right
Open heart - c/p as new layer - place to bottom right
w deform tool rotate to the left some
Open WA (wordart) - c/p as new layer - place to bottom
Delete background layer - merge visible - add credits and name

Friday, August 30, 2013

*click on image to view full size*
PTU Smells Like Fall
This tutorial was written by me on August 30, 2013.
It was made out of my own creation and any similarity is purely coincidental.
I used pspx5 but any version should work without problems.
If you're doing this tutorial you must have good psp knowledge and be familiar with the tools.
Let's get started!
Artist: 2013Peekaboo by Ismael Rac
Scrapkit: Autumn Heat by Amy Marie's Kits
Mask: 19 by MB and SW
Font: Aquarelle
File - New - 700x700 - flood fill w white
Open 1 - resize by 90% - sharpen - c/p as new layer
Open tube - c/p as new layer - place under frame
Move to left of frame - duplicate - move to right of frame
flip horizontal - merge down
click inside frame w magic wand - expand by 5
On tube layer - invert - delete - invert - new layer
Open paper14 - c/p into selection - deselect
Move paper under tube layer
Change blend mode of tube layer to overlay
duplicate tube - adjust - blur - gaussian blur 3
Change blend to soft light
Add drop shadow to your frame
Make your background invisible
Merge visible
Make your background layer visible again
Rotate the merged layer towards the left some
Open 90 - c/p as new layer
Open 53 - resize by 50% - c/p as new layer - place to left
duplicate - place to right - flilp horizontal
Open 92 - resize by 85% - c/p as new layer - place to bottom left
Open 82 - resize by 50% - sharpen - c/p as new layer
Place to the right - duplicate - place to left - flip horizontal
Open tube - resize to fit your tag - c/p as new layer
Place to the right of the tag
Xero - porcelain - change blue channel to 0 - hit ok
On background layer
Click on background with magic wand - new layer
Open paper15 - c/p into selection - deselect
Duplicate paper - change blend to opacity - merge down
Layers - New mask layer - From Image
Find your mask in source window - hit ok
Merge group
Open 59 - c/p as new layer - place to the right
duplicate - place to left - flip horizontal
Open 45 - c/p as new layer - place to the bottom
Open 81 - c/p as new layer - place to the right
duplicate - move to the right - flip horizontal
Delete background - merge visible - add credits and name


This tag was made with artwork by Ismael Rac
I used PTU Elegant Fantasy by Abstract Creations
I made some snags for you all.
Please click image to save full-size.


Wednesday, August 28, 2013

PTU You're The Cream In My Coffee
This tutorial was written by me on August 28, 2013.
It was made out of my own creation and any similarity is purely coincidental.
I used pspx5 but any version should work without problems.
If you're doing this tutorial you must have good psp knowledge and be familiar with the tools.
Let's get started!
Artist: Naughty Attitude by Ismael Rac
Scrapkit: Morning Coffee by Amy Marie's Kits
Mask: DBV Mask 106
Plugins: Xero - Porcelain
Font: Rave Italic
File - New - 700x700 - flood fill w white
Open 103 - resize by 85% - c/p as new layer
Click inside frame w magic wand - expand by 5 - new layer
Open pp14 - c/p into selection - deselect - move paper under frame
Go back to frame layer
Open half tube - resize a little bit to fit your tag
c/p as new layer
Xero - porcelain - change blue channel to 0 - hit ok - sharpen
Duplicate the frame and place on top of tube
With eraser erase top part of the frame so its not overlapping top of tube
Add drop shadow to the bottom frame
On top layer
Open 46 - resize by 50% - sharpen - c/p as new layer
Place to left - duplicate - place to right - flip horizontal
Open 14 - resize by 50% - sharpen - c/p as new layer
Place to the bottom right - duplicate - place to bottom left
flip horizontal
Open 13 - resize by 50% - sharpen - c/p as new layer
Place to the bottom right - duplicate - place to bottom left
flip horizontal
Open 97 - resize by 50% - c/p as new layer - place down some
Open 64 - resize by 50% - c/p as new layer - place to bottom
Open 75 - resize by 50% - c/p as new layer - place to left
On background layer
Click on background with magic wand - new layer
Open paper15 - c/p into selection
Layers - New mask layer - From Image
Find your mask in source window - hit ok
Merge group
Open 52 - c/p as new layer - place to the top
Open 45 - c/p as new layer - place to right
duplicate - place to left - flip horizontal
Open 20 - c/p as new layer - place to right
duplicate - place to left - flip horizontal
Delete background layer - merge visible
duplicate merged layer - adjust - blur - gaussian blur 3.00
Change blend mode to screen - merge down - sharpen
add credits and your name

This tag was made with upcoming Beauty Geek Babe by Arthur Crowe
I also used her matching kit by Irish Princess Designs
You can find both of these in ArthurCrowesFactory soon!
I used a template I made

You can download it HERE
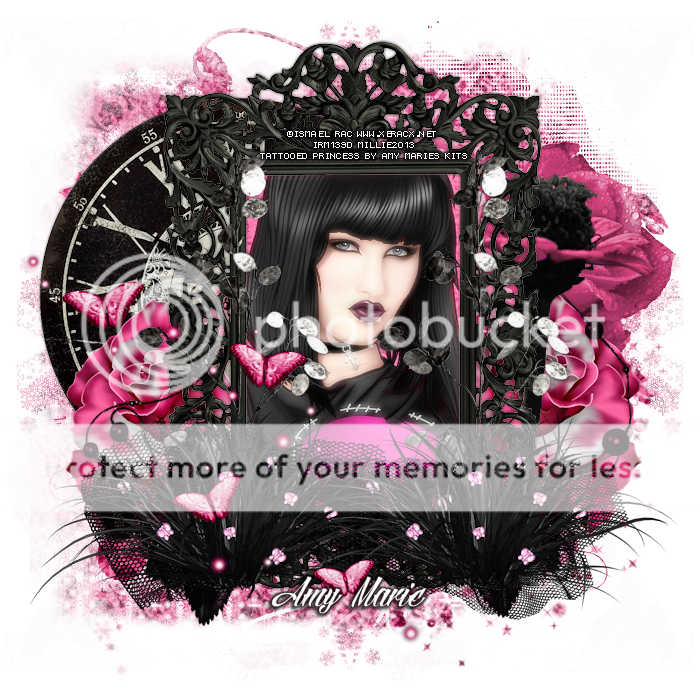
Tuesday, August 27, 2013
*click on image to view full size*
PTU Dark Princess
This tutorial was written by me on August 27, 2013.
It was made out of my own creation and any similarity is purely coincidental.
I used pspx5 but any version should work without problems.
If you're doing this tutorial you must have good psp knowledge and be familiar with the tools.
Let's get started!
Artist: Goth Abby Fairy by Ismael Rac
*previous bonus tube*
Scrapkit: Tattooed Princess by Amy Marie's Kits
Mask: 14 by MB and SW
Font: Angilla Tattoo
File - New - 700x700 - flood fill w white
Open 22 - c/p as new layer
Move frame up some
Click in frame w magic wand - expand by 3
Open pp2 - c/p as new layer - invert - delete - deselect
Place under frame layer
Open tube - c/p as new layer - place so head is inside frame
Click inside frame again w magic wand - expand by 5
On tube - invert - delete - deselect
Xero - porcelain - change blue channel to 0 - hit ok
Duplicate your tube - adjust - blur - gaussian blur by 3
Change blend mode to screen
Add drop shadow to your frame
Open 25 - c/p as new layer - place to the bottom
Open 105 - resize by 75% - c/p as new layer
Place to the left - duplicate - place to the right
Open 45 - c/p as new layer - place to bottom left
duplicate - place to bottom right
Open 58 - c/p as new layer - place to bottom left
On background layer
Click on background with magic wand - new layer
Open paper7 - c/p into selection
Layers - New mask layer - From Image
Find your mask in source window - hit ok
Merge group
Open 63 - c/p as new layer - place to the right
Open 20 - c/p as new layer - place to top left
Open 6 - c/p as new layer - place to bottom right
duplicate - place to bottom left - flip horizontal
Open 53 - c/p as new layer - place to the bottom some
Open 47 - c/p as new layer - place to right
Delete background - merge visible - add credits and name
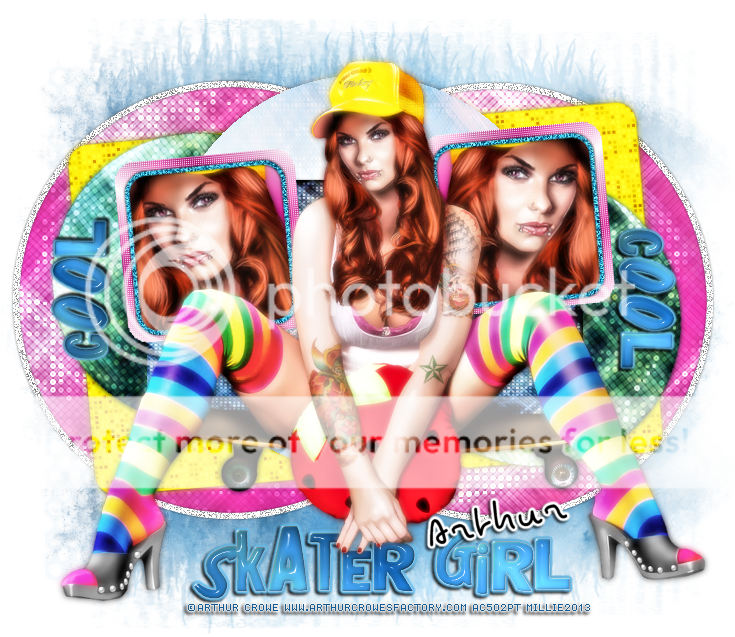
This tag was made with upcoming Cool Skateboard Grl by Arthur Crowe!
Keep your eyes on his store ArthurCrowesFactory
Template 317
You can download it HERE

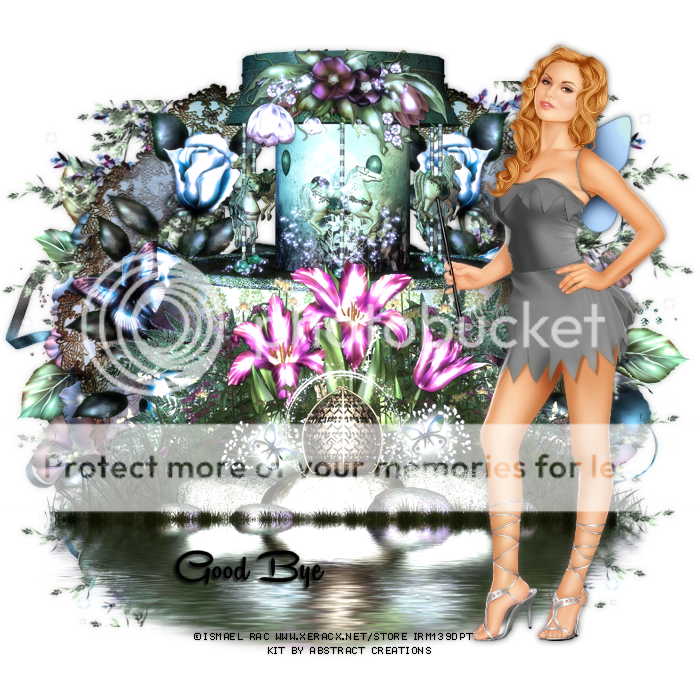
Monday, August 26, 2013
This tag was made with awesome upcoming Sexy Song Rain tube by Arthur Crowe.
I used matching scrapkit made by Rieneke Designs.
You can find them in Arthur Crowe's Factory really soon!
Keep your eyes on that store!
I made a template for it or any fall tag!

You can download it HERE
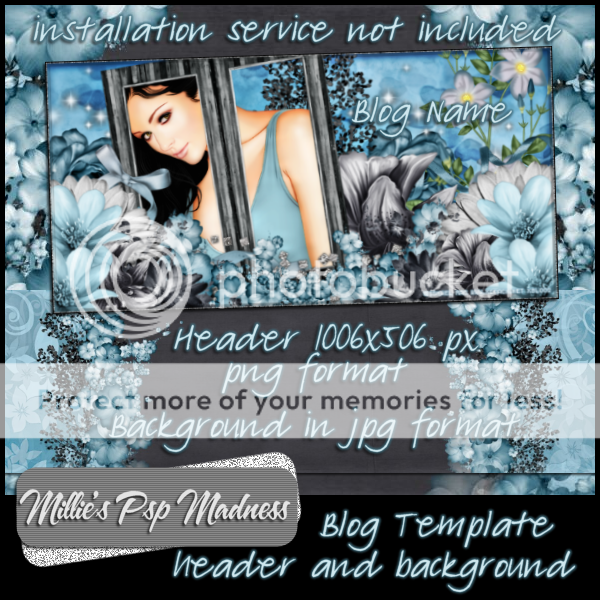
Check out the new blog set I have available for sale for just $5
Easy self-install instructions available.
Includes Header and Background!
Set made with artwork of Ismael Rac
Blog License # XBL002
You can find this set in Scrap Candy HERE

This tag was made with new Rhonda tube by Spazz
I used awesome Sea Lovers kit by Amy Marie's Kits
I made this template to make the tag! :)

You can download it HERE

This tag was made w artwork by Tamandya
I used awesome PTU Midsummer Magick by Bookworm Dezines
You can find it in Scrap Candy
I made some snags for you all.
*click on image to save it as full sized*


Sunday, August 25, 2013


*click on image to view full size*
PTU Eco-Punk Time
This tutorial was written by me on August 25, 2013.
It was made out of my own creation and any similarity is purely coincidental.
I used pspx5 but any version should work without problems.
If you're doing this tutorial you must have good psp knowledge and be familiar with the tools.
Let's get started!
Artist: Black Skull by Arthur Crowe
Scrapkit: EcoPunk by Gimptastic Scraps
Mask: WSL mask 241
Font: Aajax Surreal Freak
*open your mask and minimize it in your workspace*
File - New - 700x700 - flood fill w white
Open frame 5 - resize by 85% - sharpen - c/p as new layer
Open paper9 - c/p as new layer
Move paper under frame - add drop shadow to your frame
Open tube close up - c/p as new layer - make it so face is inside the frame
Xero - radiance - default setting - hit ok
Change tube blend mode to screen
Click inside frame w magic wand - expand by 10
On tube layer - invert - delete - invert
On paper layer - invert - delete - deselect
Open bottle cap - c/p as new layer - place to the left
Open winged star - resize by 50% - c/p as new layer
Place to the bottom left
Open zipper heart - c/p as new layer - place to the right
Open full tube - resize to fit your tag
c/p as new layer - move to the right some
Xero - porcelain - change blue channel to 0 - hit ok
duplicate tube - change blend mode to soft light
Change opacity to about 75 - merge down
Click on background layer w magic wand - new layer
Open paper 8 - c/p into selection
Layers - New mask layer - From Image
Find your mask in source window - hit ok
Merge group
Delete background - merge visible - add credits and name

Friday, August 23, 2013

*click on image to view full size*
PTU Simply Wonderful
This tutorial was written by me on August 23, 2013.
It was made out of my own creation and any similarity is purely coincidental.
I used pspx5 but any version should work without problems.
If you're doing this tutorial you must have good psp knowledge and be familiar with the tools.
Let's get started!
Artist: Otono by Arthur Crowe
Scrapkit: Your Day by Amy Marie's Kits
Mask: Circle mask of choice
Font: Luna Bar
File - New - 700x700 - flood fill w white
Open 8 - c/p as new layer
Open pp7 - c/p as new layer - place under the frame
Click frame w magic wand - expand by 3
On paper - invert - delete - deselect
Add drop shadow to your frame
Merge frame down to paper
Move your frame to the bottom some
Open 84 - c/p as new layer - place to top left
Open 3 - c/p as new layer - place to bottom left
duplicate - place to bottom right
Open 40 - c/p as new layer - place to top right
Open 63 - c/p as new layer - resize by 50%
place to the right - duplicate and move down some
Open 57 - resize by 50% - sharpen - c/p as new layer
Place to the bottom right
Open 59 - c/p as new layer - place to left
duplicate - move to the bottom right
Open 71 - c/p as new layer - place to the left
Open your full tube - resize by 70%
c/p as new layer - move down some
Xero - porcelain - change blue channel to 0 - hit ok
Open 50 - resize by 50% - sharpen - c/p as new layer
Place so that is covering tube's legs
Open 90 - resize by 50% 3x - c/p as new layer
c/p as new layer and place to the top left of simply wonderful banner
duplicate - place to the bottom right of banner
Click on background layer w magic wand - new layer
Open pp21 - c/p into selection - deselect
Layers - New mask layer - From Image
Find your mask in source window - hit ok
Merge group
Delete background - merge visible - add credits and name
Subscribe to:
Posts
(Atom)


