


Monday, September 30, 2013


Rebecca Ann Sedwick 13 yr victim of bullying.
Unfortunately this young girl took her life when she couldn't take it anymore.
Very tragic turn of events and my condolences are with Pat and her family.
In honor of Rebecca, a lot of designers came together and created this HUGE collab.
If you want to help you can go to Scrap-A-Licious and purchase it for just $10.
All money made goes to the family and the pay pal fees will be paid for by the store owner.
You can find this awesome collab HERE
Visit the blog HERE

Sunday, September 29, 2013


Saturday, September 28, 2013


This tag was made with awesome Derzi tube!
Launching free gift that you will be able to get with a purchase of $5 on the store, it is worth it, this lil gift is the first of the Collection called Me and my Mini me and it brings two psp tubes in one, don't miss this amazing chance.... BeeHive Studio

You can grab the template HERE

*click on image to view full size*
PTU Beauty Is My Name
This tutorial was written by me on September 28, 2013.
It was made out of my own creation and any similarity is purely coincidental.
I used pspx5 but any version should work without problems.
If you're doing this tutorial you must have good psp knowledge and be familiar with the tools.
Let's get started!
Artist: Alexander McMillan
Scrapkit: Vanity by Amy Marie's Kits
Mask: 14 by mb and sw
Font: Inspiration
*open your mask and minimize in your workspace*
*c/p will be copy and paste as new layer unless noted*
File - New - 700x700 - flood fill w white
Open 40 - resize by 80%
Open 41 - resize by 75% - c/p
Click inside frame (41) w magic wand - expand by 3 - new layer
Open paper 2 - c/p into selection - deselect
Move paper under frame
On frame layer
Open 23 - c/p - place to right
duplicate - change blend mode to screen - merge down
Open 75 - c/p
Open 9 - resize by 50% - c/p - place to bottom left
duplicate 9 - place to right - flip horizontal
Open 30 - c/p - place to left - flip horizontal
Open tube - resize to your liking - c/p
Open 17 - resize by 50% - c/p - place to bottom
Open 8 - resize by 50% - c/p - place to bottom left
duplicate - flip horizontal - place to right
Open 12 - resize by 50% 2x - sharpen - c/p - place to bottom left
Open 68 - resize by 50% 2x - sharpen - c/p - place to liking
On background layer
Open 57 - c/p - place to the top
Open 44 - c/p - place to left
Delete background - merge visible
Add credits and your name
Friday, September 27, 2013
*click on image to view full size*
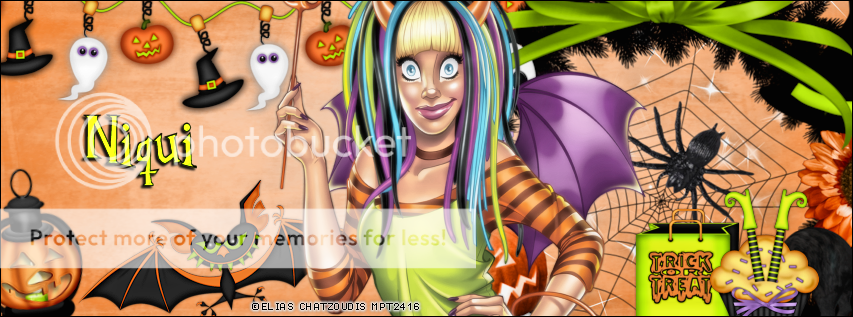
PTU Trick or Treat
This tutorial was written by me on September 27, 2013.
It was made out of my own creation and any similarity is purely coincidental.
I used pspx5 but any version should work without problems.
If you're doing this tutorial you must have good psp knowledge and be familiar with the tools.
Let's get started!
Artist: Elias Chatzoudis
Scrapkit: Peek-a-boo by Niqui's Designs
Font: Harry Potter
*open your mask and minimize in your workspace*
*c/p will be copy and paste as new layer unless noted*
File - new - 851x315 - fill w white
Click on background w magic wand - new layer
Open pp2 - c/p into selection - deselect
Open 36 - resize by 50% 2x - c/p - place to bottom left
Open 5 - resize by 50% - c/p - place to bottom left
Open 6 - c/p - place to right
Open 3 - resize by 50% 2x - sharpen - c/p - place to top
Open 11 - c/p - place to right
Open 4 - resize by 50% - c/p - place to bottom right
Open 12 - resize by 50% 2x - place to the right
Open tube - c/p as new layer - place to liking
duplicate tube - adjust - blur - gaussian blur 2
change blend mode to screen - opacity to 63
Merge visible
Image - add borders - 1 all around - black - hit ok
Add credits and name


*click on image to view full size*
PTU The Witch Is In
This tutorial was written by me on September 27, 2013.
It was made out of my own creation and any similarity is purely coincidental.
I used pspx5 but any version should work without problems.
If you're doing this tutorial you must have good psp knowledge and be familiar with the tools.
Let's get started!
Artist: Shawli
Scrapkit: Spellbound by Gimptastic Scraps
Mask: DBV mask 106
Font: His Name Is Honey
*open your mask and minimize in your workspace*
*c/p will be copy and paste as new layer unless noted*
File - New - 700x700 - flood fill w white
Click on background with magic wand - new layer
Open paper10 - c/p into selection
Layers - New mask layer - From Image
Find your mask in source window - hit ok
Merge group - duplicate your mask
Open beads - c/p - place to left
duplicate - place to the right - merge down
Open frame 1 - c/p
Click inside frame w magic wand - expand by 5 - new layer
Open pp8 c/p into selection - deselect - move under frame
add drop shadow to your frame
Open lights - c/p
Open mesh - c/p - place to bottom
Open smoke - c/p
Open frame 5 - c/p
Click inside frame w magic wand - expand by 5
On smoke layer - invert - delete - deselect
Add drop shadow to your frame
Open tombstone - c/p - place to bottom right
Open toad - resize by 50% - c/p - place to bottom right
Open black widow - resize by 50% - c/p
Place to bottom left
Open skull - c/p - place to bottom left
Open jack-o-lantern - resize by 50% - sharpen - c/p
Place to the bottom left some
Open lantern - resize by 50% - sharpen - place to bottom
Open tree - c/p - place to right
Open witch sign - c/p - place to left
Open splatter - c/p
Open tube - resize to liking - c/p - place to right
duplicate - change blend to screen - opacity to 50
Delete background - merge visible - add credits and name

*click on image to view full size*
PTU I Put a Spell On You
This tutorial was written by me on September 27, 2013.
It was made out of my own creation and any similarity is purely coincidental.
I used pspx5 but any version should work without problems.
If you're doing this tutorial you must have good psp knowledge and be familiar with the tools.
Let's get started!
Artist: October Calendar tube by Arthur Crowe
Scrapkit: Black Magic Woman by Sweet Tooth Scraps
Mask: 42 by Moonbeams and Spiderwebs
Font: Yataghan
*open your mask and minimize in your workspace*
*c/p will be copy and paste as new layer unless noted*
File - New - 700x700 - flood fill w white
Click on background with magic wand - new layer
Open paper2 - c/p into selection
Layers - New mask layer - From Image
Find your mask in source window - hit ok
Merge group
Open 50 - resize by 50% - c/p - place to left
duplicate - place to right
Open 52 - c/p - place to top right
Open 15 - c/p - place to left
Open 53 - resize by 50% - c/p - place to right
Open 32 - resize by 80% - c/p - place to left
Open 45 - c/p - place to right
Open 31 - resize by 50% - c/p - place to bottom
Open 63 - resize by 50% 2x - c/p - place to bottom left
Open 55 - resize by 85% - place to bottom
Open 60 - resize by 50% 2x - sharpen - c/p - place to bottom
Open tube - resize to fit tag - c/p - place to right
Open 30 - resize by 50% 3x - sharpen - c/p
Place to bottom left
Delete background - merge visible - add credits and name


TODAY ONLY 9/27/2013
By Store Time Spend anything in the store and send in your receipt to receive this awesome tube!
"Clubbin Girl"
Don't miss out!
It's only for a limited time today! Not the whole day!
Thursday, September 26, 2013

Well I was messing around with this program I got yesterday.
This is what I came up with :)
It was fun!
You can just click on image and save!
Enjoy :)

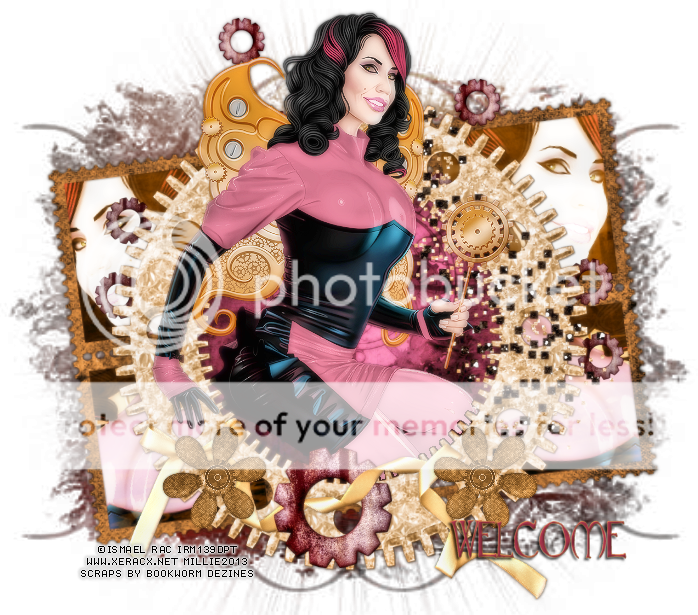
Tag was made with awesome work by Ismael Rac
I used PTU Slightly Steampunk kit by Bookworm Dezines
Made some snags
Please click image to save full-sized.


*click on image to view full size*
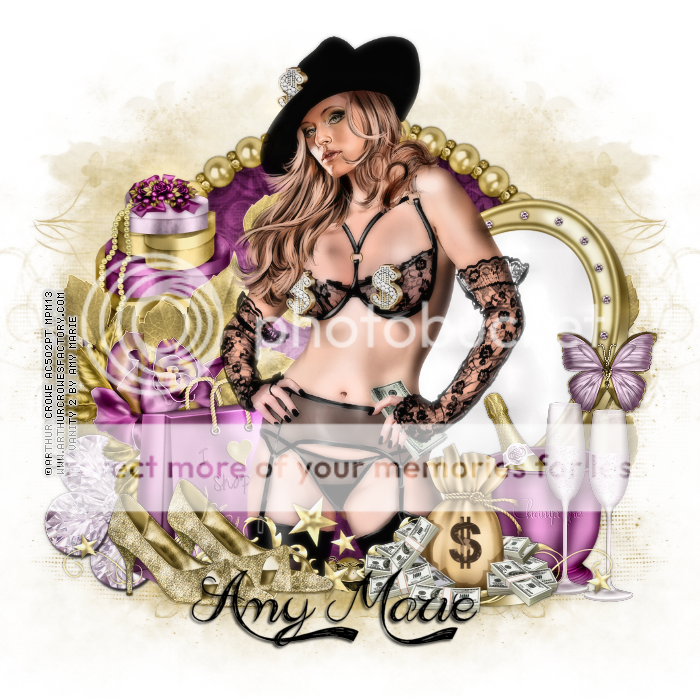
PTU It's All About Me
This tutorial was written by me on September 26, 2013.
It was made out of my own creation and any similarity is purely coincidental.
I used pspx5 but any version should work without problems.
If you're doing this tutorial you must have good psp knowledge and be familiar with the tools.
Let's get started!
Artist: Greed by Arthur Crowe
Scrapkit: Vanity 2 by Amy Marie's Kits
Mask: moonbeams and spiderwebs
Font: admiration pains
*open your mask and minimize in your workspace*
*c/p will be copy and paste as new layer unless noted*
File - New - 700x700 - flood fill w white
Open 41 - resize by 80% - c/p
Click inside your frame w magic wand - expand by 5 - new layer
Open paper2 - c/p into selection - deselect
Move paper under frame
Add drop shadow to your frame
Open 13 - resize by 50% - sharpen - c/p as new layer
Place to the left
Open 60 - c/p - place to left of frame
duplicate - place to right of frame - flip horizontal
Open 8 - resize by 50% - sharpen - c/p - place to left
Open 98 - c/p - place to right
Open 6 - resize by 50% 2x - sharpen - c/p - place to right
Open 101 - resize by 50% - sharpen - c/p - place to bottom right
Open 99 - resize by 50% - c/p - place to bottom left
Open 100 - resize by 50% - sharpen - c/p - place to bottom right
Open half tube - resize to fit tag - c/p
Xero - porcelain - change blue channel to 0 - hit ok
Open 85 - c/p - place to the bottom
Open 105 - resize by 50% - sharpen - c/p
Place to the bottom right
Open 75 - resize by 50% - sharpen - c/p
Place to bottom left
Delete background layer - merge visible - add credits and name
Wednesday, September 25, 2013

TODAY ONLY SPECIAL 9/25/2013
HERE IS YOUR CHANCE TO GET THIS ROCKIN REVAMP BEFORE SHE EVEN HITS THE STORE!
Make ANY purchase in the Xeracx Store 9/25/13, send your store or paypal receipt to Customer Service to claim your tube.
Tube may not be changed or gifted.
Because this is a revamped 2009 tube not in the store, there is no worry that you already have it.
So, come on and make a purchase and get her!
Visit www.xeracx.net/store

This tag was made with amazing work by Roman Zaric!
She's called Nilita and she will be available really soon!
I used her matching scrapkit by Reineke Designs.
Find them both in the Roman Zaric Store soon!
I made some snags for you all.
Please follow my terms of use for snags/extras.
Click on image to save full-sized.


Subscribe to:
Posts
(Atom)


