


Friday, February 28, 2014


*click on image to view full size*
PTU Envious
This tutorial was written by me on February 28, 2014.
It was made out of my own creation and any similarity is purely coincidental.
I used pspx5 but any version should work without problems.
If you're doing this tutorial you must have good psp knowledge and be familiar with the tools.
Let's get started!
Artist: Envy by Lidia Misfit
Scrapkit: Envy by Gimptastic Scrap
Mask: DVB mask 126
Font: Hiccups
*open your mask and minimize in your workspace*
File - New - 700x700 - flood fill w white
Open frame 5 - resize by 65% - c/p as new layer
Open tube - resize to liking - move under frame
Click inside frame w magic wand - new layer
Open pp6 - c/p into selection - move under tube
On tube - invert - delete - deselect
Add drop shadow to your frame
Close background layer - merge visible - open background layer
Rotate merged to the right a little bit
Open mushroom - place to left - drop shadow
Open goggles - bottom right - drop shadow
Open pills - resize by 50% - place to bottom left - drop shadow
Open snake - resize by 80% - place to bottom - drop shadow
Open zipped flower - resize by 50% - sharpen - bottom left - drop shadow
On background layer
Click on background with magic wand - new layer
Open paper4 - c/p into selection - deselect
Layers - New mask layer - From Image
Find your mask in source window - hit ok
Merge group
Open stamp - resize by 80% - place to the right
Duplicate - mirror - merge down
Open mesh - resize by 80% - place to bottom - mirror - place to left
Add drop shadow to your mesh
Open toxic drum - resize by 50% - sharpen - place to left
Drop shadow to your toxic drum
Delete background - merge visible
Crop your tag to your liking (optional)
Add Credits and name
Thursday, February 27, 2014


*click on image to view full size*
PTU Blue For You
This tutorial was written by me on February 27, 2014.
It was made out of my own creation and any similarity is purely coincidental.
I used pspx5 but any version should work without problems.
If you're doing this tutorial you must have good psp knowledge and be familiar with the tools.
Let's get started!
Artist: Jennifer Janesko
Scrapkit: Sweet Moments by Amy Marie's Kits
Mask: moonbeams and spiderwebs
Font: The Daily Bread
*open your mask and minimize in your workspace*
File - New - 700x700 - flood fill w white
Click on background with magic wand - new layer
Open paper7 - c/p into selection - deselect
Layers - New mask layer - From Image
Find your mask in source window - hit ok
Merge group
Duplicate mask - change blend to screen - opacity to 42
Open 6 - resize by 70% - sharpen - c/p as new layer
Open tube - place under frame so face is in there
Click in frame w magic wand - expand by 3
Open pp12 - c/p as new layer - invert - delete - move under tube
On tube layer delete (should still be inverted) then deselect
Change blend to luminance - duplicate
Change blend to screen - opacity to 73 or to what looks best to you
Add drop shadow to frame
Open 44 - resize by 50% 2x - sharpen - bottom left - drop shadow
Open 53 - resize by 50% 2x - sharpen - mirror - place top left - drop shadow
Open 27 - resize by 50% 2x - sharpen - place to left - drop shadow
Open 24 - place to right - drop shadow
Open 23 - resize by 50% 2x - sharpen - bottom right - drop shadow
Delete background - merge visible - crop tag to liking
Adjust - Brightness and Contrast
Local Tone Mapping - strength 4.0 - Block Size 35 - hit ok
Add credits and name


Wednesday, February 26, 2014

This tag was made with awesome Alexia tube by Jose Cano
I used PTU Sweet Love by Amy Marie's Kits
Tag 2 w same tube and kit

Template 526

Download HERE

This tag was made with artwork by Zlata M
I used PTU Spring Fling by Kizzed by Kelz
Template 525
Download HERE
Tuesday, February 25, 2014


*click on image to view full size*
PTU Flower Haven
This tutorial was written by me on February 25, 2014.
It was made out of my own creation and any similarity is purely coincidental.
I used pspx5 but any version should work without problems.
If you're doing this tutorial you must have good psp knowledge and be familiar with the tools.
Let's get started!
Artist: Wind by Jose Cano
Scrapkit: Pink Treasures by Amy Marie's Kits
Mask: moonbeams and spiderwebs
Plugin: Xero - Porcelain
Font: Up Dock
*open your mask and minimize in your workspace*
File - New - 700x700 - flood fill w white
Open 56 - resize by 75% - c/p as new layer
Click inside your frame w magic wand - expand by 5 - new layer
Open paper17 - c/p into selection - deselect
Move paper under frame
Add drop shadow to your frame
Open 73 - resize by 50% - place to left - drop shadow
Open 11 - resize by 50% - place to left - drop shadow
Open tube - resize to liking - place to right
Xero - porcelain - change blue channel to 0 - hit ok
Add drop shadow to tube
Open 86 - resize by 50% - sharpen - place to bottom
Open 51 - resize by 50% 2x - sharpen - bottom left - drop shadow
Open 7 - resize by 50% - place to bottom - drop shadow
Open 12 - resize by 50% 2x - sharpen - place to right
Open 46 - resize by 50% 2x - sharpen - place to right
Duplicate - mirror - drop shadow both
On background layer
Click on background with magic wand - new layer
Open paper11 - c/p into selection - deselect
Layers - New mask layer - From Image
Find your mask in source window - hit ok
Merge group
Open 8 - resize by 50% - place to right - drop shadow
Open 31 - resize by 75% - place to left - drop shadow
Delete background - merge visible - crop tag to liking
Add credits and name

This tag was made with awesome Love Burlesque BONUS by Ismael Rac
I used matching kit by Bookworm Dezines
Get her while you still can today is the last day!
Template 523

You can download it HERE
Monday, February 24, 2014


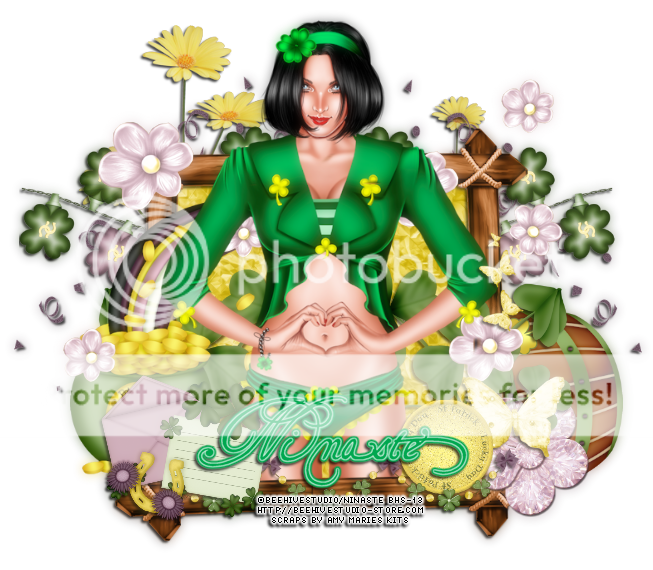
This tag was made with St Patrick tube by Tony Tz
I used PTU Roses and Clover by Irish Princess Designs
Template 521

Download HERE

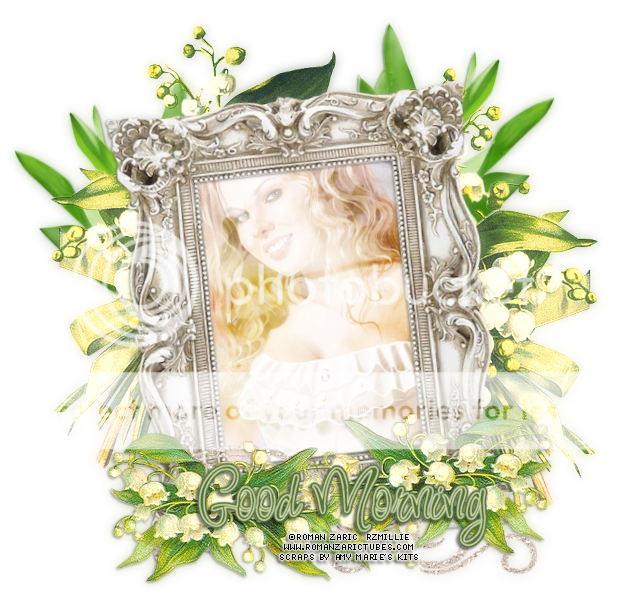
This tag was made with awesome Barbara tube from Roman Zaric
I used beautiful PTU Days Past kit by Amy Marie
Here's another tag with same tube and kit

I also made some snags
You can grab them below by clicking on image to save full-sized!
Please do not alter in any way!
Thanks!


Sunday, February 23, 2014


*click on image to view full size*
PTU Your Fantasy Garden Timeline
This tutorial was written by me on February 23, 2014.
It was made out of my own creation and any similarity is purely coincidental.
I used pspx5 but any version should work without problems.
If you're doing this tutorial you must have good psp knowledge and be familiar with the tools.
Let's get started!
Scrapkit: Fantasy Garden by Amy Marie's Kits
Font: Inspiration
*open your mask and minimize in your workspace*
File - New - 851x315 - flood fill w white
Click on background w magic wand
Open pp3 - c/p into selection - deselect
Open 61 - place to top left
Open 65 - place to top left
Open 91 - move to the right some - drop shadow
Open 78 - resize by 50% - place to the left some
drop shadow
Open 77 - place to the right
Open 73 - place to the right
Open 57 - place to top right - drop shadow
Open 49 - place to the left and down - duplicate - mirror
Line up the grass so it looks like is one long piece and then merge down
Open 59 - bottom right - drop shadow
Open 85 - resize by 50% - sharpen - drop shadow
Open 98 - resize by 75% - bottom left - sharpen
Merge visible - duplicate
Adjust blur - gaussian blur - 5
Change blend mode to screen - opacity to 53
Merge down - add credits and name
Saturday, February 22, 2014

This tag was made with awesome work of Alex Prihodko
I used lovely PTU Lucky by Kizzed by Kelz
Template 319 3PC SET

Download HERE

Download HERE

Download HERE

*click on image to view full size*
PTU Love is Where it Begins
This tutorial was written by me on February 22, 2014.
It was made out of my own creation and any similarity is purely coincidental.
I used pspx5 but any version should work without problems.
If you're doing this tutorial you must have good psp knowledge and be familiar with the tools.
Let's get started!
Artist: Dream by Misticheskaya
Scrapkit: Paris Chic by Amy Marie's Kits
Mask: Moonbeams and spiderwebs
Font: Dancing Script
*open your mask and minimize in your workspace*
File - New - 700x700 - flood fill w white
Click on background with magic wand - new layer
Open paper8 - c/p into selection - deselect
Layers - New mask layer - From Image
Find your mask in source window - hit ok
Merge group
Open 60 - resize by 75% - c/p as new layer
Rotate to the left some w deform tool - move to the left
Click inside frame w magic wand - expand by 5 - new layer
Open pp6 into selection - deselect
Open tube - c/p and place face inside frame
Click inside frame w magic wand - expand by 5
On tube - invert - delete - deselect
Change blend mode to screen
Add drop shadow to your frame
Open 20 - move to the right - drop shadow
Open 55 - resize by 50% - place to left - drop shadow
Open 105 - place to bottom left - drop shadow
Open 30 - resize by 50% - place to the right - rotate to the left - drop shadow
Open 81 - mirror - place to the right - drop shadow
Open 36 - resize by 50% - place to bottom right - drop shadow
Open tube - resize to liking - move to left some
Xero - porcelain - change blue channel to 0 - hit ok
Delete background layer - merge visible
Add credits and name
Friday, February 21, 2014


This tag was made w art by Verymany
I used PTU Spring-A-Ling by Drama Bomb Designs
Template 517

You can download it HERE

*click on image to view full size*
PTU Enjoying Spring
This tutorial was written by me on February 21, 2014.
It was made out of my own creation and any similarity is purely coincidental.
I used pspx5 but any version should work without problems.
If you're doing this tutorial you must have good psp knowledge and be familiar with the tools.
Let's get started!
Artist: Joy by Chris Pastel
Scrapkit: Spring Toadly Amazing by Horseplay's Pasture Designs
Find it in Heartbeatz Creationz
Mask: WSL mask 363
Font: Shonar Banglar
*open your mask and minimize in your workspace*
File - New - 700x700 - flood fill w white
Click on background with magic wand - new layer
Open paper1 - c/p into selection - deselect
Layers - New mask layer - From Image
Find your mask in source window - hit ok
Merge group
Open 78 - resize by 50% - sharpen - top right - drop shadow
Open 31 - place to left - drop shadow
Open 15 - place to the right - drop shadow
Open 73 - resize by 50% - sharpen - place to right - drop shadow
Open tube and resize to fit your tag - place to left some
Xero - porcelain - change blue channel to 0 - hit ok
Adjust - sharpen - drop shadow
Open 26 - place to the bottom
Open 65 - place to left and down - drop shadow
Open 63 - resize by 50% - sharpen - place to bottom left - drop shadow
Open 15 - place to bottom - drop shadow
Open 68 - resize by 50% - place to the left
Open 20 - resize by 60% - sharpen - place to bottom right - drop shadow
Open 8 - resize by 50% - place to the right - drop shadow
Open 27 - resize by 50% - place to bottom right - drop shadow
Delete background - merge visible
Add credits and name

This tag was made with Alex Prihodko
I used PTU Lagoon Breeze by Bookworm Dezines
Template 516

You can download HERE

This tag was made with fabulous new "Patty Clover" tube by Ninaste
I used PTU Ireland 4Ever by Amy Marie's Kits
Template 515

Download it HERE
Another tag with Patty Clover and Ireland 4 Ever kit
Thursday, February 20, 2014


Subscribe to:
Posts
(Atom)


