


Thursday, October 31, 2013


Tag was made with today's freebie from Rac w purchase!
This layer is available today only! 10/31/2013
Do NOT miss out!
Made some snags for you all
Please do not alter in any way
Thank you!


This tag was made with special halloween layer from Girltude tube
This is a freebie for special of the day today.
More information below.
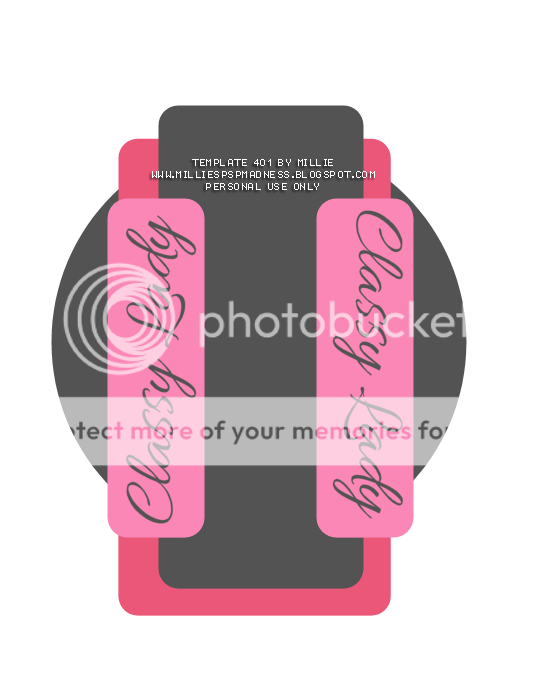
Template 407

You can download it HERE

http://xeracx.net/store/ HAPPY HALLOWEEN everyone.
Today ONLY 10/31/13 special is uber awesome.
One tube has never been in Rac's store and it never will be and a special made layer of the girl tude tube here if you want to buy her http://xeracx.net/store/index.php?main_page=product_info&cPath=27_10&products_id=1148
Spend ANY $$$ in the store today ONLY and you get both these tubes how amazing is that.
Send your receipts into CS to claim xeracxcustomercare@gmail.com
GC is not accepted as a form of payment.
Wednesday, October 30, 2013

This tag was made with "On The Cat Walk Special" tube
You can get it today for free in the Rac Store with purchase.
Check the details below.
I also used Sexy Lingerie Girl kit which you can also find in his store!
Check it out!
I used template 406

You can download it HERE

http://xeracx.net/store/ Whoo look what I found in my DB this morning...
Ismael loves you all because he did a special not in the store revamp of his amazing on the cat walk tube. OMG you get 8 different coat colors.
The Diamonds come off if you don't want the bling but what girl does not love her bling?
Rac has been working so hard for you all this month so lets show him some love back.
Spend any $$ amount in the store TODAY ONLY 10/30/13 YOU MUST SPEND MONEY IN THE STORE TODAY TO GET THIS AWESOME SPECIAL LAYER. Send your Paypal or store receipt into CS to claim her. GC not accepted as a form of payment.
Tuesday, October 29, 2013


This tag was made with brand new "Dress Attitude" tube and kit
You can find them in the Xeracx Store HERE
Made some snags.
Please do not alter them in any way.


This tag was made with BB BCA tube (special layer) from Ismael Rac
*this bca layer is not available in the store*
I used BCA freebie kit by Sweet Tooth Studio
Template 402

You can download it HERE

Today ONLY! All receipts store or pay pal must be dated for 10/29/2013.
This is from my own vault again lol a special layer of this tube.
Its BB BCA and its a single special layer and close up I had Rac do for me but now I share her with you Spend any amount in store and get her free just send your receipt to cs to claim.
GC not accepted as a form of payment. This tube is not in the store so this is the only way to get her
Monday, October 28, 2013

*click on image to view full size*
PTU Kiss In The Snow
This tutorial was written by me on October 28, 2013.
It was made out of my own creation and any similarity is purely coincidental.
I used pspx5 but any version should work without problems.
If you're doing this tutorial you must have good psp knowledge and be familiar with the tools.
Let's get started!
Artist: Ismael Rac
Scrapkit: Warm Winter Glow by Amy Marie
Template: 399 by me HERE
Font: Carlotta
Open template - duplicate - close original
delete cr layer - make background layer visible
Click on layer 1 with magic wand - new layer
Selections - modify - smooth selection
Smooth amount 10 Anti-Atlas checked - hit ok
Open paper5 - c/p into selection - deselect - add drop shadow
Click on layer 2 with magic wand - new layer
Selections - modify - smooth selection
Smooth amount 10 Anti-Atlas checked - hit ok
Open paper8 - c/p into selection - deselect - add drop shadow
Open 24 - resize by 80% - c/p as new layer
Open 9 - place to left - duplicate - mirror
On layer 3 - open tube close up and place on top of layer 3
Click on layer 3 with magic wand - new layer
Selections - modify - smooth selection
Smooth amount 10 Anti-Atlas checked - hit ok
Open paper2 - c/p into selection
On tube layer - invert - delete
Change blend mode to overlay - new layer
Selections - modify - select selection borders
Both sides - anti atlas checked - border width 2 - hit ok
Fill with color from tag - adjust - add noise - uniform - 100
Deselect - add drop shadow
Merge tube down to paper - merge border down to tube
Add drop shadow - duplicate - mirror
Erase layer 4
Click on layer 5 with magic wand - new layer
Selections - modify - smooth selection
Smooth amount 10 Anti-Atlas checked - hit ok
Open paper6 - c/p into selection - deselect - add drop shadow
Open 4 - place to the bottom
Click on layer 7 with magic wand - new layer
Selections - modify - smooth selection
Smooth amount 10 Anti-Atlas checked - hit ok
Open paper7 - c/p into selection - new layer
Selections - modify - select selection borders
Both sides - anti atlas checked - border width 1 - hit ok
Fill with color from tag - adjust - noise - uniform 100 - hit ok
Merge down - add drop shadow - duplicate - mirror
105 - place to the left - rotate left some w deform tool
Open 103 - resize 50% - place to left
Open 57 - place to the bottom
Open 51 - resize by 65% - place to bottom right
Open tube - resize to fit tag - place in the middle
Xero - porcelain - change blue channel to 0
Open 40 place to the bottom left - duplicate - mirror - merge down
On layer 8
Effects - 3D Effects - Inner Bevel
Bevel 2 - Width 20
Image Smoothness 20 - depth 20 - ambiance 20 - shininess 20
Light Color: white - angle 319 - intensity 50 - elevation 35 - hit ok
Move down some - add drop shadow
Delete background layer - merge visible
Add credits and name


*click on image to view full size*
PTU Musical Autumn
This tutorial was written by me on October 28, 2013.
It was made out of my own creation and any similarity is purely coincidental.
I used pspx5 but any version should work without problems.
If you're doing this tutorial you must have good psp knowledge and be familiar with the tools.
Let's get started!
Artist: Margarita by Arthur Crowe
Scrapkit: Autumn Seranade by Gimptastic Scraps
Mask: fall mask 2 by Dangerous Deliciously Designz
Font: Allure
*open your mask and minimize in your workspace*
File - New - 700x700 - flood fill w white
Open frame 5 - c/p as new layer - rotate to right w deform tool
Opne window - c/p as new layer - click inside window w magic wand
Expand by 5 - new layer
Open paper 8 - c/p into selection - deselect
Add drop shadow to window
Open flower 1 - place to bottom right
Open deco 3 - resize by 50% - place to bottom right
Open music notes - place to bottom
Open leaves - place to right - duplicate - mirror
Open string of bling - place to top right
Open candelabra - resize by 80% - place to right
Open keybox - resize by 50% - place to bottom right
Open violin - place to right
Open tube - resize to fit tag - place to right
Xero - porcelain - change blue channel to 0
Duplicate tube - change blend to overlay - opacity to 42
Click on background with magic wand - new layer
Open paper1 - c/p into selection
Layers - New mask layer - From Image
Find your mask in source window - hit ok
Merge group
Delete background layer - merge visible
Add credits and name
Subscribe to:
Posts
(Atom)


