


Sunday, August 31, 2014
*click on image to view full size*
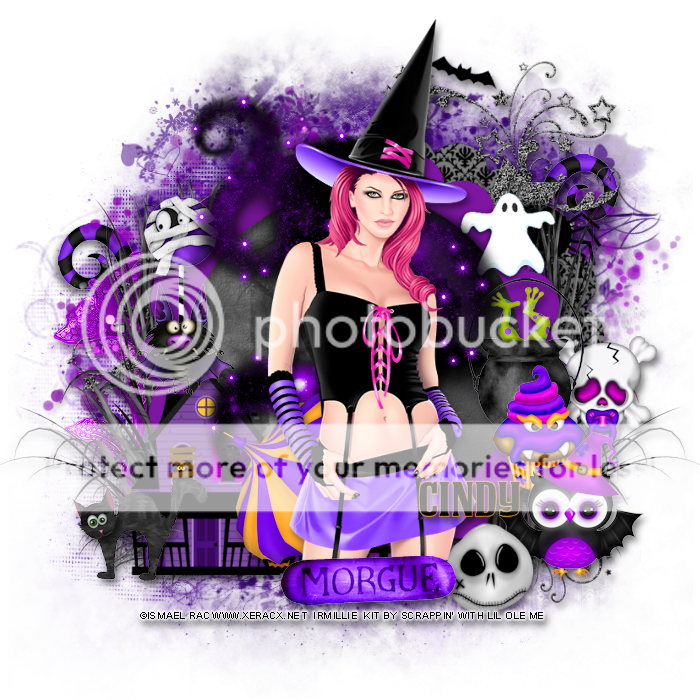
PTU Having a Witching Time
This tutorial was written by me on August 29, 2014.
It was made out of my own creation and any similarity is purely coincidental.
I used pspx6 but any version should work without problems.
If you're doing this tutorial you must have good psp knowledge and be familiar with the tools.
Let's get started!
Artist: Witch Emo by Ismael Rac
Scrapkit: Born A Witch by Scrappin' With Lil Ole Me
Plugin: Xero - Radiance
Mask: 19 by moonbeams and spiderwebs
Font: Deathe Maach
*open your mask and minimize in your workspace*
c/p = copy and paste, ds = drop shadow
File - New - 700x700 - flood fill w white
Open 133 - resize by 75% - c/p as new layer - move down some
Click inside your frame w magic wand - expand by 5 - new layer
Open paper20 - c/p into selection - deselect
Move paper under frame
Add drop shadow to your frame
Open 106 - resize by 50% 2x - sharpen - place to left - ds
Open 59 - resize by 50% 2x - sharpen - place to right - ds
Open 103 - resize by 50% 2x - sharpen - place to left - ds
Open 131 - c/p as new layer - place to the right - ds
Open 143 - c/p as new layer
Open 21 - resize by 50% 2x - sharpen - place to bottom right - ds
Open 2 - resize by 50% 2x - sharpen - place to bottom - ds
Open tube - resize to fit your tag - c/p as new layer
Place to bottom
Xero - radiance - change beauty to 118 - hit ok
Add drop shadow to your tube
Open 14 - resize by 50% 2x - sharpen - place to bottom right - ds
Open 79 - resize by 50% 2x - sharpen - place to bottom right - ds
Open 138 - resize by 50% - place to bottom - ds
Open 181 - resize by 50% 2x - sharpen - place to bottom - ds
On background layer
Click on background with magic wand - new layer
Open paper1 - c/p into selection - deselect
Layers - New mask layer - From Image
Find your mask in source window - hit ok
Merge group
Open 91 - resize by 50% 2x - sharpen - place to right
duplicate 91 - mirror - move down a bit - ds
Open 145 - resize by 50% - place to the left - ds
Open 148 - resize by 90% - move up some
Open 96 - resize by 75% - place to the right - ds
Open 136 - place to the right - ds
Duplicate 136 - mirror
Delete background layer - merge visible
Add credits and name

This tag was made with artwork of Ismael Rac
Info on how to get this awesome layer of the 2012 SuperStar Bonus below!

** Labor Day 25% OFF Plus SPECIAL BUY 8-30-14 TO 9-1-14 **
http://store.xeracx.net/
Spend $2.50 in the store and get the 2012 Super Star Bonus Tube This tube was a Bonus Tube that came out back in 2012 Now you can get it for a Low Price Plus 2 Special layers . Just pop it in your cart at check out. No GC's accepted as a form of payment.
http://store.xeracx.net/
Spend $2.50 in the store and get the 2012 Super Star Bonus Tube This tube was a Bonus Tube that came out back in 2012 Now you can get it for a Low Price Plus 2 Special layers . Just pop it in your cart at check out. No GC's accepted as a form of payment.

Saturday, August 30, 2014

This tag was made with College Girl tube by Souldesigner
I used PTU Sweet School Girl kit by Pink Paradox Productions

Template 673

You can download it HERE
Mask 85

Mask 86

*click on each mask to save full-sized*
Thank you for stopping by :)


*click on image to view full size*
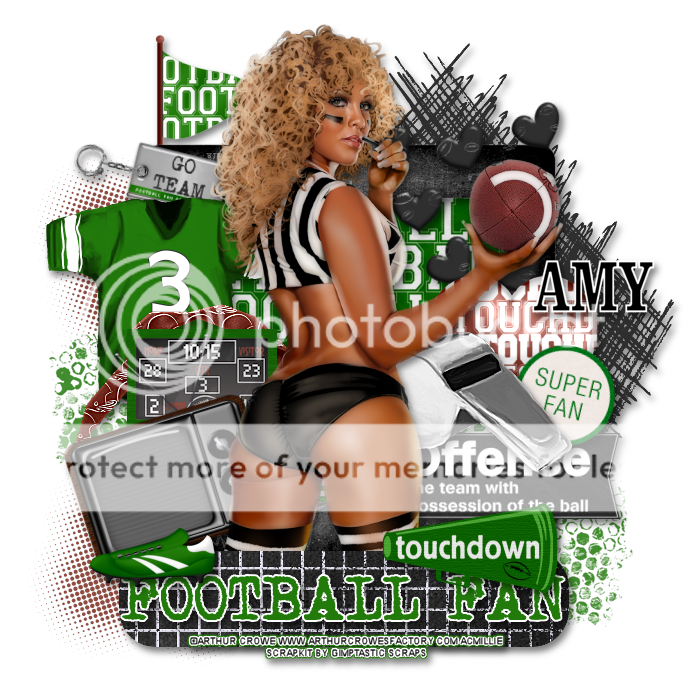
PTU Biggest Football Fan
This tutorial was written by me on August 29, 2014.
It was made out of my own creation and any similarity is purely coincidental.
I used pspx6 but any version should work without problems.
If you're doing this tutorial you must have good psp knowledge and be familiar with the tools.
Let's get started!
Artist: Football Madame by Arthur Crowe
Scrapkit: Football Fan by Gimptastic Scraps
Plugins: Xero - Porcelain
Font: Claredon Condensed
*open your mask and minimize in your workspace*
c/p = copy and paste, ds = drop shadow
File - New - 700x700 - flood fill w white
Open frame 3 - resize by 75% - c/p as new layer
Click inside your frame w magic wand - expand by 5 - new layer
Open paper5 - c/p into selection - deselect
Move paper under frame
Add drop shadow to your frame
Open keychain - resize by 50% - place to top left - rotate some - ds
Open jersey - resize by 50% - place to the left - ds
Open heart scatter - resize by 50% - place to top right - ds
Open heart - place to right - ds
Open ribbon - resize by 50% - place to the left - ds
Open scoreboard - resize by 50% 2x - place to left - ds
Open TV - resize by 50% - place to bottom left - rotate - ds
Open offense - place to the right and down some - ds
Open superfan - resize by 50% - place to the right - rotate - ds
Open whistle - place to the right - ds
Open tube - resize to fit your tag - c/p as new layer
Xero - porcelain - change blue channel to 0 - hit ok
Drop shadow your tube
Open football fan - place to the bottom - ds
Open cleat - resize by 50% - place to bottom left - ds
Open megaphone - resize by 50% - place to bottom right - ds
On background layer
Open doodle - place to top right - ds
Open flag - place to top left - ds
Open dots - resize by 50% - place to top left
Duplicate dots - place to bottom left
Open stamp - resize by 50% 2x - place to bottom right
Duplicate stamp - place to left and up some
Delete background layer - merge visible
Add credits and name
Friday, August 29, 2014


This tag was made with Heidi tube by Souldesigner
You can grab her HERE
I used PTU Dark Souls kit by Scrappin' With Lil Ole Me
You can grab it HERE

I also made some snags which you can save below.
Please remember not to alter my snags in any way and to send others to download here.
Thanks!
*click each image to save it full-sized*


Thursday, August 28, 2014
Mask 83

Mask 84
*click on each mask to save it at full size*
Thanks for stopping by :)

*click on image to view full size*
PTU Cutie Witch
This tutorial was written by me on August 28, 2014.
It was made out of my own creation and any similarity is purely coincidental.
I used pspx6 but any version should work without problems.
If you're doing this tutorial you must have good psp knowledge and be familiar with the tools.
Let's get started!
Artist: CU Little Witch by Lady Mishka (included in kit)
Scrapkit: Little Witch by Niqui's Designs
Mask: WSL mask 83
Font: Halloween Spider
*open your mask and minimize in your workspace*
c/p = copy and paste, ds = drop shadow
File - New - 700x700 - flood fill w white
Open 66 - resize by 50% - c/p as new layer
With your freehand selection tool draw a circle around your frame
New layer
Open pp3 - c/p into selection - deselect
Move paper under frame
Open 16 - resize by 50% - place to the left some - ds
Add drop shadow to the frame
Open 29 - resize by 50% - place to the left - ds
Open 84 - resize by 50% 2x - sharpen - place to right - ds
Open 80 - resize by 50% 2x - sharpen - place to bottom right - ds
Open 69 - resize by 50% 2x - sharpen - place to bottom - ds
Open 60 - resize by 65% - c/p as new layer
On background layer
Click on background with magic wand - new layer
Open paper of choice - c/p into selection - deselect
Layers - New mask layer - From Image
Find your mask in source window - hit ok
Merge group
Resize your mask by 80%
Open 92 - c/p as new layer - ds
Open 12 - place to the bottom right - ds
Delete background layer - merge visible
Add credits and name

*click on image to view full size*
PTU Pinup Fantasy
This tutorial was written by me on August 28, 2014.
It was made out of my own creation and any similarity is purely coincidental.
I used pspx6 but any version should work without problems.
If you're doing this tutorial you must have good psp knowledge and be familiar with the tools.
Let's get started!
Artist: 2014 PinUp Look by Ismael Rac
Scrapkit: Fantasy Garden by Scrappin' Krazy Designs
Mask: 17 by me HERE
Plugins: Xero - Radiance
Font: aka Dora
*open your mask and minimize in your workspace*
c/p = copy and paste, ds = drop shadow
File - New - 700x700 - flood fill w white
Open 15 - resize by 65% - c/p as new layer
Image - free rotate by 90 degrees - to the right - hit ok
Click inside your frame w magic wand - expand by 5 - new layer
Open paper1 - c/p into selection - deselect
Move paper under frame
Add drop shadow to your frame
Open 39 - resize by 50% - place to top left - ds
Open 66 - resize by 50% - place to top right - ds
Open 54 - place to bottom - ds
Open 70 - place to the right - ds
Open half tube - resize to fit your tag - c/p as new layer
Move to bottom some
Xero - radiance - change beauty to 94 - hit ok
Add drop shadow to your tube
Open 76 - place to right some - ds
Open 6 - resize by 50% 2x - sharpen - place to bottom left - ds
Open 18 - resize by 50% 2x - sharpen - place to bottom right - ds
Open 14 - resize by 50% 2x - sharpen - place to bottom right - ds
Open 25 - resize by 50% - place to the bottom - ds
On background layer
Open 78 - place to the right - ds
Open 34 - place to right - ds
Open 27 - resize by 50% - place to right - ds
Delete background layer - merge visible
Add credits and name

** SPECIAL BUY 8-28-14 TO 8-29-14 **
http://store.xeracx.net/
Spend any $$ in the store and get the 2014 BB Pinup Girl Tube Or The 2014 Pinup Look Tube. Just pop it in your cart at check out. No GC's accepted as a form of payment.
http://store.xeracx.net/
Spend any $$ in the store and get the 2014 BB Pinup Girl Tube Or The 2014 Pinup Look Tube. Just pop it in your cart at check out. No GC's accepted as a form of payment.
Wednesday, August 27, 2014
This tag was made with artwork by Verymany
I used PTU Mermaid Kit by Tiny Turtle Designs

Template 670

You can download it HERE

This tag was made with "Pudy" COMING SOON from Roman Zaric
I used matching kit by Lysira's Graphic World
Find them both HERE

I also made some snags for you all.
Please do not alter or claim as your own!
Click each image to save full-sized!


*click on image to view full size*
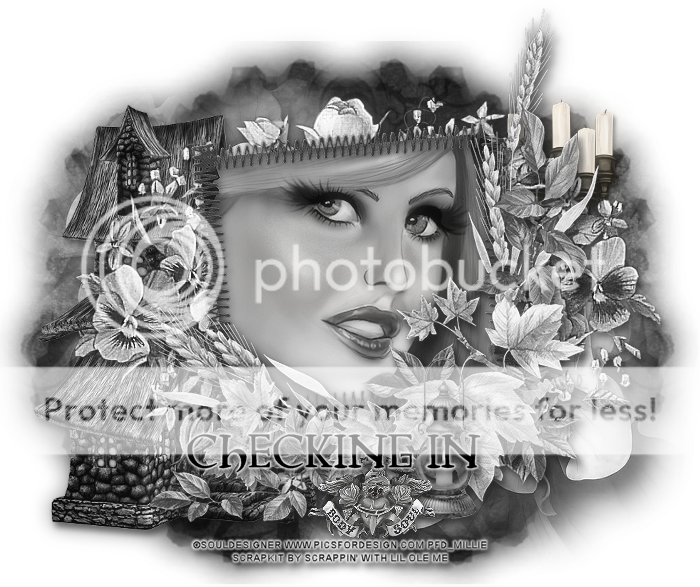
PTU Misteriously Elegant
This tutorial was written by me on August 27, 2014.
It was made out of my own creation and any similarity is purely coincidental.
I used pspx6 but any version should work without problems.
If you're doing this tutorial you must have good psp knowledge and be familiar with the tools.
Let's get started!
Artist: Kathleen by Chris Pastel
Scrapkit: Amanda by Amy Marie's Kits
Plugins: Xero - Radiance
Mask: Rocked by Rachel - Mask Set 10 mask 4
Font: Black Chancery
*open your mask and minimize in your workspace*
c/p = copy and paste, ds = drop shadow
File - New - 700x700 - flood fill w white
Open 21 - resize by 75% - sharpen - move down
Click inside your frame w magic wand - expand by 5 - new layer
Open paper1 - c/p into selection - deselect
Move paper under frame
Add drop shadow to the frame
Open 128 - resize by 50% - place to bottom - ds
Open 112 - place to the left - ds
Open 124 - resize by 50% 2x - sharpen - place to left - ds
Open 65 - place to the right - ds
Open tube - resize to liking - c/p as new layer
Apply Xero - Radiance - change beauty to 97 - hit ok
Add drop shadow to your tube
Open 69 - resize by 70% - place to the bottom - ds
Open 86 - resize by 50% 2x - sharpen - place to bottom left - ds
Open 85 - resize by 50% 2x - sharpen - place to bottom left - ds
Open 43 - resize by 50% 2x - sharpen - place to bottom right - ds
Open 39 - resize by 50% 2x - sharpen - place to bottom right - ds
Open 35 - resize by 50% 2x - sharpen - place to bottom - ds
Open 44 - resize by 50% 2x - sharpen - place to bottom - ds
On background layer
Click on background with magic wand - new layer
Open paper20 - c/p into selection - deselect
Layers - New mask layer - From Image
Find your mask in source window - hit ok
Merge group
Duplicate mask - change blend mode to multiply
Change opacity to 80
Open 106 - place to the bottom - ds
Open 28 - resize by 70% - move down - ds
Delete background layer - merge visible
Add credits and name
Tuesday, August 26, 2014


This tag was made with 2014 Rock Revolution X HD Special Layer tube by Ismael Rac
I used PTU Punkified Kit by Rissa's Designs
Template 668

You can download it HERE

**SPECIAL BUY 8-26-14 TO 8-27-14 **
http://store.xeracx.net/
Spend any $$ in the store and get the 2014 Revolution X HD SL Tube and The Original 2009 Version(s) . Just pop it in your cart at check out. No GC's accepted as a form of payment.
http://store.xeracx.net/
Spend any $$ in the store and get the 2014 Revolution X HD SL Tube and The Original 2009 Version(s) . Just pop it in your cart at check out. No GC's accepted as a form of payment.
This tag was made with Kitty by Lady Mishka
I used PTU Phatt Kitty kit by Scrappin' With Lil Ole Me
I made some snags for you all.
Please do not alter my snags in any way!
Please send to download from here.
Thanks!


Subscribe to:
Posts
(Atom)


