


Thursday, July 31, 2014

This tag was made with 2013 Fairy 2008 Revamp by Ismael Rac
Info on how to get this lovely tube free below!

SPECIAL BUY 7-31-14 TO 8-01 -14
Spend any $$ in the Store and get the 2013 Crazy Wild 2009 Revamp HD Plus Kit Or The 2013 Fairy 2008 Revamp HD Tube .This Tube(s) are just so awesome its a must for your collection. Just pop it in your cart at check out. No GC's accepted as a form of payment.
Thanks n Have Fun

And I also made some snags!


Wednesday, July 30, 2014

*click on image to view full size*
PTU Bad Angel
This tutorial was written by me on July 30, 2014.
It was made out of my own creation and any similarity is purely coincidental.
I used pspx6 but any version should work without problems.
If you're doing this tutorial you must have good psp knowledge and be familiar with the tools.
Let's get started!
Artist: Ismael Rac
Scrapkit: Ashley Exclusive by Niqui's Designs
Plugins: Xero - Radiance
Font: Poplar Std
*open your mask and minimize in your workspace*
c/p = copy and paste, ds = drop shadow
File - New - 700x700 - flood fill w white
Open 59 - resize by 65% - sharpen - c/p as new layer
Open tube close up - place under frame so face is inside frame - mirror
Click on frame w magic wand - expand by 5 - new layer
Open paper 6 - c/p into selection - place under tube close up
On tube - invert - delete - deselect
Change blend mode to screen
Apply Xero - Radiance - change beauty to 155 - hit ok
Add drop shadow to your frame
Open 53 - resize by 50% 2x - sharpen - bottom left - ds
Open 24 - resize by 50% 2x - sharpen - bottom left - ds
Open 40 - resize by 50% 2x - sharpen - bottom - ds
Open 41 - resize by 50% 2x - sharpen - left - ds
Open full tube - c/p as new layer - place to bottom
Apply Xero - Radiance with same settings as above
Add drop shadow to your tube
Open 60 - resize by 50% 2x - sharpen - bottom right - ds
On background layer
Open 44 - 80% - ds
Open 15 - resize by 50% - place to left - duplicate - mirror
Open 58 - resize by 50% - place to left - ds
Open 33 - resize by 50% - place to the left - ds
Delete background layer - merge visible
Crop your tag if you like (I did)
Adjust - Brightness and Contrast
Local Tone Mapping - strength 4.0 - Block Size 35 - hit ok
Add credits and your name

This tag was made with awesome work of Jose Cano
I used PTU Johannah Kit by Amy Marie's Kits

Template 650

You can download it HERE
Tuesday, July 29, 2014

This tag was made w Emma by Verymany
I used awesome Punk'd Princess Kit by Abstract Creations

Template 649

You can download it HERE
Mask 73

Mask 74
Please click on each mask to save it in full-size.
Thanks for stopping by :)

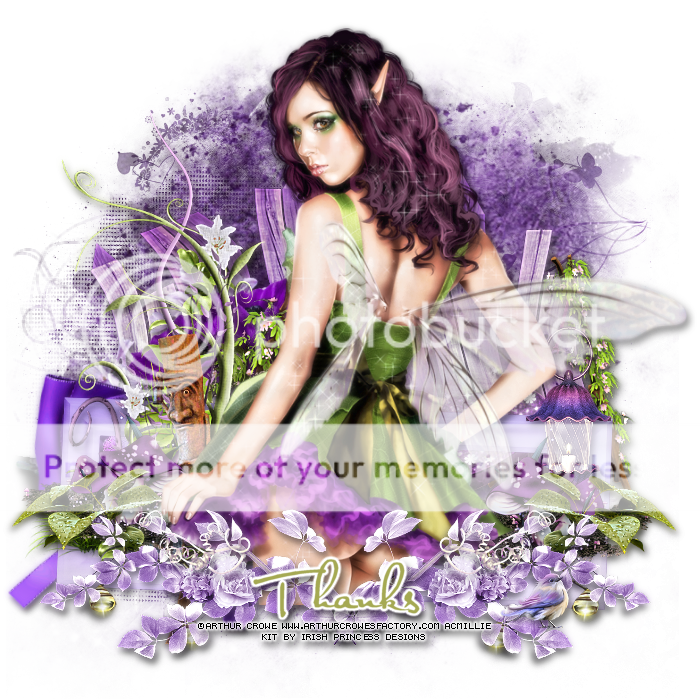
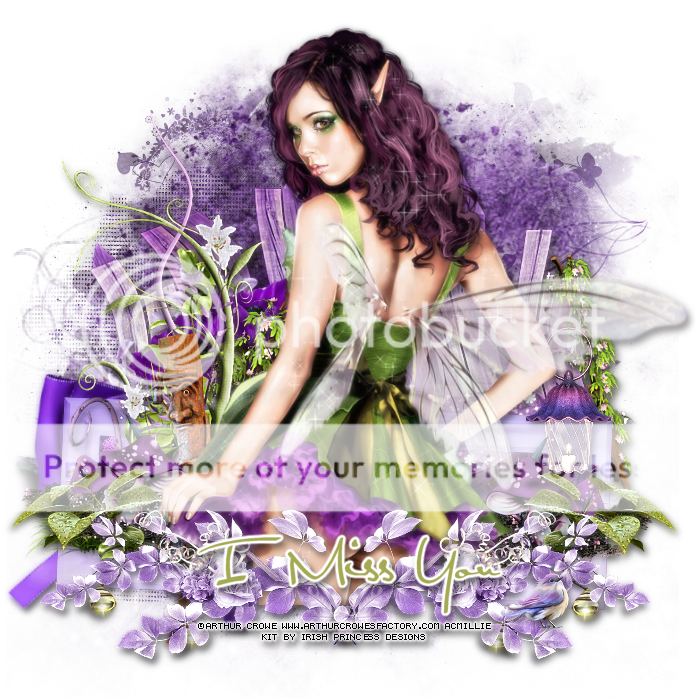
This tag was made with fabulous Flora Fairy from Arthur Crowe
I used lovely "MoonFae's Garden" Kit by Irish Princess Designs

I also got some snags.
You can save them full-sized by clicking on each image.
Thanks for stopping by :)


*click on image to view full size*
PTU Asian Doll Dreams
This tutorial was written by me on July 29, 2014.
It was made out of my own creation and any similarity is purely coincidental.
I used pspx6 but any version should work without problems.
If you're doing this tutorial you must have good psp knowledge and be familiar with the tools.
Let's get started!
Artist: Asiatic Doll by Soul Designer
Scrapkit: Asian Dream by Kizzed by Kelz
Mask: 84 by WSL
Font: Chinese TakeAway
*open your mask and minimize in your workspace*
c/p = copy and paste, ds = drop shadow
File - New - 700x700 - flood fill w white
Open 65 - c/p as new layer - ds
Open 105 - resize by 50% 2x - sharpen - place to bottom left - ds
Open 87 - resize by 50% 2x - sharpen - place to bottom left - ds
Open 92 - resize by 50% 2x - sharpen - place to bottom right - ds
Open 90 - resize by 65% - place to the right - ds
Open 83 - resize by 50% - place to bottom - ds
Open 64 - place to the left and some some - ds
Open your tube - resize to fit your tag - place to middle - ds
On background layer
Click on background with magic wand - new layer
Open paper of choice - c/p into selection - deselect
Layers - New mask layer - From Image
Find your mask in source window - hit ok
Merge group
Move mask to the left - duplicate mask - mirror
Open 84 - c/p as new layer - ds
Open 75 - c/p as new layer - ds
Open 112 - resize by 50% 2x - sharpen - place to bottom - ds
Open 69 - resize by 50% 2x - sharpen - place to right - ds
Delete background layer - merge visible
Adjust - Brightness and Contrast
Local Tone Mapping - strength 4.0 - Block Size 35 - hit ok
Add credits and name
Monday, July 28, 2014

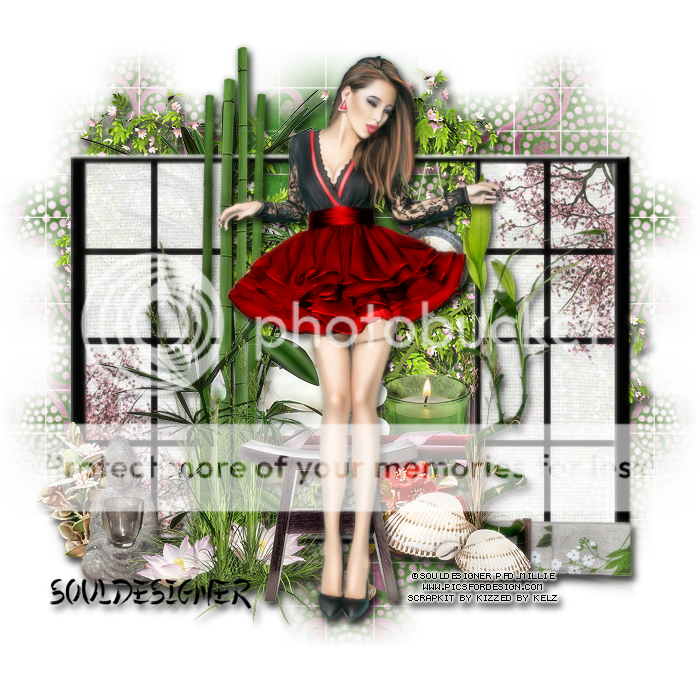
This tag was made with awesome new Exclusive Oriental Dream by Chris Pastel
I used fantastic PTU Harem Dancer kit by Pink Paradox Productions

I also made some snags for you all.
Click on each image to save it at full-size
Thanks for stopping by!


Sunday, July 27, 2014


*click on image to view full size*
PTU The Lady Is Elegant
This tutorial was written by me on July 27, 2014.
It was made out of my own creation and any similarity is purely coincidental.
I used pspx6 but any version should work without problems.
If you're doing this tutorial you must have good psp knowledge and be familiar with the tools.
Let's get started!
Artist: Leona by Zlata M
Scrapkit: Birthstone Series: Ruby by Gimptastic Scraps
Mask: Floral Mask 1 by Dangerously Delicious Designz
Font: Hemmet Personal
*open your mask and minimize in your workspace*
c/p = copy and paste, ds = drop shadow
File - New - 700x700 - flood fill w white
Open frame 1 - resize by 80% - c/p as new layer
Click inside your frame w magic wand - expand by 5 - new layer
Open paper3 - c/p into selection - deselect
Move paper under frame
Add drop shadow to your frame
Open brooch - place to bottom - ds
Open owl - place to right - ds
Open tube close up - resize to liking - place to right - ds
Open heart - resize by 50% - place to bottom right - ds
Open flower 1 - resize by 50% - place to bottom - ds
Open scatter - resize by 50% - place to left - ds - duplicate - mirror
Open vase - place to left - ds
Open vine - resize by 80% - place to bottom - ds
Open lock - resize by 50% - place to bottom - ds
Open sign - resize by 50% - place to bottom left - ds
On background layer
Click on background with magic wand - new layer
Open paper1 - c/p into selection - deselect
Layers - New mask layer - From Image
Find your mask in source window - hit ok
Merge group - drop shadow mask
Open leaf 1 - place to right - ds - duplicate - mirror
Open dolly - resize by 80% - c/p as new layer
Open flower2 - resize by 70% - place to bottom left
Delete background - merge visible
Adjust - Brightness and Contrast
Local Tone Mapping - strength 4.0 - Block Size 35 - hit ok
Add credits and name
Saturday, July 26, 2014


This tag was made with fabulous 2014 Spooky Attitude by Ismael Rac
Available for a limited time! Details below.

Template 647

Download it HERE

Check out my tags with Brand new Special Buy from 7/26/14 - 7/28/14 Spooky Attitude at www.xeracx.net/store/ She is spectacular and you don't want to miss out on her! PLUS a brand new exclusive category! The Special Buy Contains 6 Free Layers You get with any Purchase They are Also 10 Exclusive Layers that you can Purchase. That Layer will be 100 % Exclusive to you ONLY. Go to store for more Details.www.xeracx.net/store/ Ismael Rac
Mask 71

Mask 72

Click on each mask to save as full-size
Full size is 700x700
Thank you for stopping by :)
Friday, July 25, 2014
*click on image to view full size*
PTU So Rainbowlicious
This tutorial was written by me on July 24, 2014.
It was made out of my own creation and any similarity is purely coincidental.
I used pspx6 but any version should work without problems.
If you're doing this tutorial you must have good psp knowledge and be familiar with the tools.
Let's get started!
Artist: Kazuki by Graph Freaks
Scrapkit: Rainbow Kazuki by Scrappin Krazy Designs
Mask: DBV mask 111
Font: Modern20
*open your mask and minimize in your workspace*
c/p = copy and paste, ds = drop shadow
File - New - 700x700 - flood fill w white
Click on background with magic wand - new layer
Open paper14 - c/p into selection - deselect
Layers - New mask layer - From Image
Find your mask in source window - hit ok
Merge group
Open 47 - resize by 75% - c/p as new layer - move down some
Click inside frame w magic wand - expand by 5 - new layer
Open pp7 - c/p into selection - deselect
Move paper under frame
Add drop shadow to your frame
Open 41 - bottom left - ds
Open 43 - place to top - ds
Open 8 - place to left - ds
Open 1 - place to the right - ds
Open 66 - place to the right - ds
Open 52 - resize by 50% - place to the left - ds
Open 50 - resize by 80% - c/p as new layer - ds
Open 42 - resize by 50% - place to bottom right - ds
Open tube - c/p as new layer
Duplicate tube - change blend to overlay and opacity to 50
Open 7 - place to bottom left - ds
Open 13 - resize by 50% 2x - sharpen - place to bottom - ds
Open 10 - resize by 50% 2x - sharpen - place to bottom - ds
Open 17 - resize by 50% 2x - sharpen - place to bottom - ds
Delete background - merge visible
Add credits and name
Subscribe to:
Posts
(Atom)


