


Monday, June 30, 2014

*click on image to view full size*
PTU Let's Sail Away
This tutorial was written by me on June 30, 2014.
It was made out of my own creation and any similarity is purely coincidental.
I used pspx6 but any version should work without problems.
If you're doing this tutorial you must have good psp knowledge and be familiar with the tools.
Let's get started!
Artist: Sailor Mermaid by Erica Leigh Currey
Scrapkit: Sailor Girl by Gimptastic Scraps
Plugin: Xero - Radiance, Lokas 3D Shadow
Font: Allura
*open your mask and minimize in your workspace*
c/p = copy and paste, ds = drop shadow
File - New - 700x700 - flood fill w white
Open water - place to the bottom
Open stamp - place to the right - duplicate - mirror
Open frame 2 - c/p as new layer
Click inside your frame w magic wand - expand by 5 - new layer
Open paper6 - c/p into selection - deselect
Move paper under frame
Add Lokas 3D shadow to your frame w the following settings:
Blur: 25 Transparency: 70
Angle X: 0 Angle Y: 0 Angle Z: 0
Zoom: 100 Offset X: 5 Offset Y: 5
Perspective: 40 Color: Black
Hit Okay
Open frame 1 - c/p as new layer - apply Lokas 3D shadow w same settings
Open wheel - resize by 50% - place to the top - ds
Open shell1 - resize by 50% 2x - sharpen - place to bottom left - ds
Open fence - resize by 50% - sharpen - place to the right some
Rotate your fence to the left - ds
Open anchor - place to left - ds
Open boat - resize by 50% 2x sharpen - place to the bottom left - ds
Open octopus - resize by 50% - place to bottom left - ds
Open nautical star - resize by 50% 2x - sharpen - place to left - ds
Open tube - resize it to your liking - place to the right
Xero - radiance - change beauty to 140 - hit ok
Add drop shadow to your tube
Delete background - merge visible
Adjust - Brightness and Contrast
Local Tone Mapping - strength 4.0 - Block Size 15 - hit ok
Add credits and name

*click on image to view full size*
FTU Love Canada
This tutorial was written by me on June 30, 2014.
It was made out of my own creation and any similarity is purely coincidental.
I used pspx6 but any version should work without problems.
If you're doing this tutorial you must have good psp knowledge and be familiar with the tools.
Let's get started!
Artist: Canadian Dream by Arthur Crowe
*COMING SOON*
Scrapkit: Canada Eh! by Sofisticated Simone
Mask: 55 by me HERE
Font: Plaster of Paris
*open your mask and minimize in your workspace*
c/p = copy and paste, ds = drop shadow
File - New - 700x700 - flood fill w white
Open frame and wrapbow - resize by 75% - c/p as new layer
With your selections tool set on rectangle - draw rectangle around the frame
Open paper2 - c/p as a new layer - invert - delete - deselect
Move paper under the frame
Add drop shadow to the frame
Open flower white2 - place to bottom left - ds - dup mirror - merge down
Open banner balloons - place to the bottom - ds
Open bling - place to the right - duplicate - mirror
Open tube - resize to your liking - c/p as new layer - ds
Open maple leaf - resize by 50% - place to the right - ds
Open flower white6 - resize by 50% - place to bottom left - ds
Duplicate - mirror - move down some
Open glasses - resize by 50% 2x - sharpen - place to bottom left - ds
Open Canada Eh wordart - place to bottom - ds
On background
Click on background with magic wand - new layer
Open paper10 - c/p into selection - deselect
Layers - New mask layer - From Image
Find your mask in source window - hit ok
Merge group
Open flower white5 - place to the top left - duplicate - mirror - merge down - ds
Delete background - merge visible
Adjust - Brightness and Contrast
Local Tone Mapping - strength 4.0 - Block Size 15 - hit ok
add credits and name


Sunday, June 29, 2014


This tag was made with awesome Earth Goddess by Arthur Crowe.
I used fabulous PTU Hidden Forest kit by Pink Paradox Productions

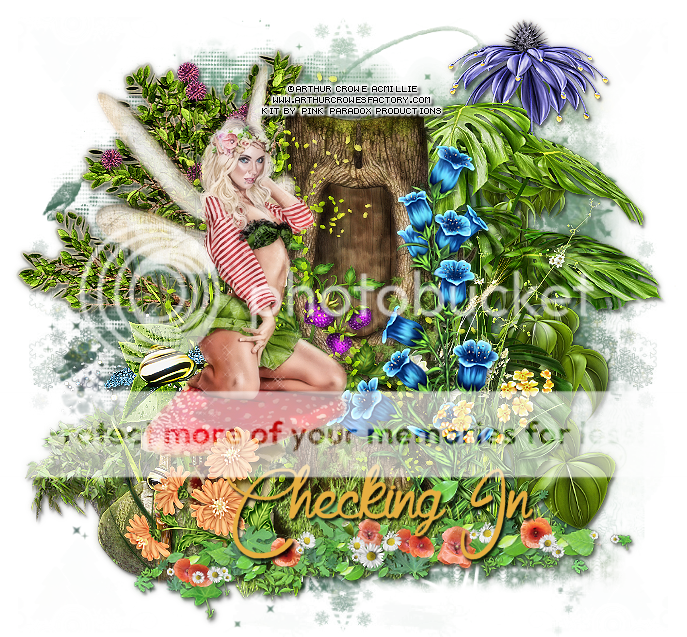
This tag was made with Mushroom Fairy by Arthur Crowe
I used PTU Hidden Forest kit by Pink Paradox Productions
I made some snags!
Please do not alter my tags in any way.
Click on the image to save it full-sized.
Thank you for stopping by!


This tag was made with Aria by Snowbunny
I used ptu matching kit Aria's Symphony by Kizzed by Kelz
Template 618

You can download it HERE
Saturday, June 28, 2014


Friday, June 27, 2014

*click on image to view full size*
PTU Miss the Sea
This tutorial was written by me on June 27, 2014.
It was made out of my own creation and any similarity is purely coincidental.
I used pspx6 but any version should work without problems.
If you're doing this tutorial you must have good psp knowledge and be familiar with the tools.
Let's get started!
Artist: Sea Star by Trinita
Scrapkit: Oceana by Scrappin Krazy Designs
Mask: DBV 111
Font: Snap ITC
*open your mask and minimize in your workspace*
c/p = copy and paste, ds = drop shadow
File - New - 700x700 - flood fill w white
Open 5 - resize by 50% - place to the right - rotate right some
Open tube - place face inside the frame
Xero - radiance - beauty 97 - hit ok
Move tube under the frame
On frame using your freehand selection tool draw around the frame
On tube - invert - delete - invert - new layer
Open pp5 - c/p into selection - deselect
Move paper under tube layer
On tube - change blend mode to screen
On frame apply LOKAS 3D SHADOW w following settings:
Blur: 25 Transparency: 70
Angle X: 0 Angle Y: 0 Angle Z: 0
Zoom: 100 Offset X: 5 Offset Y: 5
Perspective: 40 Color: Black
Hit Okay
Open 24 - resize by 50% 2x - sharpen - place to top right - ds
Open 6 - place to the left - ds
Open 7 - resize by 50% 2x - sharpen - place to bottom left - ds
Open 35 - resize by 50% 2x - sharpen - place to bottom right - ds
Open 46 - resize by 50% 2x - sharpen - place to bottom - ds
Open 20 - resize by 50% 2x - sharpen - place to bottom - ds
Open tube - resize to liking - Xero - radiance - beauty to 70 - hit ok
Open 4 - resize by 50% - place to bottom right - ds
On background layer
Click on background with magic wand - new layer
Open paper7 - c/p into selection - deselect
Layers - New mask layer - From Image
Find your mask in source window - hit ok
Merge group
Resize mask by 75% - duplicate mask - change blend to screen
Duplicate mask again
Open 30 - c/p as a new layer
Open 13 - place to the bottom
Delete background layer - merge visible
Add credits and name
Thursday, June 26, 2014
Mask 55

Mask 56

Click on each image to save full-sized!
Thank you for stopping by :)
Enjoy!
Wednesday, June 25, 2014
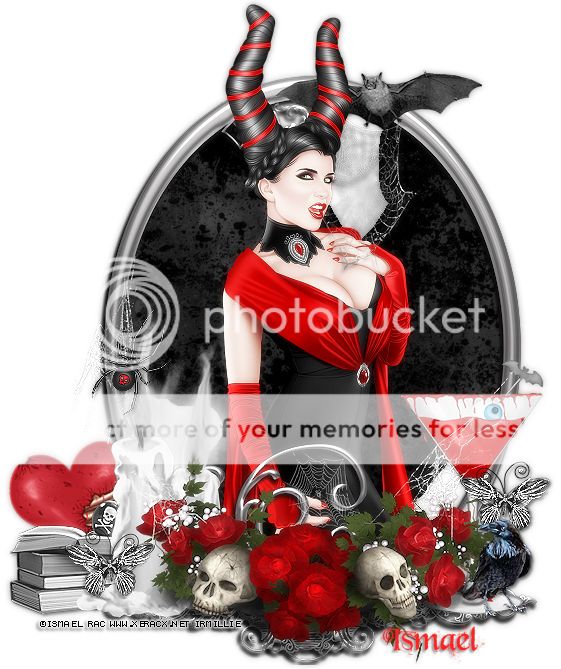
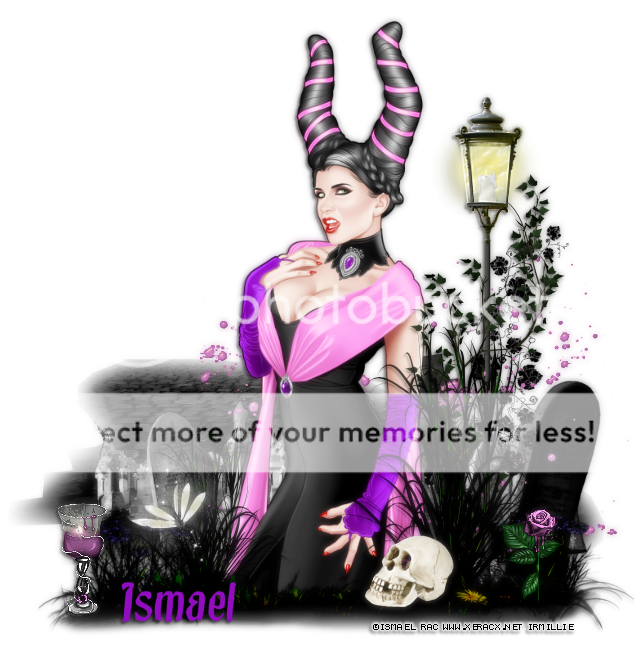
This tag was made with awesome 2014 Sorceress BONUS by Ismael Rac
I used the matching scrapkit!
You can get it in the XERACX store when you spend $10 in one receipt between 6/20 and 7/25 2014

I made some snags!
You can save them by clicking on the image to get full-sized!
Thanks for stopping by!
Please do not alter my snags!


This tag was made with awesome "Millie" tube by Trinita
(which by the way she dedicated to me for my birthday)
ISN'T SHE JUST SWEET AND AWESOME??????
Anyway, LOL, you can pick it up in PFD
Grab Accessories HERE
I used awesome PTU Beauty Within by Abstract Creations
You can find it in her store HERE

I made some snags which you can grab below by clicking each image and saving it full-sized!


Monday, June 23, 2014

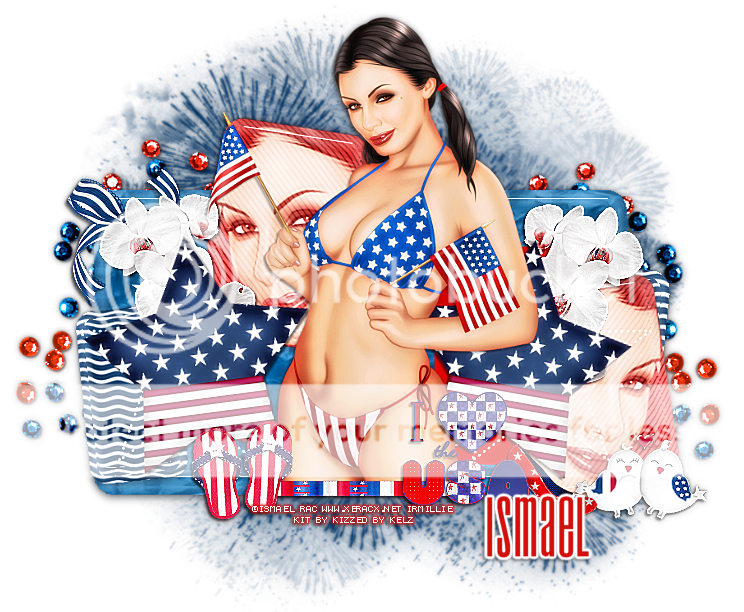
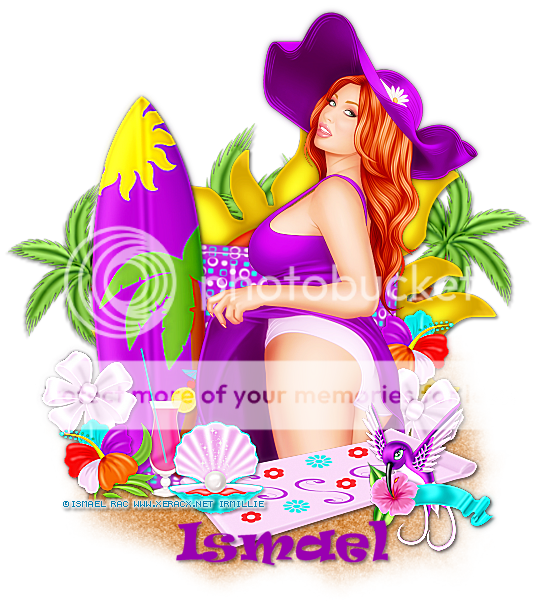
This tag was made with 2014 Freedom Flag (SL) from Ismael Rac
Info on how to get this special tube below!
I used PTU American BBQ by Kizzed by Kelz
You can find this kit HERE

Template 615

You can download it HERE

SPECIAL BUY 6-23-14 TO 6-24-14
Spend any $$ in the store and get this hot tube freedom flag NEVER before in store she is totally new so do not miss out on her. This tube is just so awesome its a must for your collection. Just pop it in your cart at check out. No GC's accepted as a form of payment.


Saturday, June 21, 2014


Subscribe to:
Posts
(Atom)


