

Showing posts with label New Years. Show all posts
Showing posts with label New Years. Show all posts
Sunday, December 30, 2018

CT VI NINA AND DANCE IN THE RAIN
Nikita tube by Vi Nina
New Year 2019 by Dance In The Rain
TEMPLATE 876

You can download it HERE
Friday, January 1, 2016
HAPPY NEW YEAR FOLLOWERS!
I hope this year brings the best for everyone!
Sorry for being MIA so much.
I am working now and it kills my PSP time. That's life.
Hoping to be able to be more active as time permits.
Definitely will make the 800 mark for templates sometime this month.
Still keep coming by cuz you never know when I'm going to mass tag and post.
LOL.
Thank you for the continued support throughout the years.
Cheers! xo
Friday, January 9, 2015

Thursday, January 8, 2015

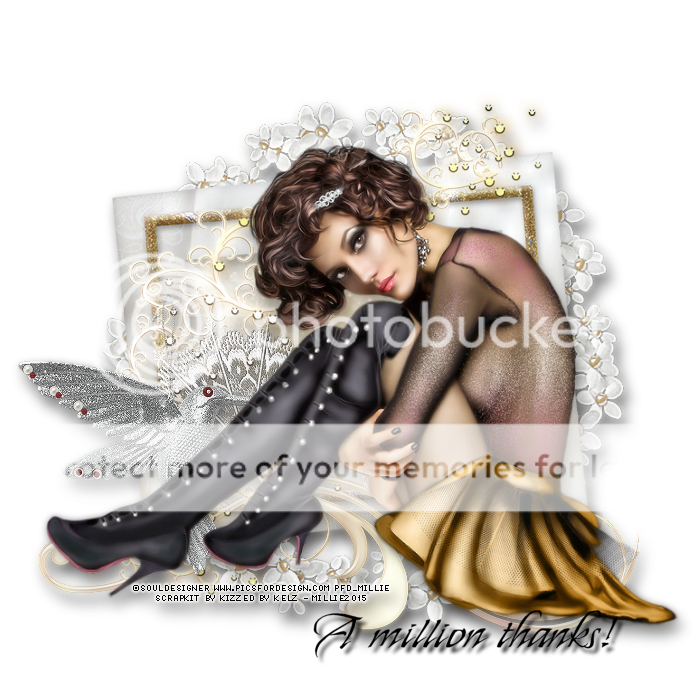
This tag was made with Gina tube by Souldesigner
I used matching kit New Year's Blues by Kizzed by Kelz

I made some snags you can grab.
Please do not claim as your own or alter in any way, shape, or form!
Click on each image to save full-sized!
Thank you again for stopping by!



Friday, January 2, 2015
Monday, December 29, 2014

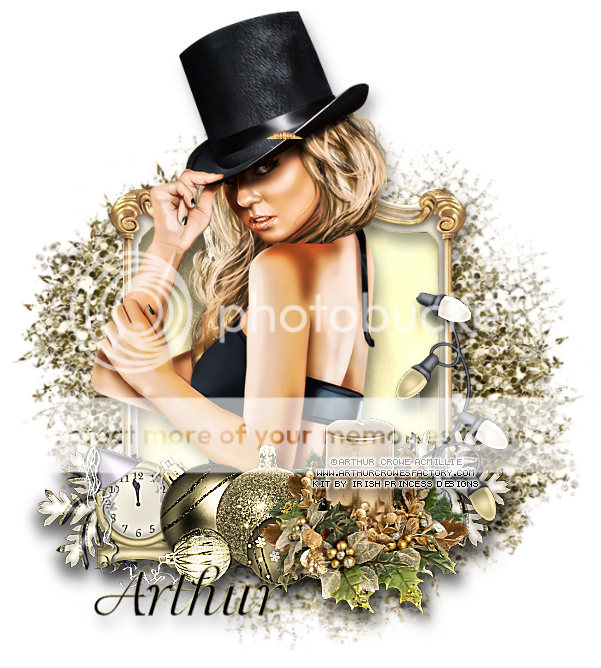
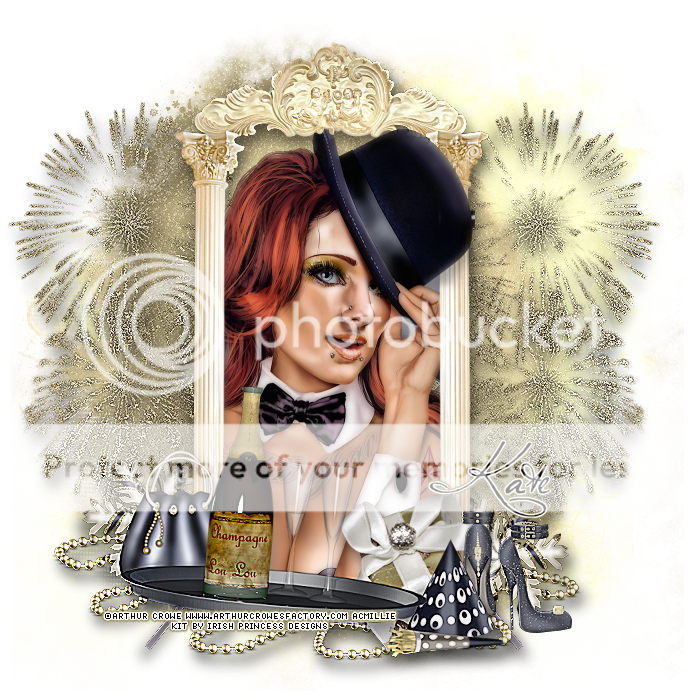
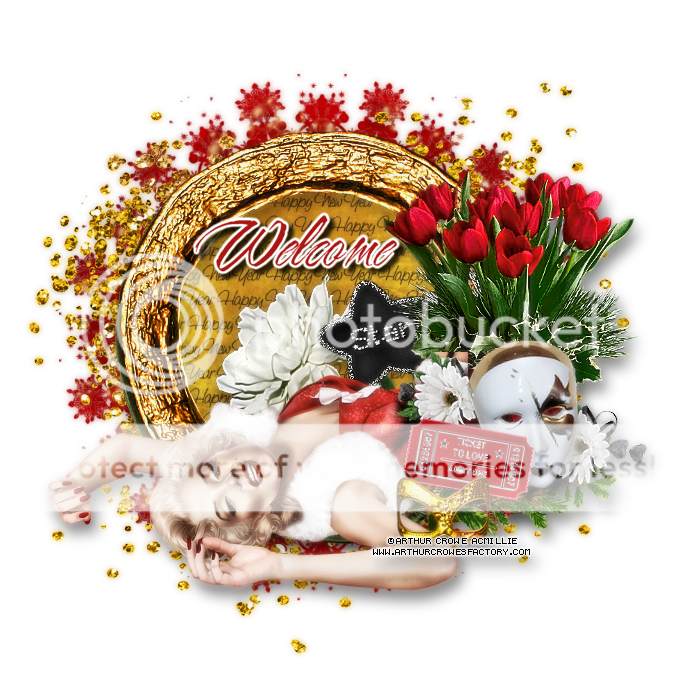
This tag was made with awesome UPCOMING Classic Babe tube by Arthur Crowe
Matching Kit by Kissing Kate
These will be available in Arthur Crowe's Factory soon!
I made some snags you all might enjoy!
Please do not claim as your own or alter in any way!
Click on each image to save it full-sized!
Thank you for stopping by and Happy New Year!


Tuesday, December 23, 2014
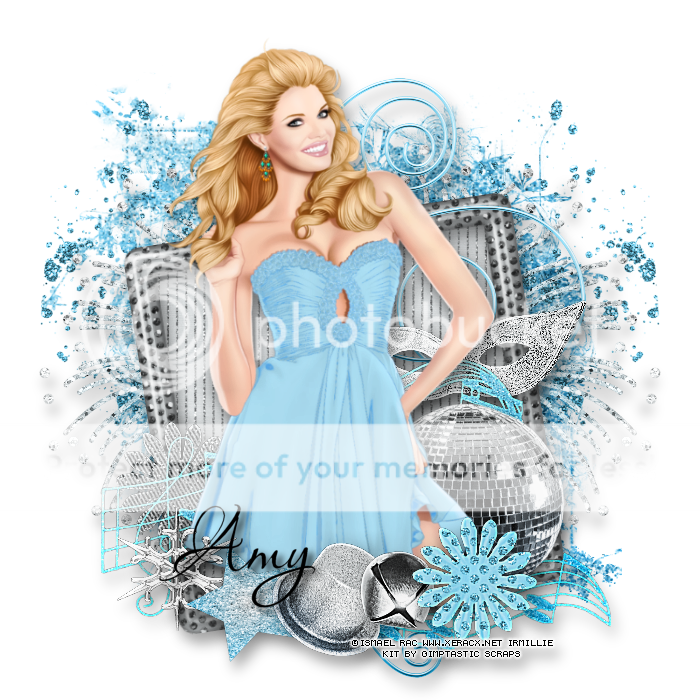
PTU READY FOR THE PARTY TUTORIAL
You can try it HERE
2013 Valentine's Date tube by Ismael Rac
PTU Birthstone Series: Blue Topaz by Gimptastic Scraps
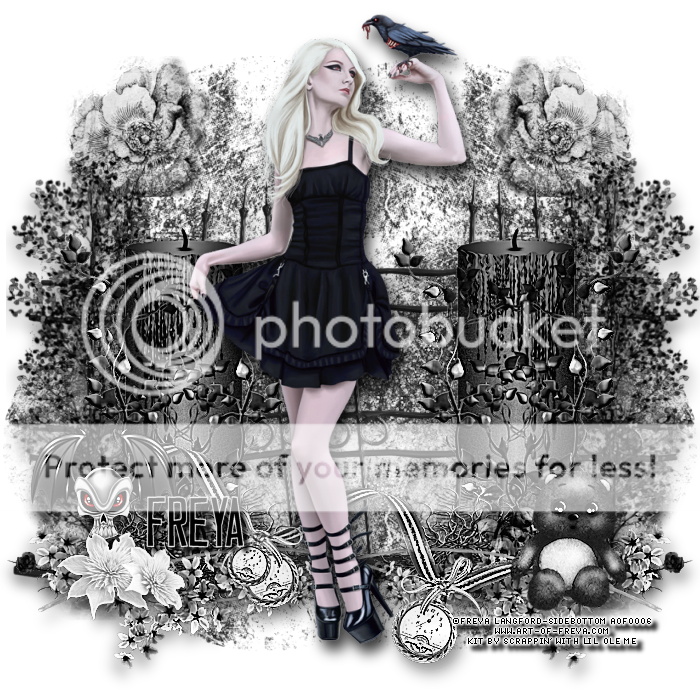
PTU I'M THE RAVEN TUTORIAL
You can try this tutorial HERE
I used The Raven tube by Freya Langford-Sidebottom
PTU White N Black kit by Scrappin' With Lil Ole Me

PTU MAGICAL HOLIDAY TUTORIAL
You can try this tutorial HERE
I used Christmas Toon by Jose Cano
PTU Holiday Magic Kit by Scrappin' With Lil Ole Me
Friday, December 19, 2014
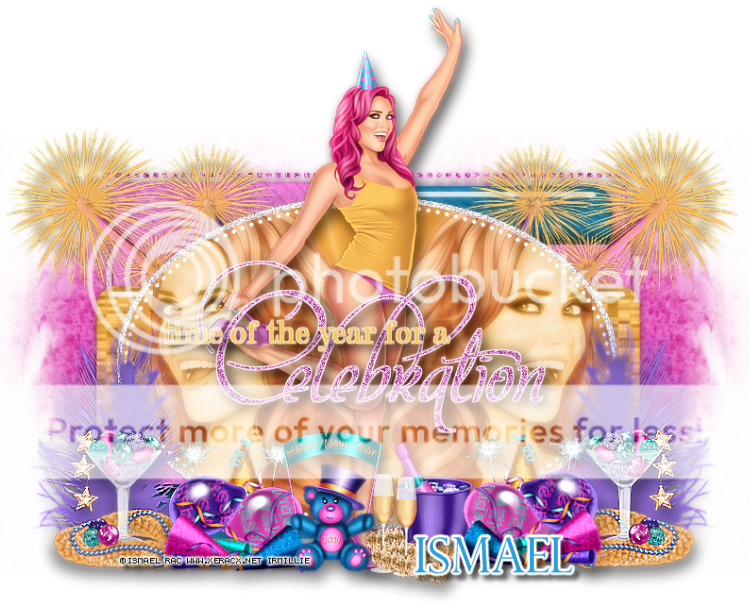

Tuesday, December 31, 2013
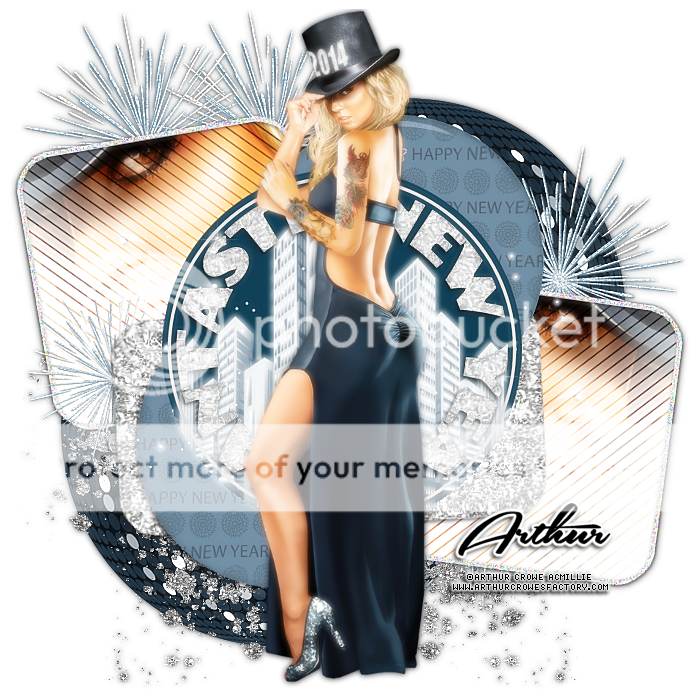

Saturday, December 28, 2013

*click on image to view full size*
FTU New Year Coming
This tutorial was written by me on December 28, 2013.
It was made out of my own creation and any similarity is purely coincidental.
I used pspx5 but any version should work without problems.
If you're doing this tutorial you must have good psp knowledge and be familiar with the tools.
Let's get started!
Artist: Happy Sexy New Year by Arthur Crowe
Scrapkit: Happy New Year by Gimptastic Scraps
Mask: 21 by moonbeams and spiderwebs
Plugin: Xero - Porcelain
Font: AL Patriott
*open your mask and minimize in your workspace*
File - New - 700x700 - flood fill w white
Open frame 4 - image - free rotate - left by 90 degrees - hit ok
Rotate your frame to the right w your deform tool
Click inside frame w magic wand - expand by 5 - new layer
Open pp5 - c/p into selection - deselect - place under frame
Open tube close up - resize by 50%
Place so that is inside frame
Xero - porcelain - change blue channel to 0 - hit ok
Change blend mode to luminance (L)
Add drop shadow to your frame
Open champagne bucket - resize by 50% - place to bottom - mirror
Add drop shadow
Open mask - place to the right - drop shadow
Open feather 2 - place to bottom right - drop shadow
Oepn stars - place to the right - drops shadow
Open full tube - resize by 75% - place to right
Xero - porcelain - same settings as above
Add drop shadow to your tube
On background layer
Click on background with magic wand - new layer
Open paper4 - c/p into selection - deselect
Layers - New mask layer - From Image
Find your mask in source window - hit ok
Merge group
Open swirl - place to the top - drop shadow
Open leaf - place to right - duplicate - mirror - merge down
Drop shadow
Open glitter ball - bottom right - duplicate - mirror - drop shadow
Delete background layer - merge visible
Adjust - sharpen - sharpen more
Add credits and name


*click on image to view full size*
PTU Happy New Year To You
This tutorial was written by me on December 28, 2013.
It was made out of my own creation and any similarity is purely coincidental.
I used pspx5 but any version should work without problems.
If you're doing this tutorial you must have good psp knowledge and be familiar with the tools.
Let's get started!
Artist: Sheila by Di Halim
Scrapkit: 321 New Year by Scrappin Krazy Designs
Mask: Halftone 8 by Dangerously Deliciously Designs
Plugins: Xero radiance and porcelain
Font: Plaster of Paris
*open your mask and minimize in your workspace*
File - New - 700x700 - flood fill w white
Open frame (ele 15) resize by 80%
Open tube close up - c/p as new layer - place so face is inside frame
Click inside frame w magic wand - expand by 5 - new layer
Open pp12 - c/p into selection - move paper under tube close up
On tube layer - selections - invert - delete - deselect
Xero - Radiance - hit ok
Change blend mode to screen - opacity to 57 - duplicate tube
On duplicate - adjust - blur - gaussian blur - 3 hit ok
Change layer opacity to 100
Add drop shadow to your frame
Open 36 - resize by 50% - place to bottom right
Open 38 - place to left - duplicate - place to right - merge down - drop shadow
Open 54 - resize by 50% - place to bottom right - rotate to right w deform tool
Add drop shadow
Open 33 - place to bottom left
Open full tube - resize by 50% - place to the bottom
Xero - porcelain - change blue channel to 0 - hit ok
Add drop shadow to your tube
On background layer
Click on background with magic wand - new layer
Open paper of choice - c/p into selection - deselect
Layers - New mask layer - From Image
Find your mask in source window - hit ok
Merge group
Open 32 - move to left some
Open 30 - place to the bottom
Delete background layer - merge visible
I cropped my tag some
Add credits and name
Tuesday, January 15, 2013
Welcome to the Wilma4Ever "New Year's Resolutions" Blog Train! Here's the Blogtrain Slideshow, check out all the gorgeous goodies everyone has made...
I made a blog layout for you all.
I hope you like it.

You can download it HERE.
Make sure you stop by the other stations. Great stuff from everyone.
Remember we're on different timezones so give us all time to get things out for you all.
Make sure to check out our January Contest, there are tons of prizes!

I made a blog layout for you all.
I hope you like it.

You can download it HERE.
Make sure you stop by the other stations. Great stuff from everyone.
Remember we're on different timezones so give us all time to get things out for you all.
Friday, December 28, 2012

Thursday, December 27, 2012
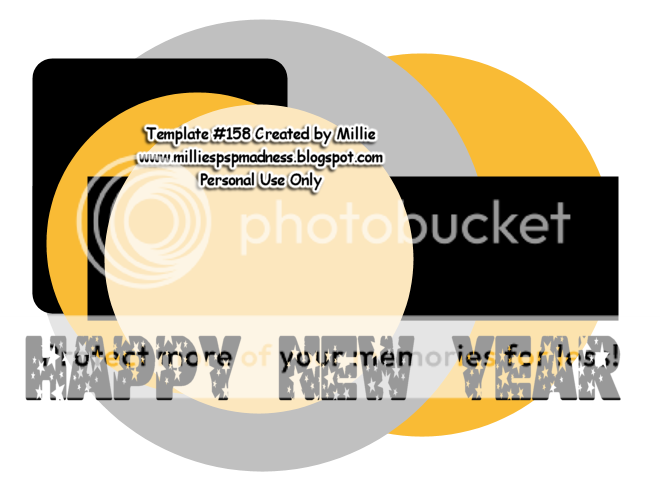
Here's another New Year's Template :)
Hope you like it and use it.
You can download it HERE
Thanks for stopping by!

*click on image to view full size*
FTU The New Year Is Here
This tutorial was written by me on December 27, 2012.
It was made out of my own creation and any similarity is purely coincidental.
I used pspx2 but any version should work without problems.
Let's get started!
Artist: Arthur Crowe
Scrapkit: Happy New Year by Gimptastic Scraps
Plugins: Xero - Radiance
Font: Beautiful ES
File - new - 700x700 flood fill w white, rename background
Open frame 3, c/p as new layer
Open paper 6, c/p as new layer, place under frame layer
Open tube close up, c/p as new layer, place to the left
Click inside left square in frame, expand by 5, on tube layer, invert, delete, deselect
c/p tube close up as new layer, mirror, place to the right
Click inside right square in frame, expand by 5, on tube layer, invert, delete, deselect
Click inside both squares in the frame, go on paper layer, invert, delete, deselect
Merge tubes together, xero - radiance, change blend mode to luminance (L)
Add drop shadow to frame, close background, merge visible, open bckground back up
Open mask, resize by 50%, sharpenc/p as new layer, place to the top left of frame
Open feather2, resize by 80%, c/p as new layer, place to the left, duplicate, mirror
Open glitter ball, resize by 80%, sharpen, c/p as new layer, place to left, above background layer
Duplicate, mirror
With your text tool and Beautiful ES font, change background to any gold pattern
write "The new year is here", selections all, float, defloat, new layer
Move new layer under writing, expand by 2, flood fill w black, deselect
Merge gold down to black lettering and add drop shadow 2 -2 75 10 black
Crop your tag, delete background layer, merge visible, add credits and name
Thanks for trying my tutorial :)
Wednesday, December 26, 2012


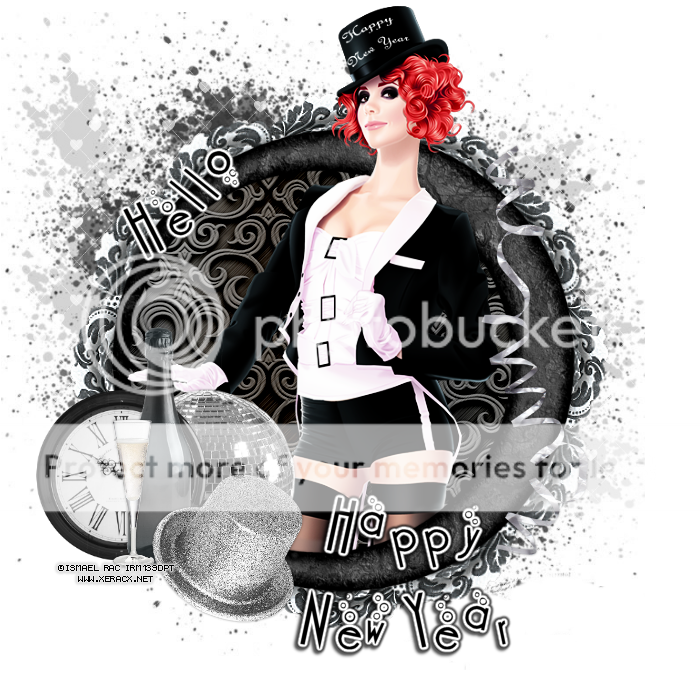
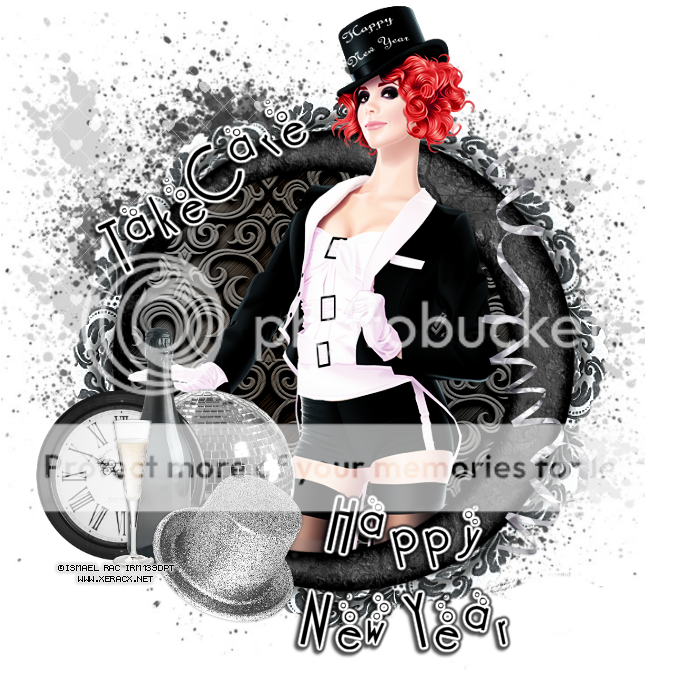


Tuesday, December 25, 2012

*click on image to view full size*
FTU New Year's After Party
This tutorial was written by me on December 25, 2012.
It was made out of my own creation and any similarity is purely coincidental.
I used pspx2 but any version should work without problems.
Let's get started!
Artist: Tony Tzanoukakis
Scrapkit: 2013 After Party by Tasha's Playground
Template: #157 by me HERE
Plugins: xero - porcelain, clarify, fritilary, radiance
Font: I used Ambiance
*drop shadow of 1 -1 60 5 black throughout unless noted*
Open your template, duplicate, close original
Delete cr layer, go to background, make visible
canvas 800x800 flood fill w white
Go to layer 1, selections all, float, defloat
Open paper2, c/p as new layer, invert, delete, deselect
Add drop shadow to layer 2
Merge layer 4 down to layer 3
Open your tube, c/p as new layer, place to the right
Make sure the face fits inside circle, mirror, merge down
Click inside circles w magic wand, new layer
flood fill w a gradient (i used both pinks from template as my fg and bg)
on tube layer, invert, delete, invert
New layer, selections, modify, select selections borders
both sides, anti-atlas, width 2, hit ok, flood fill w light gray
Add noise, uniform, 100, deselect
Back on tube layer, xero - radiance, change blend to screen
Merge tube down to gradient, merge border down to tube
Open discoball, resize by 80%, sharpen, c/p as new layer
Go on layer 5, open ciyscape, resize by 80%, sharpen, c/p as new layer
Duplicate, change blend to screen on duplicate, change opacity to 68 on original
Go to background layer, open fireworks2, c/p as new layer, place to the left
Duplicate, mirror, merge down
Go to layer 6, selections all, float, defloat
Open paper5, c/p as new layer, invert, delete, deselect
Go to layer 7, selections all, float, defloat, new layer
flood fill w gradient, xero - fritilary w these settings
granularity 4, aggression 30, tesselation 82, variation 96, hit ok, deselect
Go to layer 8, c/p your tube as new layer, place down and to left
Face inside of square, duplicate, mirror, merge down
With magic wand click inside both squares in layer 8
On tube layer, invert, delete, deselect
xero - radiance, change blend mode to screen
Open frame1, c/p as new layer, with deform tool resize a little so its the same size as squares
Open bow, resize by 50%, sharpen, c/p as new layer, place to left
With deform tool, rotate down some, duplicate, mirror
Drop shadow on layer 9
Open party pass, resize by 50%, c/p as new layer, rotate to the left w deform tool
Open glitter spray, c/p as new layer, place to the bottom
Layer 10, eye candy - gradient glow, width 3, Fat, click ok
Open wordart, resize by 50%, sharpen, c/p as new layer, place to the right
Add gradient glow same as above
Open your tube, resize it to fit your tag
Effects, xero, porcelain - change blue channel to 0
Xero - clarity (default)
Crop your tag, delete your background layer, merge visible, resize to 700 on longest side
Add your credits and your name!
Thanks for trying my tutorial :)
Merry Christmas everyone who celebrates and Happy Holidays for the rest!
I hope you enjoy your time with your family and get everything that you want!
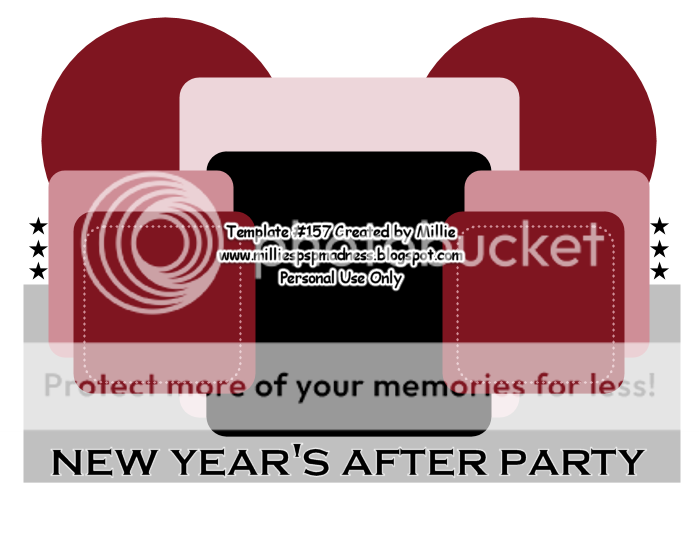
Here's a template for you guys for New Years and a tutorial coming soon after!
You can download it HERE
I'm going out of town for a week and have left scheduled goodies for you all.
There will be at least one post each day.
Make sure you stop by and grab them everyday if you like :)
Last but not least thank you all so much for the continued support!
I appreciate it so much that everyone keeps coming back for my stuff.
It really makes my day and keeps me wanting to make more!
Thank You from the bottom of my heart! xo
Subscribe to:
Posts
(Atom)