


Saturday, June 15, 2013
Welcome to the Creative Crazy Scraps Blogtrain!
This month's theme is Gothic Kisses!
Here is my part!
You can download it HERE
Stu with:CreativeCrazyScraps
Alyson with: Tyger's Tidbits
Jessica with: Gothic Inspirations
Always with: Always Creations
Twyzted with: Twyzted Playground
Anna with: Annaz Attic
Millie with: Millies Psp Madness
Danielle with:Scraps By Danielle
Kate with:Irish Princess Designs
Kaci with: Scrappin Krazy Designs
Becca with: Designz By Baby Dragon
Nikki with: Killer Kitty Killer Kreations
Kelly with:Kizzed By Kelz

Friday, June 14, 2013
Welcome to the Fantastically Free Blog Train
Here is my part of the train!
You can download them HERE

**********************
*click on image to view full size*
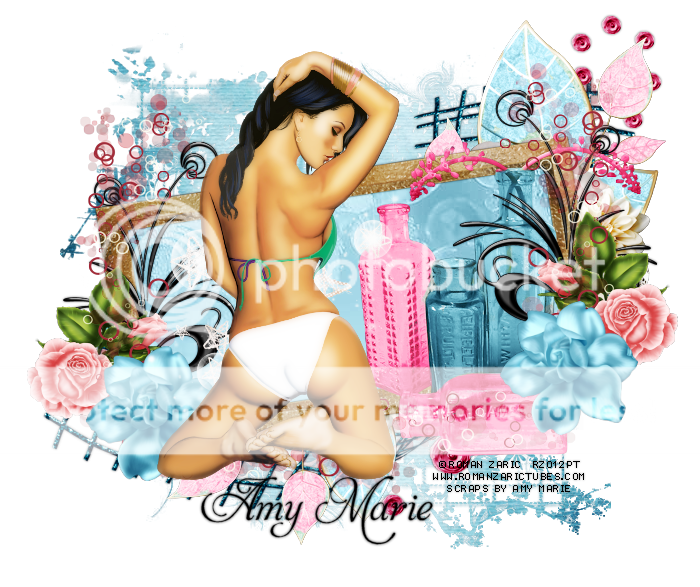
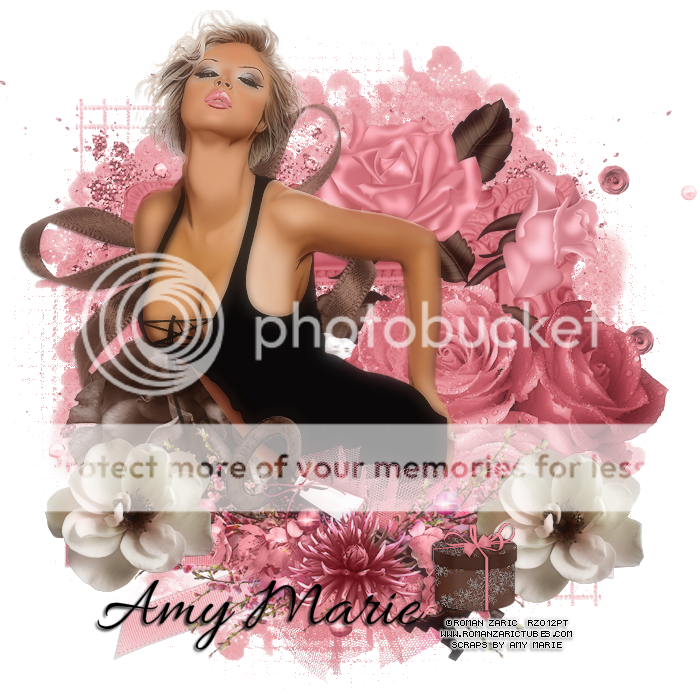
PTU Sweet CaScade
This tutorial was written by me on June 14, 2013.
It was made out of my own creation and any similarity is purely coincidental.
I used pspx5 but any version should work without problems.
If you're doing this tutorial you must have good psp knowledge and be familiar with the tools.
Let's get started!
Artist: Modesty by Roman Zaric
Scrapkit: Cascade by Amy Marie
Mask: any mask from moonbeams and spiderwebs
Font: Aphrodite
*open your mask and minimize it in your workspace*
File - New - 700x700 - fill with white - rename background
Open 69 - resize by 85% - sharpen - c/p as new layer
Click your frame w magic wand - expand by 5 - new layer
Open paper5 - c/p into selection - deselect
Move paper under frame - add drop shadow to frame
Open 28 - c/p as new layer - place to right
Open 78 - c/p as new layer - place to right
Open 59 - c/p as new layer - place to right
Open 103 - c/p as new layer
Place to bottom right of frame - duplicate - place to bottom left of frame
Image - flip horizontal - merge down
Open 94 - resize by 50% - sharpen - c/p as new layer - place to right
duplicate - place to left - flip horizontal
Open 109 - resize by 50% - sharpen - c/p as new layer
Place to bottom right of frame - duplicate - place to bottom left of frame
Open 83 - resize by 50% - sharpen - c/p as new layer
Place to bottom right of frame - duplicate - place to bottom left of frame
On background layer
Click on background with magic wand - new layer
Open paper12 - c/p into selection
Layers - New mask layer - From Image
Find your mask in source window - hit ok
Merge group
Open 49 - c/p as new layer - place to the right
Delete background layer - merge visible - duplicate
change blend to overlay - change opacity to 51 - merge down
Add credits and name
Thursday, June 13, 2013

*click on image to view full size*
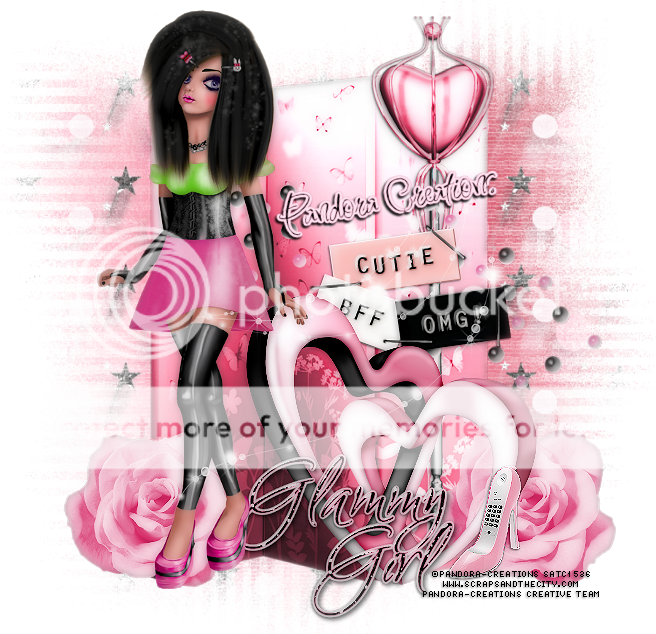
PTU When You Believe
This tutorial was written by me on June 13, 2013.
It was made out of my own creation and any similarity is purely coincidental.
I used pspx5 but any version should work without problems.
If you're doing this tutorial you must have good psp knowledge and be familiar with the tools.
Let's get started!
Artist: Alex Prihodko
Scrapkit: Fairy Dusk by Amy Marie
Mask: mb and sw mask 14
Plugins: Xero - Porcelain
Font: BlackJack
*open your mask and minimize it in your workspace*
File - New - 700x700 - fill with white - rename background
Open 92 - resize by 80% - sharpen - c/p as new layer
Open 85 - c/p as new layer - place to top
Open 110 - c/p as new layer - place to the right
Open 120 - c/p as new layer - place to bottom
Open 119 - c/p as new layer - place to left
Open 102 - c/p as new layer - place to bottom left
Open 116 - c/p as new layer - place to the right
Open 112 - resize by 85% - c/p as new layer
place to left - duplicate - place to right
OPen 61 - c/p as new layer - place to bottom right
Open tube - resize to fit your tag - c/p as new layer
Xero - porcelain - blue channel to 0 - hit ok
Click on background with magic wand - new layer
Open paper15 - c/p into selection
Layers - New mask layer - From Image
Find your mask in source window - hit ok
Merge group
Delete background layer - merge visible - add credits and name
Wednesday, June 12, 2013
*click on image to view full size*
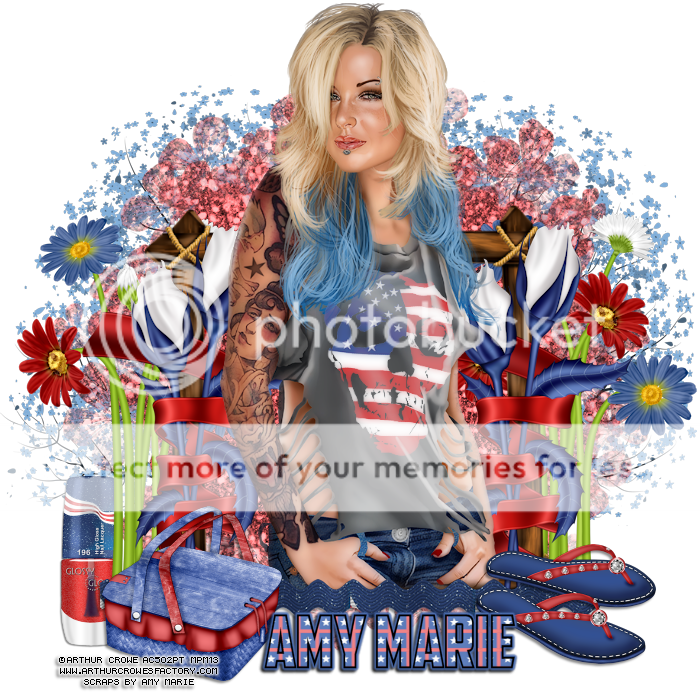
PTU 4th Of July Picnic
This tutorial was written by me on June 12, 2013.
It was made out of my own creation and any similarity is purely coincidental.
I used pspx5 but any version should work without problems.
If you're doing this tutorial you must have good psp knowledge and be familiar with the tools.
Let's get started!
Artist: Arthur Crowe
Scrapkit: Rockin' USA by Amy Marie
Plugins: Xero - Porcelain
Font: American Captain
*open your mask and minimize it in your workspace*
File - New - 700x700 - fill with white - rename background
Open 134 - resize by 85% - sharpen - c/p as new layer
Open 95 - c/p as new layer - place to the right
Duplicate - place to the left
Open half tube - resize to fit tag - c/p as new layer
Xero - porcelain - change blue channel to 0 - hit ok
Duplicate tube - change blend to screen - change opacity to 38
Open 93 - c/p as new layer - place to the bottom
Open 76 - resize by 50% - sharpen - c/p as new layer - place to left
Open 79 - resize by 50% - sharpen - c/p as new layer - place to right
On background
Open 36 - c/p as new layer - place to right - duplicate - move to left
Open 33 - c/p as new layer
Open 97 - resize by 50% - sharpen - c/p as new layer - place to left
Open 107 - c/p as new layer - place to the right - duplicate - place to left
Delete background - merge visible - add credits and name


This tag was made with American Muscle
I also used the matching kit made by Rissa's Designs
Here are some snags for you all.
Click on image to save full size.


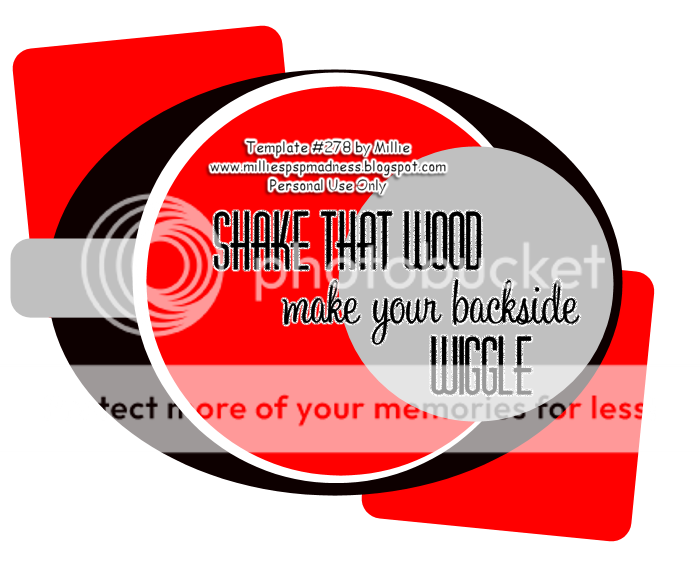
*click on image to view full size*
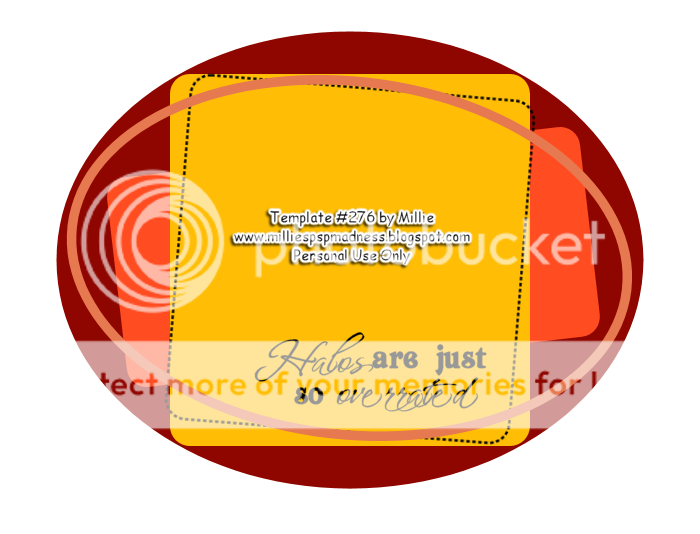
PTU Halos are Overrated
This tutorial was written by me on June 12, 2013.
It was made out of my own creation and any similarity is purely coincidental.
I used pspx5 but any version should work without problems.
If you're doing this tutorial you must have good psp knowledge and be familiar with the tools.
Let's get started!
Artist: Darthell
Scrapkit: Burning Halo by Gimptastic Scraps
Template: 276 by me you can grab HERE
Mask: DBV mask 104
Plugins: Eye Candy - Gradient Glow
Font: Inspiration
*open your mask and minimize it in your workspace*
Open template 276 - duplicate - close original
Make background visible - delete cr layer
Click on layer 1 with magic wand
Selections - modify - smooth selection
Smooth amount 10 Anti-Atlas checked - hit ok
Open paper5 - c/p into selelction - deselect - add drop shadow
Click on layer 2 with magic wand
Selections - modify - smooth selection
Smooth amount 10 Anti-Atlas checked - hit ok
Open paper4 - c/p into selelction - deselect - add drop shadow
Click on layer 3 with magic wand
Selections - modify - smooth selection
Smooth amount 10 Anti-Atlas checked - hit ok
Open paper6 - c/p into selelction - deselect - add drop shadow
Open tube close-up - c/p as new layer - place to left some
Change opacity of tube to screen
Go to layer 1 - click in it w magic wand
Go back to tube closeup layer - invert - delete - deselect - duplicate
Open symbol - c/p as new layer - place to the right
Open skull ring - resize by 50% - sharpen - c/p as new layer
Place to the right
Add drop shadow to layer 4
Open smoke - c/p as new layer - place to the bottom
Go to layer 1 - click in it w magic wand
Go back to smoke layer - invert - delete - deselect
Layer 5 - change blend mode to overlay - add drop shadow
Open ghost satan - resize by 85% - c/p as new layer
Open heart - c/p as new layer - place down some
Open full tube - c/p as new layer - resize to fit your tag - place in middle
Open web - c/p as new layer - place to right
Layer 6
Eye candy - gradient glow w these settings:
(Basic) glow width 3 - soft corners 25 - overall opacity 100
draw only outside selection checked
(Color) Fat - hit ok
Add drop shadow
On background layer
Click on background with magic wand - new layer
Open paper1 - c/p into selection
Layers - New mask layer - From Image
Find your mask in source window - hit ok
Merge group
Delete background layer - merge visible - add credits and name
Spend just 10$ you spend (After Sales & Discounts) You can choose a Bonus Tube from the past.
If you want the new June bonus you spend 10$ in one receipt after sales and discounts.
If you want June bonus AND one from the bonanza you must spend 20$ in one receipt. If you want 3 then its 30$ and so on.
Spend 10$ is one receipt (after sales or discounts) and send it to CS to get this tube and kit for free. xeracxcustomercare@gmail.com
Receipts must be dated from 6/10/2013 through 7/5/2013. GC's are not accepted as a form of payment. Must be store or paypal receipt. Comes with matching scrap kit. IF YOU SPEND 10$ AND WANT THIS TUBE YOU MUST SPEND ANOTHER 10$ AFTER SALES OR DISCOUNTS TO GET A TUBE FROM THE BONUS BONANZA
AND WE HAVE MORE FOR YOU
We have a 30% off sale going on now till 6/17/2013. *Excludes GC's and Blog License*
Plus Even More
From 5/27/13 till 6/17/13 spend 10$ in one receipt after sales or discounts and email cs with your receipt and you will get collab party free.
"Tubes not included with collab!"
*Yes you can have both the bonus tube and the collab party with the same 10$ purchase, as long as its in one receipt and in the dates*

NEW BONUS

Monday, June 10, 2013
*click on image to view full size*
PTU Just Classic
This tutorial was written by me on June 10, 2013.
It was made out of my own creation and any similarity is purely coincidental.
I used pspx5 but any version should work without problems.
If you're doing this tutorial you must have good psp knowledge and be familiar with the tools.
Let's get started!
Artist: Belinda by Roman Zaric
Scrapkit: Classic Beauty by Amy Marie's Kits
Mask: MB and SW Mask 45
Plugins: Xero - Porcelain
Font: Allura
*open your mask and minimize it in your workspace*
File - New - 700x700 - fill with white - rename background
Open 40 - resize by 85% - c/p as new layer
Open 42 - c/p s new layer - place to left
Open 26 - c/p as new layer - place to right
Open 32 - c/p as new layer - place to left
Open 50 - c/p as new layer - place to top left
Open half tube - resize by 65% - c/p as new layer - move to left some
Xero - porcelain - change blue channel to 0
Open 7 - c/p as new layer - place to cover tubes' legs
Open 82 - c/p as new layer - place to bottom
Open 2 - resize by 60% - c/p as new layer - place to left - duplicate - place right
Open 78 - resize by 50% x2 - sharpen - c/p as new layer
place to bottom right
On background
Click on background with magic wand - new layer
Open paper2 - c/p into selection
Layers - New mask layer - From Image
Find your mask in source window - hit ok
Merge group
Open 35 - c/p as new layer - place to top right
Delete background - merge visible - add credits and name


This tag was made with Celine Art
I used PTU Classic Beauty kit by Amy Marie
I made some snags for you all.
Click on the image so you can save full size!


Saturday, June 8, 2013


Subscribe to:
Posts
(Atom)


