


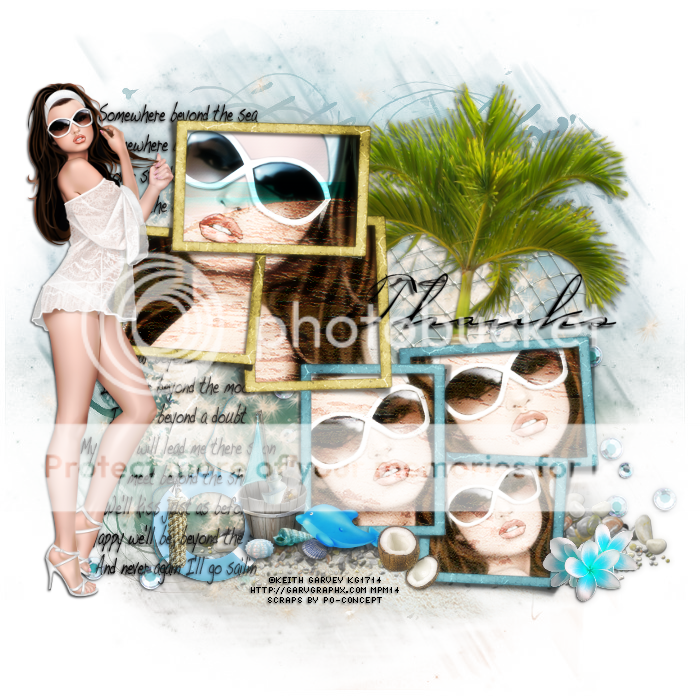
Monday, March 31, 2014

This tag was made with awesome work of Keith Garvey
I used PTU Blue Bay Kit by PO-Concept
Find it in PFD HERE
I made some snags!
I hope you can use them!
Please do not alter these in any way!
Thanks.


*click on image to view full size*
PTU Game Over
This tutorial was written by me on March 31, 2014.
It was made out of my own creation and any similarity is purely coincidental.
I used pspx5 but any version should work without problems.
If you're doing this tutorial you must have good psp knowledge and be familiar with the tools.
Let's get started!
Artist: Gamer Girl by Arthur Crowe
Scrapkit: Get Your Geek On by Candy's Treats
Font: Prestige Elite Std
*open your mask and minimize in your workspace*
File - New - 750x700 - flood fill w white
Open BG2 - place to top right - duplicate - mirror
Merge down and drop shadow
Open BG1 - place to the left - duplicate
Place to the right
Open scatter 6 - place to the bottom
Open circle 3 - click inside circle w magic wand - expand by 3 - new layer
Open pp10 - copy and paste into selection
Drop shadow your frame
Open glasses1 - place to the left - rotate - drop shadow
Open notepad - resize by 50% - place to the right - rotate - drop shadow
Open tube - resize to fit your tag
Xero - porcelain - default setting - drop shadow
Open scatter 2 - place down some - drop shadow
Open wasabi tape 1 - place to bottom right - drop shadow
Open star 3 - place to the bottom left - drop shadow
Open books - place to the right - drop shadow
Open controllers - resize by 50% - place to bottom right - rotate - drop shadow
Open WA12B - place to bottom right - drop shadow
Delete background - merge visible
Add credits and name
Sunday, March 30, 2014
Mask 29

Mask 30


*click on image to view full size*
PTU So Easterific
This tutorial was written by me on March 30, 2014.
It was made out of my own creation and any similarity is purely coincidental.
I used pspx5 but any version should work without problems.
If you're doing this tutorial you must have good psp knowledge and be familiar with the tools.
Let's get started!
Artist: Elias Chatzoudis
Scrapkit: Easterific by Gimptastic Scraps
Mask: 84 by WSL
Font: the NautiGal
*open your mask and minimize in your workspace*
File - New - 800x800 - flood fill w white
Open frame 6 - resize by 80% - c/p as new layer
Click inside your frame w magic wand - expand by 5 - new layer
Open paper1 - c/p into selection - deselect
Move paper under frame
Add drop shadow to the frame
Open tube - place to your liking - add drop shadow
Open leaf1 - resize by 50% - place to the right
Duplicate - mirror - merge down - drop shadow
Open grass - place to bottom - drop shadow
Open chocolate egg - resize by 50% - place to bottom right
Add drop shadow
Open chick - resize by 50% - place to bottom right
Rotate to the right some - add drop shadow
Open EggPlant - resize by 50% - place to left - rotate to left some
Add drop shadow
Open wordart - place to bottom and add drop shadow
On background
Click on background with magic wand - new layer
Open paper4 - c/p into selection - deselect
Layers - New mask layer - From Image
Find your mask in source window - hit ok
Merge group
Open scatter - bottom right
Open sign - resize by 50% - place to the top right
drop shadow
Open fence - resize by 85% - place to the right
duplicate - mirror - merge down - drop shadow
Open butterfly - resize by 50% - rotate to the right - place to left
Add drop shadow
Delete background - merge visible
Crop and resize your tag to liking
Add credits and name
Saturday, March 29, 2014


Friday, March 28, 2014


Thursday, March 27, 2014

*click on image to view full size*
PTU Flowery Plum
This tutorial was written by me on March 27, 2014.
It was made out of my own creation and any similarity is purely coincidental.
I used pspx5 but any version should work without problems.
If you're doing this tutorial you must have good psp knowledge and be familiar with the tools.
Let's get started!
Artist: Lizea by Chris Pastel
Scrapkit: Dramatic Plum by Sweet Occassion Designs
Find this kit in Heartbeatz Creationz
Mask: 27 by me HERE
Plugins: Penta - Jeans, Lokas - 3D Shadow
Font: Vivaldi
*open your mask and minimize in your workspace*
File - New - 700x700 - flood fill w white
Open fancy frame 4 - c/p as new layer
Click inside your frame w magic wand - expand by 5 - new layer
Open paper of choice - c/p into selection - deselect
Move paper under frame
On paper go to effects - Penta - Jeans
Amount: 104
Border Width: 10
Hit OK
On frame go to Lokas - 3d Shadow
Use following settings:
Blur: 25
Transparency: 70
Angle X: 0
Angle Y: 0
Angle Z: 0
Zoom: 100
Offset X: 5
Offset Y: 5
Perspective: 40
Color: Black
Hit ok
Merge frame down to paper
Duplicate - merged layer
Resize by 50% - mirror - flip - place to top left
duplicate and place to bottom some
Butterfly scatter 1 - resize by 50% 2x
Place to the right
Open pom flowers - resze by 50% 2x sharpen
Add drop shadow and place to right
Open rose2 - resize by 50% - place to right
Open tube - resize to fit your tag
Drop shadow
Open tulips 3 - resize by 50% 2x - shapen
Place to the bottom left
Open petunias1 - resize by 50% 2x - sharpen
Place to bottom and left
Duplicate and move up and left some
Add drop shadow to both - merge down
duplicate - mirror
ON background layer
Click on background with magic wand - new layer
Open paper12 - c/p into selection - deselect
Layers - New mask layer - From Image
Find your mask in source window - hit ok
Merge group
Open doodle 3 - place to the right - drop shadow
Open swirl 1 - resize by 50% - place to the left
duplicate - mirror - merge down
Open iris 1 - resize by 50% - place to top left
Drop shadow
Delete background layer - merge visible
Duplicate merged layer
Adjust - blur - gaussian blur 3.00 - hit ok
Change blend mode to screen - change opacity to 50
Merge down
Adjust sharpen
Add credits and name
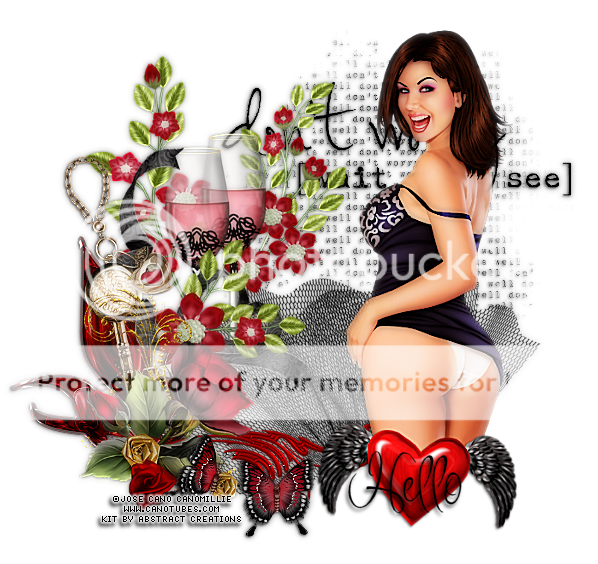
Tuesday, March 25, 2014


This tag was made w lovely work from Jose Cano
You can grab her HERE
I used PTU IB-Janesko 22-1 by Abstract Creations
You can find it HERE
Made some snags for you all.
You can grab them below by clicking on image to save full-sized!
Thanks for stopping by!


*click on image to view full size*
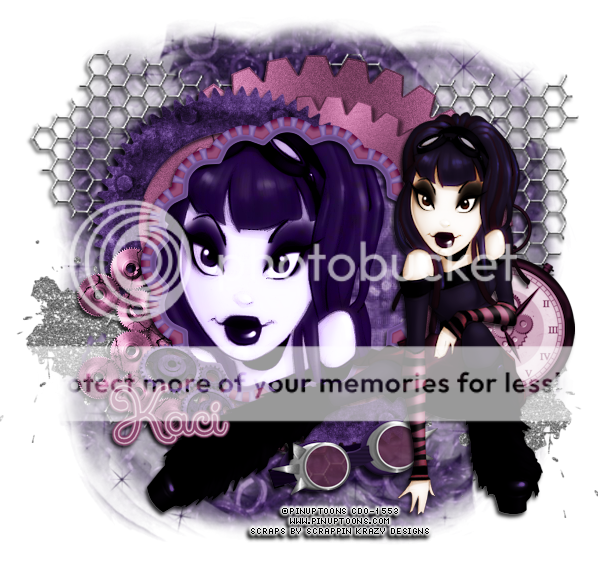
PTU Steampunk Dreams
This tutorial was written by me on March 25, 2014.
It was made out of my own creation and any similarity is purely coincidental.
I used pspx5 but any version should work without problems.
If you're doing this tutorial you must have good psp knowledge and be familiar with the tools.
Let's get started!
Artist: Pinuptoons
Scrapkit: Lavender Steampunk by Scrappin Krazy Designs
Mask: 147 by DBV
Font: Xiomara
*open your mask and minimize in your workspace*
File - New - 700x700 - flood fill w white
Click on background with magic wand - new layer
Open paper13 - c/p into selection - deselect
Layers - New mask layer - From Image
Find your mask in source window - hit ok
Merge group
Resize mask by 75%
Open 60 - place to bottom right
Duplicate - place to left and up some
Open 59 - c/p as new layer - drop shadow
Open 6 - place to right some - drop shadow
Open 19 - resize by 50% - sharpen - place to right - drop shadow
Open 5 - place to the left some - drop shadow
Open 17 - place to bottom left - resize by 50% - sharpen - drop shadow
Open 61 - resize by 50% - c/p as new layer
Open paper12 - c/p as new layer - move under frame
Open tube close up - c/p as new layer
Place face so its inside frame
Click on frame w magic wand - expand by 10
On tube layer - invert - delete - invert
Xero - radiance - default settings
On paper settings - invert - delete - deselect
Add drop shadow to the frame
Open 35 - resize by 50% - place to bottom right - drop shadow
Open 16 - resize by 50% 2x - sharpen - place to bottom left - drop shadow
Open full tube - resize by 80% - place to right some
Xero - radiance - default settings - hit ok
Drop shadow to your tube
Crop your tag to your liking
Delete background layer - merge visible
Add credits and name
Saturday, March 22, 2014

This tag was made with fabulous commissioned tube by Arthur Crowe
She rocks so much and I'm so happy to show her off!
I used "Dangerous Curves" scrapkit by Kizzed by Kelz
She made it to match it but can be used with so many gansta/mafia style tubes!
It is just awesome.
You can find it HERE

This tag was also made with same tube and kit!
Template 550

You can download it HERE
Friday, March 21, 2014


*click on image to view full size*
PTU Let's Get This Party Started
This tutorial was written by me on March 21, 2014.
It was made out of my own creation and any similarity is purely coincidental.
I used pspx5 but any version should work without problems.
If you're doing this tutorial you must have good psp knowledge and be familiar with the tools.
Let's get started!
Artist: Beautiful Strawberry Toon by Arthur Crowe
Scrapkit: Kiss This by Scrappin Krazy Designs
Mask: Vix Mask 382
Plugin: Xero - Porcelain
Font: Immpervious
*open your mask and minimize in your workspace*
File - New - 800x800 - flood fill w white
Open 52 - resize by 75% - sharpen - c/p as new layer
Click inside your frame w magic wand - expand by 5 - new layer
Open paper5 - c/p into selection - deselect
Move paper under frame
Add drop shadow to your frame
Open 59 - resize by 70% - sharpen - rotate and add drop shadow
Open 58 - resize by 50% - sharpen - place to top left - drop shadow
Open 60 - resize by 75% - place to bottom left - drop shadow
Open tube - resize to fit your tag - place to the right
Xero - porcelain - change blue channel to 0 - hit ok
Drop shadow tube
Open 45 - c/p as new layer
On background layer
Click on background with magic wand - new layer
Open paper3 - c/p into selection - deselect
Layers - New mask layer - From Image
Find your mask in source window - hit ok
Merge group
Move mask to left and up - duplicate and place bottom right
Open 65 - resize by 80% - sharpen - place to the left and rotate left
Duplicate - mirror - flip - add drop shadow to both
Open 66 - place to the bottom - drop shadow
Delete background - merge visible - crop your tag
Add credits and name
Thursday, March 20, 2014


Wednesday, March 19, 2014
This tag was made w artwork by Keith Garvey
I used PTU Butterfly Kisses by Kizzed by Kelz
You can find it HERE
Made some snags for all.
Please do not alter!
Thank you!


Made some more masks :)
I hope you can use and enjoy them!
Mask 27

Mask 28

Thanks for stopping by!

This tag was made with awesome "Candy" tube by Jose Cano
I used spankin' new "Spring Petals" kit by Bookworm Dezines
I also made some snags :)
Please do not alter in any way please.
Adding names to my snags is not allowed.
Please click on image to save full-sized.


Tuesday, March 18, 2014

This tag was made with fabulous "Spring" tube by Verymany
I used PTU "Fairy Garden" by Drama Bomb Designs
You can find it in PFD or Spazzed Art
Template 546

Download it HERE
Subscribe to:
Posts
(Atom)


