


Saturday, June 30, 2012

Celine - Simple
Any resemblance to any other tutorial is by pure
coincidence.
This was just a result of me sitting down with psp open and
writing down as I went.
I wanted to give tut writing a try.
Here's my first try be gentle on me. Please.
These techniques were learned along the way and I just hope
you can understand what I'm trying to say. LOL.
Thanks Candi for your help in testing and fixing what I missed! xo
You can visit her blog HERE
You can visit her blog HERE
Template: Scraps Rebellion Template 2
Mask: DBV mask 107 HERE
Tube: Celine tube from SATC
*you must have a license to use this tube*
Font: I used Establo
Filters: Penta - color dot and jeans
Xero - porcelain and filtilary
Preparation:
Open your template, mask, and tube in psp and minimize them.
Let's get started:
Maximize your template.
Ctrl + D to duplicate and close the original.
Image - Canvas Size - 600x600
Click on CR layer and delete.
Click on Background Layer and flood fill with white.
Change your foreground and background with colors that match
your tube.
New Layer - flood fill with foreground
Layers - new mask layer - from image *DBV MASK 107* (your mask should be minimized in psp
already)
Mask group merge.
Click on Picture Backing Layer
Select All - Float - Defloat - New Layer
Set your background to gradient
FG/BG angle 36, Repeats 3
Flood fill layer with gradient
Selections - None
C/P your tube as a new layer
Place to your liking
Effects - Xero - Porcelain - default (still on tube layer)
Drop shadow – 0, 0, 50, 5
Click on Picture Backing layer
Use your magic wand to click inside the square
Go to your tube layer
selections - invert
Delete
Selections - none
(still on tube layer)
Change blend mode to Luminance (L)
Opacity to 50
Duplicate tube layer and change blend mode to Screen
Go to the new picture back layer (this should be layer right
under tubes layer)
Effects - Texture Effects - Blinds
width 2, opacity 50, color white, horizontal and light from left
checked
Click on frame layer
Adjust - Add/Remove noise with settings below:
Random
50% noise
monochrome
drop shadow - same as above
Click on brackets layer
Select all - float - defloat - new raster layer
flood fill with gradient
Effects - Penta - color dot 255, 5, 255, 255
Inner Bevel - bevel: 2, width 5, smoothness 2, depth 2,
ambiance 2, shininess 2,
angle 315, intensity
50, elevation 30 color white
selections - none
drop shadow - same as above
click on brackets layer and delete
Click on circle layer
Select all - float - defloat - new raster layer
flood fill with gradient
Effects - Xero - Fritilary - 5, 30, 100, 73
selections - none
drop shadow - same as above
click circle layer and delete
Click on rectangles layer
Select all - float - defloat - new raster layer
flood fill with either foreground or background color your
choice
Effects - Penta - jeans 62, 4
select - none
drop shadow - same as above
click on the top layer of your image
copy and paste your tube as a new layer
resize it to your liking and place it where it fits best
close off tube layer, background, and mask layer
merge visible
make tube, mask and background visible again
with your pick tool rotate your merged layer a little bit
how you like best
delete background layer
merge visible
Add your name with these settings:
Font: Establo 36pt STroke 1 anti-atlas: smooth
drop shadow 2, -2, 75, 3
Add your copyright information
Save as a png.
Candi's Result

Friday, June 29, 2012
These extras/snags were made with the art of Ismael Rac.
I'm trying to get my mojo flowing lol. I hope you like them.
Please do not alter my tags.
Click on the image to make it bigger.
Thanks!


This tag was made with the artwork of Rhevskii.
You can find his tubes in PicsforDesign.
I used PTU scrapkit "Emotionally Yours" by Mystical Illusionz.
You can find her kit in SATC.
Used my new template 22 and you can get it HERE.

Thursday, June 28, 2012
These snags were made using my template #10 by the girls in TaggersTavern forum. Twylyght and KrazyK.
I wanted to show them off and they said it was ok to share. :)
Thank you so much girls.


You can get the rest here.
Wednesday, June 27, 2012

This tag was made with the work of Jose Cano.
You can purchase this tube in PTE.
I used PTU scrapkit "Patriotude" by Scrappin Krazy Designs
You can purchase it at O'Scrap Candy Shack store.
Made some snags to go with it.
Just click on the image to see it full-size.
Please do not alter snags in any way.
Thank you.


Monday, June 25, 2012

Hi everyone!
I did the "Let's Make Templates" blog challenge at misfits.
Temps above is what I came up with.
You can get these templates in the Creative Misfits Blog.
I hope you like them :)

Tag made with tube Inka from Batschi Poser-Design.
You can purchase her tubes from ThePSP Project for a limited time only since she's leaving psp land.
Good luck Batschi.
Thank you for giving me an oportunity to tag your work.
Hugs.
Also used my template 21.
You can download HERE.


Sunday, June 24, 2012

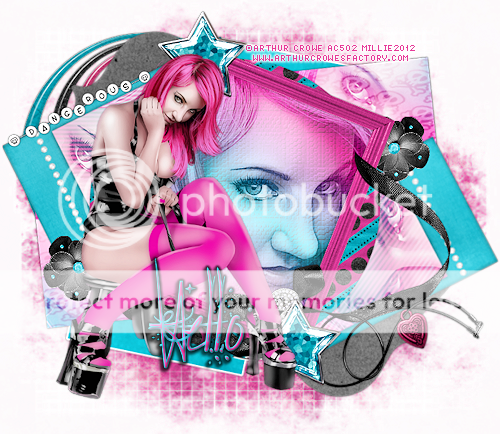
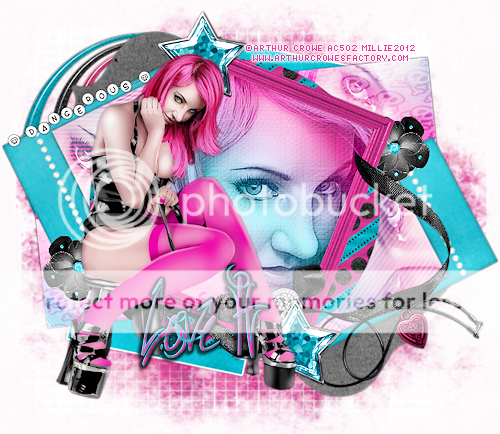
This tag was made with the work of Arthur Crowe.
You can buy his art at ArthurCrowe's Factory
Another tag where I used PTU Scrapkit "Emolicious" by Alika Scraps.
You can get it at O'Scrap Candy Shack store :)


Saturday, June 23, 2012

Tag was made with the artwork of Jennifer Janesko.
You can find her tubes in CDO.
The PTU scrapkit that I used is called "Forever Hearts" by ScrapsByDanielle.
You can find it in Scraps From The Heart
I used template 20 by me :)

You can download it HERE
*template fixed*

You can download it HERE

Made this tag using the artwork of Misticheskeya.
You can purchase this tube in SATC
I used PTU scrapkit "Eve's Garden" by Alika Scraps.
You can purchase it in O'Scrap Candy Shack
Made some snags with it.
Hope you like them.
*click on image to save full-size*


Friday, June 22, 2012

I hope ya like my new template :)
You can download it HERE
Here's what I did with it.
I used the art of KiwiFireStorm.
You can find his work in ThePSPProject

Thursday, June 21, 2012
A must have for any KiwiFireStorm fans. Be sure to grab this exclusive Prepaid Scarlett.
You can get her at ThePSPProject
You can get her at ThePSPProject


Coming soon!
This template will be uploaded soon to the
BikerSkunkTagz forum blog :)

This tag was made with the work of Arthur Crowe.
You can buy his art at ArthurCrowe's Factory
I used PTU Scrapkit "Emolicious" by Alika Scraps.
You can get it at O'Scrap Candy Shack store :)
Thanks for letting me work with this awesome kit.
Here are some snags you can use :)
*click on image to get full size*
The snags are smaller than the tag in full size.


Wednesday, June 20, 2012


This tag was made with the work of Ismael Rac.
You can purchase this tube in his store: XERACX Store
I used the PTU kit "Anonymous" from Mystical Illusionz.
You can purchase this awesome kit in SATC
I made some snags to go with it.
You can pick them up below.
Please dont change these in any way.
*Click on the image to save full-size.*


Subscribe to:
Posts
(Atom)


