


Showing posts with label Celinart. Show all posts
Showing posts with label Celinart. Show all posts
Sunday, December 9, 2018

Tag featuring artwork by Celineart.
I used "Talk Dirty" Kit by All Dolled Up
WORDART BELOW
Click on wordart to save in full-size!

Saturday, October 13, 2018

***HELP 4 CASPER***
Help for Casper is a fundraiser to help a young mother fighting for her life against Cancer.
All money raised goes to help her pay for costly Cancer treatments.
Tag featuring Celine Angelic Elegance
I used matching kit by Luscious Ladee
Template 860

You can download it HERE
PLEASE TAKE A MOMENT TO VISIT THE BREAST CANCER SITE AND HELP THOSE IN NEED GET MAMMOGRAMS. EACH AND EVERY CLICK HELPS THE FUNDING FOR THESE MAMMOGRAMS AND IS EXTREMELY IMPORTANT FOR EARLY DETECTION! SPREAD THE LOVE AND SHOW YOUR SUPPORT BY MAKING THAT CLICK TODAY AND EVERYDAY AFTER THAT. IT'S FREE AND ONLY TAKES A BRIEF MOMENT AND YOU ARE HELPING SAVE LIVES!
Monday, March 14, 2016

CT HAPPY PUMPKIN STUDIO
This tag was made with Morgane tube by Celineart Pinups
I matched it up with PTU Devilish Crimson Kit by Happy Pumpkin Studio
Here are some snags for you all.
Do not claim as your own or alter in any way!
Thanks for visiting my blog and please click each image to save in full-size!


Thursday, May 28, 2015


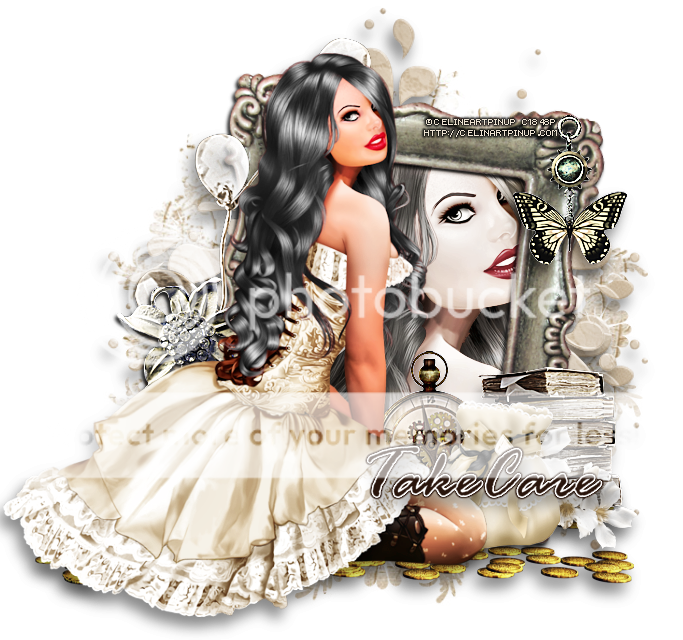


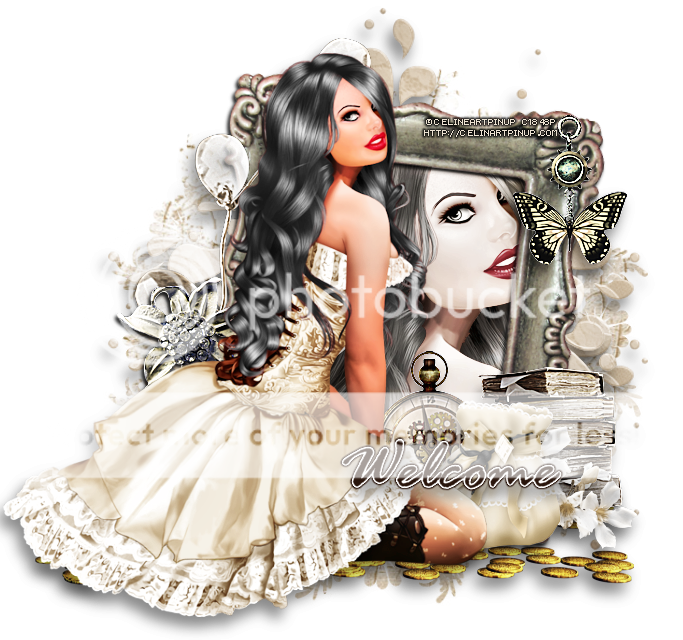

Tuesday, May 12, 2015


Thursday, April 30, 2015

This tag was made w beautiful Amy tube by Celinart Pinup
I used matching kit Sticky Sweet by Pink Paradox Productions

Template 751

You can download it HERE
Monday, April 27, 2015

This tag was made with artwork by Celinart Pinup
I used PTU Pink Paradox Kit made to match by Pink Paradox Productions

Template 749

Download it HERE
Sunday, April 26, 2015
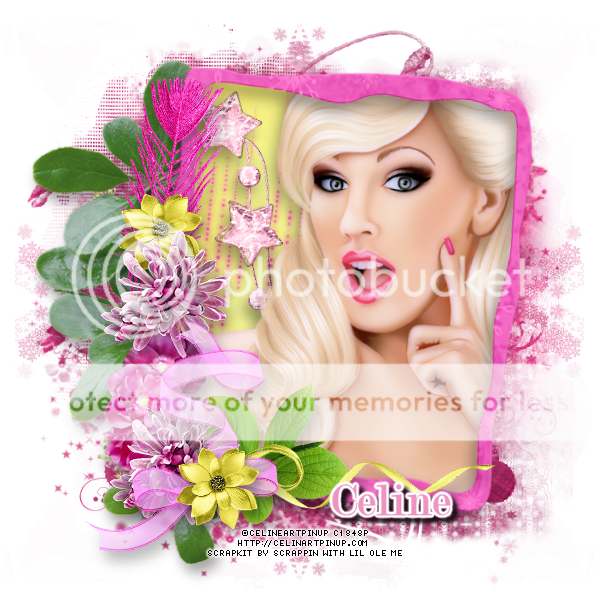
This tag was made with awesome work of Celinart Pinup
I used PTU Pink Lemonade Kit by Scrappin With Lil Ole Me

I made some snags you can enjoy!
Click each image to save full-sized!
Please dont alter in any way or claim as your own.
Please download from here.
Thanks!


Wednesday, March 25, 2015

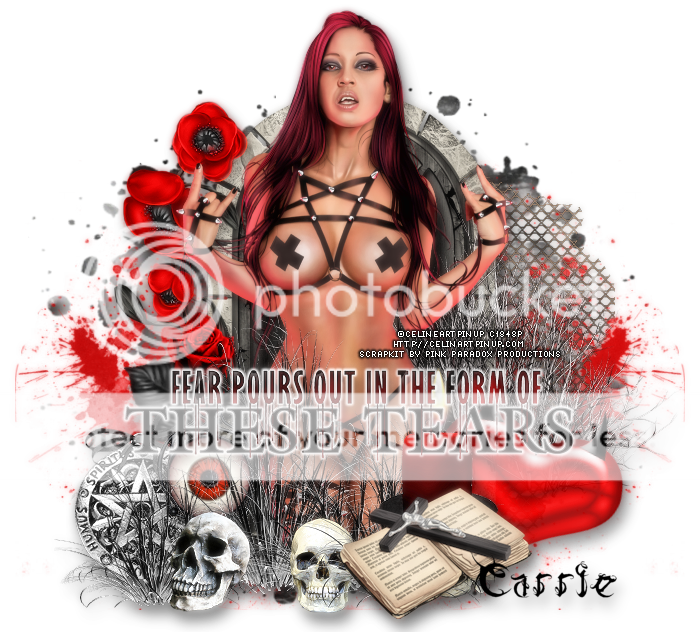
This tag was made with awesome Poison tube by Celinart Pinup
I used PTU Eternal Kiss Kit by Pink Paradox Productions

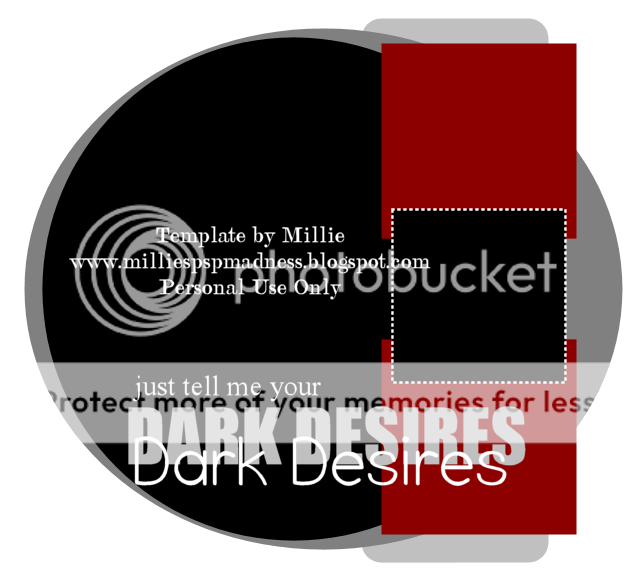
Template 745
You can download it HERE
Thursday, February 26, 2015
Tuesday, February 10, 2015


Saturday, August 17, 2013

*click on image to view full size*
FTU Angelical
This tutorial was written by me on August 17, 2013.
It was made out of my own creation and any similarity is purely coincidental.
I used pspx5 but any version should work without problems.
If you're doing this tutorial you must have good psp knowledge and be familiar with the tools.
Let's get started!
Artist: Angels by Celineart
Scrapkit: Fantasia by Chichi Designz
Mask: DBV 106 HERE
Plugins: Xero Porcelain
Font: Ambiance BT
*open mask and minimize it in your workspace*
File - New - 700x700 - flood fill w white
Open flower frame - c/p as new layer
Open sunray - c/p as new layer
Open lantern - resize by 70% - c/p as new layer
Place to the right
Open tube - resize by 85% - c/p as new layer
Place tube to the right some
Effects - xero - porcelain - change blue channel to 0 - hit ok
Open butterfly - resize by 50% 3x - sharpen
*if you used the same tube i'm using*
c/p as new layer and place it so it covers her right boobie
*if you didnt use the same tube i'm using*
c/p as new layer - place to the right
On background layer
Click on background with magic wand - new layer
Open paper - c/p into selection
Layers - New mask layer - From Image
Find your mask in source window - hit ok
Merge group
Open tag back - resize by 50% - c/p as new layer
Place to the left - rotate left w deform tool
Open leafs - c/p as new layer - place to the right
Open flower basket - c/p as new layer
Open flower swing - c/p as new layer
Place to left some
Delete background - merge visible
Duplicate - merged layer - change blend to screen - opacity to 57
Merge visible - add credits and name

Saturday, August 3, 2013

*click on image to view full size*
PTU Let's Party Tonite
This tutorial was written by me on August 3, 2013.
It was made out of my own creation and any similarity is purely coincidental.
I used pspx5 but any version should work without problems.
If you're doing this tutorial you must have good psp knowledge and be familiar with the tools.
Let's get started!
Artist: CelineArt
Scrapkit: Amy Mega Kit by Amy Marie's Kits
Font: Blackjack
*Open your mask and minimize it in your workspace*
File - New - 700x700 - flood fill w white
Open 82 - resize by 85% - c/p as new layer
duplicate - change blend to screen - merge down
click inside frame w magic wand - new layer
expand by 5 - open paper6 - c/p into selection - deselect
move paper under frame
Open 84 - c/p as new layer - place to bottom right
duplicate - place to top right - flip vertical - merge down
duplicate - flip horizontal - merge down
Open 81 - resize by 50% - sharpen - c/p as new layer
Place to the bottom left - duplicate - flip horizontal - place to right
merge down - duplicate - place to top of frame - flip vertical - merge down
Add drop shadow to merged flowers
Make your background layer invisible - merge visible
Duplicate - back on merged layer - free rotate to right by 36 degrees
duplicate - flip horizontal - merge visible
Make your background visible
On merged layer
Open 193 - c/p as new layer - place to the left
Open 179 - resize by 50% - sharpen - c/p as new layer
Place to the right
Open tube - resize to fit your tag - c/p as new layer
duplicate tube - change blend mode to soft light
change opacity to 50
Open 185 - c/p as new layer - place to the bottom
Open 177 - resize by 85% - c/p as new layer
Place to bottom of tube to cover her legs
Open 203 - c/p as new layer - place to the left
On background
Open 155 - c/p as new layer - place to top
Duplicate - place to bottom
Delete background layer - merge visible - add credits
Monday, June 10, 2013

This tag was made with Celine Art
I used PTU Classic Beauty kit by Amy Marie
I made some snags for you all.
Click on the image so you can save full size!


Saturday, June 30, 2012
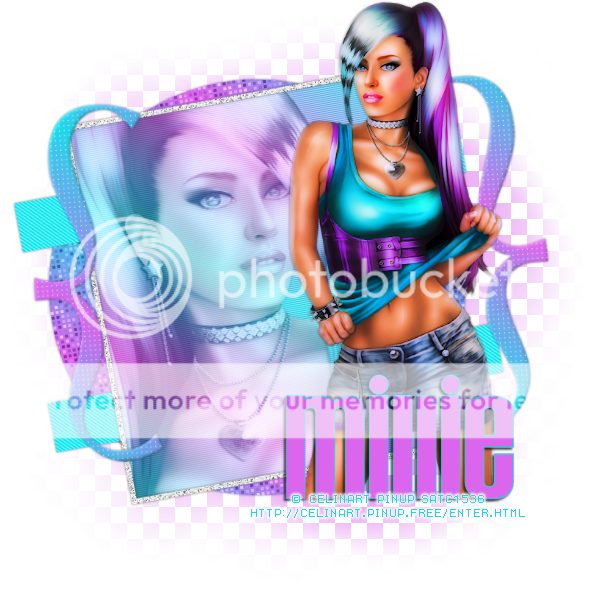
Celine - Simple
Any resemblance to any other tutorial is by pure
coincidence.
This was just a result of me sitting down with psp open and
writing down as I went.
I wanted to give tut writing a try.
Here's my first try be gentle on me. Please.
These techniques were learned along the way and I just hope
you can understand what I'm trying to say. LOL.
Thanks Candi for your help in testing and fixing what I missed! xo
You can visit her blog HERE
You can visit her blog HERE
Template: Scraps Rebellion Template 2
Mask: DBV mask 107 HERE
Tube: Celine tube from SATC
*you must have a license to use this tube*
Font: I used Establo
Filters: Penta - color dot and jeans
Xero - porcelain and filtilary
Preparation:
Open your template, mask, and tube in psp and minimize them.
Let's get started:
Maximize your template.
Ctrl + D to duplicate and close the original.
Image - Canvas Size - 600x600
Click on CR layer and delete.
Click on Background Layer and flood fill with white.
Change your foreground and background with colors that match
your tube.
New Layer - flood fill with foreground
Layers - new mask layer - from image *DBV MASK 107* (your mask should be minimized in psp
already)
Mask group merge.
Click on Picture Backing Layer
Select All - Float - Defloat - New Layer
Set your background to gradient
FG/BG angle 36, Repeats 3
Flood fill layer with gradient
Selections - None
C/P your tube as a new layer
Place to your liking
Effects - Xero - Porcelain - default (still on tube layer)
Drop shadow – 0, 0, 50, 5
Click on Picture Backing layer
Use your magic wand to click inside the square
Go to your tube layer
selections - invert
Delete
Selections - none
(still on tube layer)
Change blend mode to Luminance (L)
Opacity to 50
Duplicate tube layer and change blend mode to Screen
Go to the new picture back layer (this should be layer right
under tubes layer)
Effects - Texture Effects - Blinds
width 2, opacity 50, color white, horizontal and light from left
checked
Click on frame layer
Adjust - Add/Remove noise with settings below:
Random
50% noise
monochrome
drop shadow - same as above
Click on brackets layer
Select all - float - defloat - new raster layer
flood fill with gradient
Effects - Penta - color dot 255, 5, 255, 255
Inner Bevel - bevel: 2, width 5, smoothness 2, depth 2,
ambiance 2, shininess 2,
angle 315, intensity
50, elevation 30 color white
selections - none
drop shadow - same as above
click on brackets layer and delete
Click on circle layer
Select all - float - defloat - new raster layer
flood fill with gradient
Effects - Xero - Fritilary - 5, 30, 100, 73
selections - none
drop shadow - same as above
click circle layer and delete
Click on rectangles layer
Select all - float - defloat - new raster layer
flood fill with either foreground or background color your
choice
Effects - Penta - jeans 62, 4
select - none
drop shadow - same as above
click on the top layer of your image
copy and paste your tube as a new layer
resize it to your liking and place it where it fits best
close off tube layer, background, and mask layer
merge visible
make tube, mask and background visible again
with your pick tool rotate your merged layer a little bit
how you like best
delete background layer
merge visible
Add your name with these settings:
Font: Establo 36pt STroke 1 anti-atlas: smooth
drop shadow 2, -2, 75, 3
Add your copyright information
Save as a png.
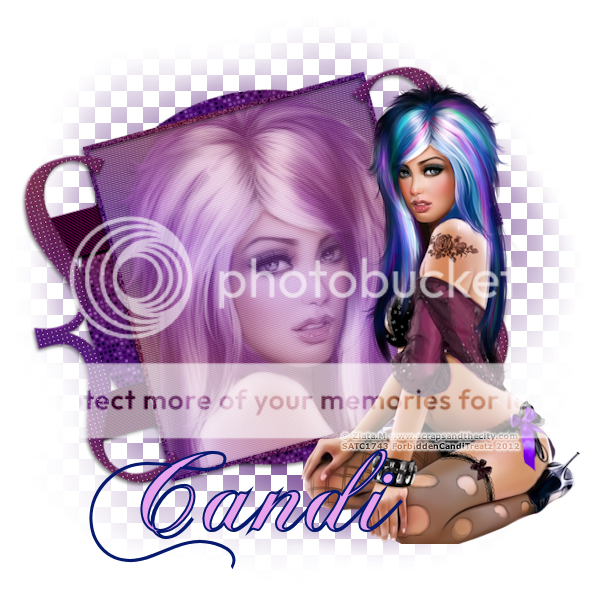
Candi's Result
Subscribe to:
Posts
(Atom)