


Thursday, March 13, 2014
*click on image to view full size*
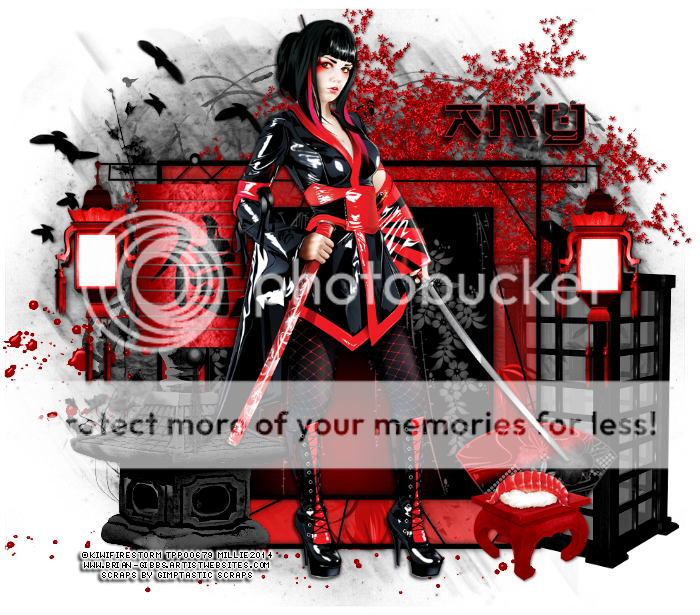
PTU All About the Samurai
This tutorial was written by me on March 13, 2014.
It was made out of my own creation and any similarity is purely coincidental.
I used pspx5 but any version should work without problems.
If you're doing this tutorial you must have good psp knowledge and be familiar with the tools.
Let's get started!
Artist: Samurai by Kiwifirestorm
Scrapkit: Samurai by Gimptastic Scraps
Mask: MPM24 by me HERE
Font: Hirosh
*open your mask and minimize in your workspace*
File - New - 700x700 - flood fill w white
Open frame 3 - click inside frame w magic wand - expand by 10 - new layer
Open pp10 - c/p into selection - deselect - place under frame
Add drop shadow to the frame
Open statue2 - place to bottom left - drop shadow
Open sash - resize by 50% - place to bottom right - drop shadow
Open table - resize by 50% - place to bottom right - drop shadow
Open sushi - resize by 50% - place to bottom right - drop shadow
Open lantern - resize by 75% - place to left - drop shadow
Open tube - resize to fit your tag - drop shadow
On background layer
Click on background with magic wand - new layer
Open paper2 - c/p into selection - deselect
Layers - New mask layer - From Image
Find your mask in source window - hit ok
Merge group
Open birds - place to top left
Open blood - place to bottom left
Open flower2 - place to left - drop shadow
Open tree - place to right - drop shadow
Open lamp - place to the right - drop shadow
Delete background layer and merge visible
Crop tag to your liking
Add credits and name
Subscribe to:
Post Comments
(Atom)


0 comments:
Post a Comment