


Thursday, January 17, 2013
*click on image to view full size*
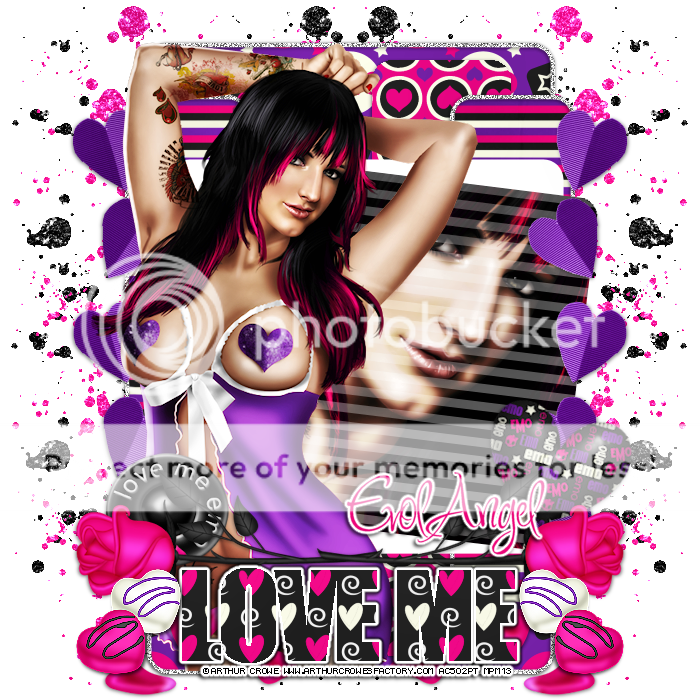
PTU Love Me
This tutorial was written by me on January 17, 2013.
It was made out of my own creation and any similarity is purely coincidental.
I used pspx2 but any version should work without problems.
Let's get started!
Artist: Arthur Crowe
Scrapkit: Love Me Emo by Evol Angel Scrapz
You can find this kit in Scrap Candy
Template: #176 template from me HERE
Plugins: vm extravaganza, eyecandy, xero radiance
Font: Inspiration
Open template 176, duplicate, close original
Make background visible and delete cr layer
On background, open glitter splat, c/p as new layer
Place to the left, duplicate, mirror
Click inside layer 1 w your magic wand
Open paper7, c/p as new layer, invert, delete, invert
Add new layer, selections, select selection layers
both sides, anti-atlas, 2, flood fill with light gray
Adjust - add noise - deselect
Merge layer 3 down to 2, click inside both rectangles
Open paper1, c/p as new layer, invert, delete
Merge 5 down to 4, click inside w magic wand,
open paper 8, rotate to the left 90 degrees
c/p as new layer, invert, delete, invert
Add new layer, selections, select selection layers
both sides, anti-atlas, 2, flood fill with light gray
Adjust - add noise - deselect
Open folded-hearts, c/p as a new layer, move to left
Duplicate and mirror
Delete layers 8 9 10 and 11
Click inside layer 7 Open your tube close up, c/p as new layer
w magic wand, on tube invert, delete
Xero - radiance, change blend mode to screen
On layer 7, VM Extravaganza - transmission
line width 6, offset 0, contrast 40
Merge tube down to layer 7, rotate layer 7 w deform tool to the right some
Open full tube, resize to your liking to fit your tag, place to left
Duplicate tube, xero - radiance, change blend to soft light, opacity to 60
Open rivet, resize by 50%, sharpen, c/p as new layer, place to left
Open melting heart, resize by 50%, sharpen, c/p as new layer, place to right
Open Rose, resize by 80%, sharpen, c/p as new layer
Place to the left some, duplicate and mirror
On layer 12, click all letters w magic wand, open paper2, c/p as new layer
Invert, delete, effects - eyecandy - glow width 3, color is fat
effects - eyecandy change color to medium and black, dropshadow 2 -2 75 5
Open bonbon, resize by 50%, sharpen, c/p as new layer, place to left
duplicate and mirror
Add or Take out elements to your discretion and liking
Delete background layer, merge visible, add credits and your name!
Thank you for trying my tutorial :)
Subscribe to:
Post Comments
(Atom)


0 comments:
Post a Comment