


Showing posts with label Ninaste. Show all posts
Showing posts with label Ninaste. Show all posts
Thursday, June 12, 2014

This tag was made with exclusive Goth Candy tube by Ninaste
You can find it in Scrap Candy Store
It is included in the Goth Candy Collab which you can grab for $5


Template 604

You can download it HERE
Tuesday, March 18, 2014

*click on image to view full size*
PTU Fairy Love
This tutorial was written by me on March 18, 2014.
It was made out of my own creation and any similarity is purely coincidental.
I used pspx5 but any version should work without problems.
If you're doing this tutorial you must have good psp knowledge and be familiar with the tools.
Let's get started!
Artist: Ladybug Princess by Ninaste
(used Fairy layer)
Scrapkit: Lady N Red by Amy Marie's Kits
Mask: 24 by me HERE
Font: Passions Conflict
*open your mask and minimize in your workspace*
File - New - 700x700 - flood fill w white
Click on background with magic wand - new layer
Open paper of choice - c/p into selection - deselect
Layers - New mask layer - From Image
Find your mask in source window - hit ok
Merge group
Open 32 - c/p as new layer - drop shadow
Open 23 - resize by 75% - rotate to the right w deform tool
Click inside frame w magic wand - expand by 10 - new layer
Open pp7 - c/p into selection - deselect
Place under frame - drop shadow to your frame
Open 58 - place down some
Open 72 - resize by 80% - place to the right
Duplicate - mirror - merge down - drop shadow
Open 73 - resize by 50% - place to the right
Duplicate - mirror - merge down - drop shadow
Open 83 - resize by 50% - place to the right - drop shadow
Open tube - resize to fit your tag - c/p as new layer - move down some
Xero - porcelain - change blue channel to 0 - hit ok
Sharpen and add drop shadow to your tube
Open 75 - place to bottom - drop shadow
Open 41 - place to bottom - drop shadow
Delete background - merge visible
Add credits and name
Friday, February 21, 2014

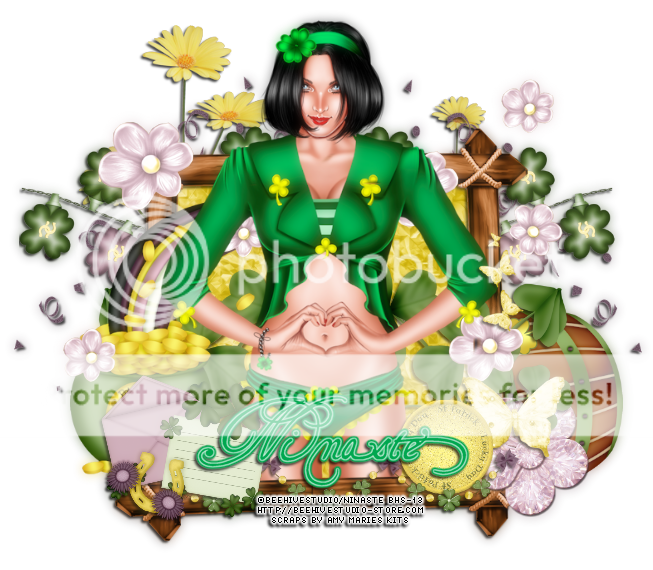
This tag was made with fabulous new "Patty Clover" tube by Ninaste
I used PTU Ireland 4Ever by Amy Marie's Kits
Template 515

Download it HERE
Another tag with Patty Clover and Ireland 4 Ever kit
Thursday, November 21, 2013


Friday, November 15, 2013

This tag was made with awesome work by Ninaste
She is "Wonderland Doll" and you can find her HERE
Made some snags.
Please click image to save full sized.
Please do not alter my snags in any way.
Example: do not add names, change my copyright, claim as yours, you get the drift lol
Thank you.


Saturday, November 9, 2013


Saturday, November 2, 2013

*click on image to view full size*
PTU The Ice Fairy
This tutorial was written by me on November 2, 2013.
It was made out of my own creation and any similarity is purely coincidental.
I used pspx5 but any version should work without problems.
If you're doing this tutorial you must have good psp knowledge and be familiar with the tools.
Let's get started!
Artist: Toxic Fairy by Ninaste
Scrapkit: Ice Fairy by Amy Marie's Kits
Mask: moonbeams and spiderwebs
Plugins: Xero Porcelain
Font: Inspiration
*open your mask and minimize in your workspace*
File - New - 700x700 - flood fill w white
Open 58 - place to the left - duplicate - mirror - merge down
Open 3 - c/p as new layer
Open 18 - c/p as new layer - light drop shadow
Open 40 - place to the right - duplicate - mirror
Open 15 - place to the bottom
Open 17 - place to the bottom
Open 4 - place to the bottom - drop shadow
Open 30 - resize by 50% 2x - place to bottom right
Open full tube - resize to fit - c/p as new layer
Xero - porcelain - change blue channel to 0
Click on background with magic wand - new layer
Open paper3 - c/p into selection
Layers - New mask layer - From Image
Find your mask in source window - hit ok
Merge group - move mask to left - duplicate - mirror - merge down
Delete background - merge visible
Adjust - sharpen more
Add credits and name
Monday, October 21, 2013

*click on image to view full size*
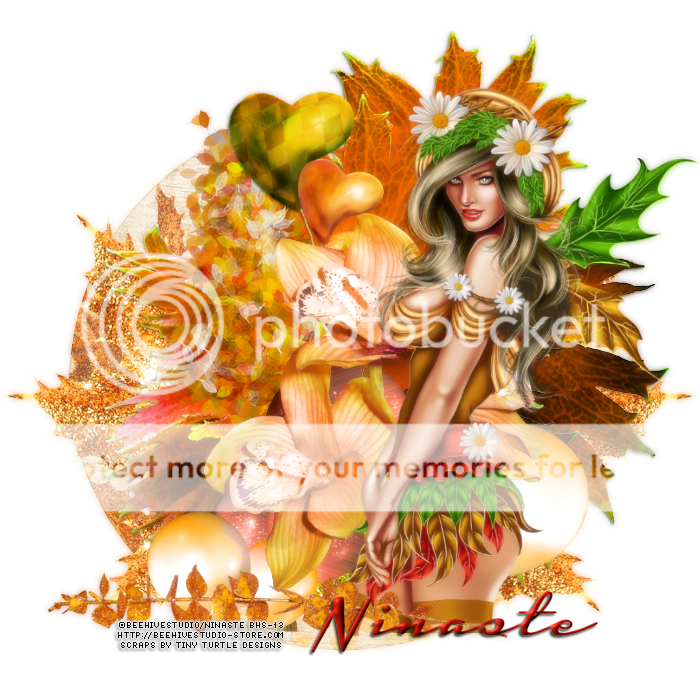
PTU Perfectly Ready Autumn
This tutorial was written by me on October 21, 2013.
It was made out of my own creation and any similarity is purely coincidental.
I used pspx5 but any version should work without problems.
If you're doing this tutorial you must have good psp knowledge and be familiar with the tools.
Let's get started!
Artist: Harvest Angel by Ninaste
Scrapkit: Perfectly Autumn by Scrappin Krazy Designs
Font: New Day MF
*open your mask and minimize in your workspace*
File - New - 700x700 - flood fill w white
Open 20 - c/p as new layer
Open 25 - c/p as new layer - change opacity to 67
Open 23 - c/p as new layer - drop shadow 2 -2 75 5
Open 51 - place to bottom left
Open 50 - place to the right
Open 79 - place to bottom left
Open 72 - resize by 50% - place to the right
Open 46 - place to the right
Open 42 - place to the bottom and right some
Open 35 - resize by 50% - place to the right
Open 26 - resize by 50% - place to the right
Open tube - resize to fit your tag - c/p as new layer
Place to the right
Xero - porcelain - change blue channel to 0
Open 61 - place to the bottom
Open 53 - resize by 85% - place to the bottom right
Open 47 - resize by 50% - place to the bottom right
Delete background layer - merge visible
Add credits and name

Saturday, October 19, 2013


Sunday, October 13, 2013
Friday, October 11, 2013

*click on image to view full size*
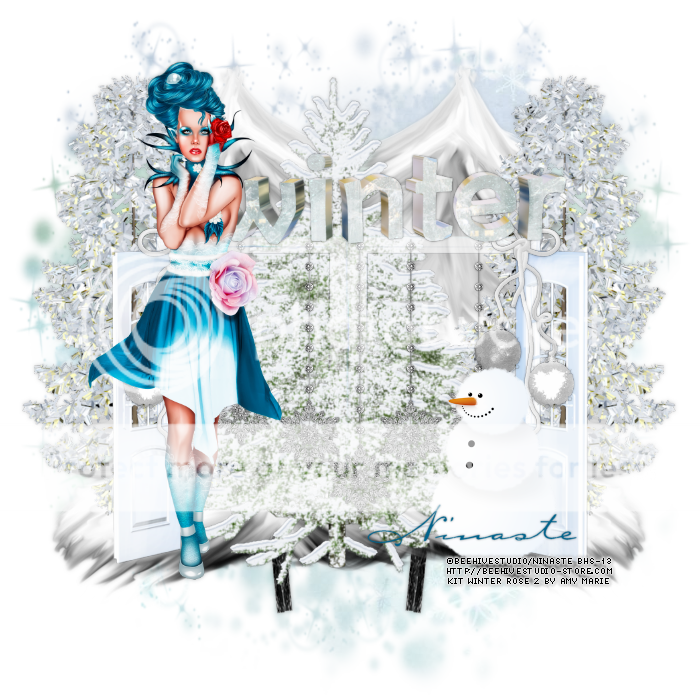
PTU Rose For Your Winter
This tutorial was written by me on October 11, 2013.
It was made out of my own creation and any similarity is purely coincidental.
I used pspx5 but any version should work without problems.
If you're doing this tutorial you must have good psp knowledge and be familiar with the tools.
Let's get started!
Artist: Winter Rose by Ninaste
Scrapkit: Winter Rose 3 by Amy Marie's Kits
Mask: moonbeams and spiderwebs
Font: Inspiration
*open your mask and minimize in your workspace*
File - New - 700x700 - flood fill w white
Click on background with magic wand - new layer
Open paper1 - c/p into selection
Layers - New mask layer - From Image
Find your mask in source window - hit ok
Merge group
Open 2 - resize by 80% - c/p
Open tube close up - c/p - place under frame
Click inside frame w magic wand - expand by 5 - new layer
Open pp10 - c/p into selection
Place paper under frame layer
On tube layer - invert - delete - deselect
Xero - porcelain - change blue channel to 0
Change blend mode to screen on tube
Add drop shadow to the frame
Open 16 - place to the bottom
Open 37 - resize by 50% - place to the right - duplicate - mirror
Open 36 - resize by 50% - place to the left - duplicate - mirror
Open 7 - c/p - place to bottom
Open tube - resize to fit tag - c/p as new layer - place to left
Xero - porcelain - same as above
Delete background - merge visible
Add your credits and name
Tuesday, October 8, 2013

*click on image to view full size*
PTU The City Is My Playground
This tutorial was written by me on October 8, 2013.
It was made out of my own creation and any similarity is purely coincidental.
I used pspx5 but any version should work without problems.
If you're doing this tutorial you must have good psp knowledge and be familiar with the tools.
Let's get started!
Artist: LadyBug by Ninaste
Scrapkit: Lisa by Amy Marie
Mask: 5 by Punkybutts Productions
Font: Pristina
*open your mask and minimize in your workspace*
File - New - 700x700 - flood fill w white
Click on background with magic wand - new layer
Open paper19 - c/p into selection
Layers - New mask layer - From Image
Find your mask in source window - hit ok
Merge group
Open 33 - place to the right
duplicate and mirror
Open 58 and place it to the bottom
Open 34 - resize by 50% - place to bottom right
Open 56 - resize by 50% - place to the left
duplicate 56 - place to the right
Open tube - resize to your liking - move down some
Open 57 - place down
Open 5 - place to the bottom
Open 4 - resize by 50% 3x - sharpen - place to bottom left
Open 31 - resize by 50% 2x - sharpen - place to bottom right
Using your text tool - Pristina font - 36pt - anti-atlas smooth
Write: The city is my playground
(or whatever you want)
Effects - 3D Effects - Inner Bevel
Bevel 2 - Width 31
Image Smoothness 20 - depth 20 - ambiance 20 - shininess 20
Light Color: white - angle 319 - intensity 69 - elevation 31
hit ok
Eye candy - gradient glow w these settings:
(Basic) glow width 3 - soft corners 25 - overall opacity 100
draw only outside selection checked
(Color) medium - color pick red from tag - hit ok
Add drop shadow of your liking and place text to bottom left
Delete background - merge visible
Add credits and name
Sunday, October 6, 2013

This tag was made with awesome work by Ninaste
She's Lady Pumpkin and you can find her HERE
Also check out the other lovely tubes in the BeeHive Digital Studio and take advantage of the sale that's going on!
I used matching scrapkit Lady Pumpkin by Hania
You can find it in PFD HERE
Made a matching template
You can download it HERE
Friday, October 4, 2013


Subscribe to:
Posts
(Atom)


