


Showing posts with label Ellie Milk. Show all posts
Showing posts with label Ellie Milk. Show all posts
Thursday, November 6, 2014

This tag was made with lovely artwork of Ellie Milk
You can grab this beautiful tube HERE
I used PTU Winter Joy kit by Scrappin With Lil Ole Me
You can grab it HERE

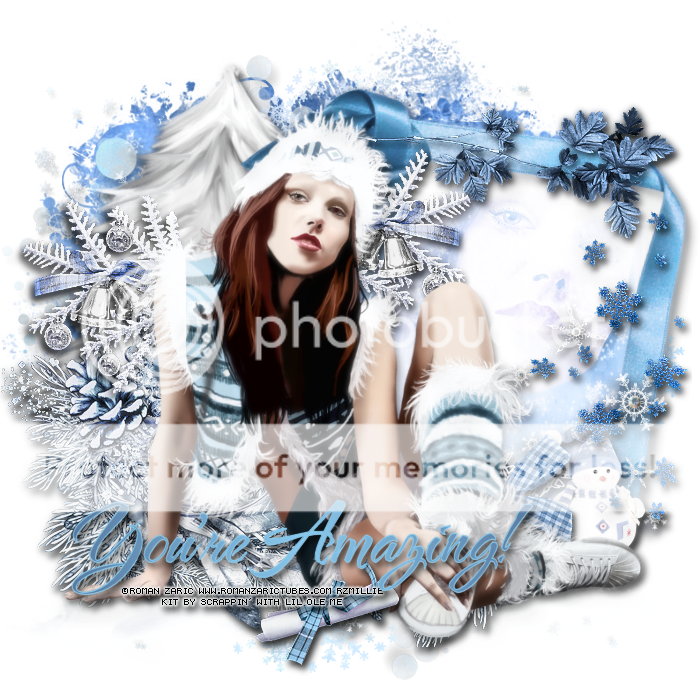
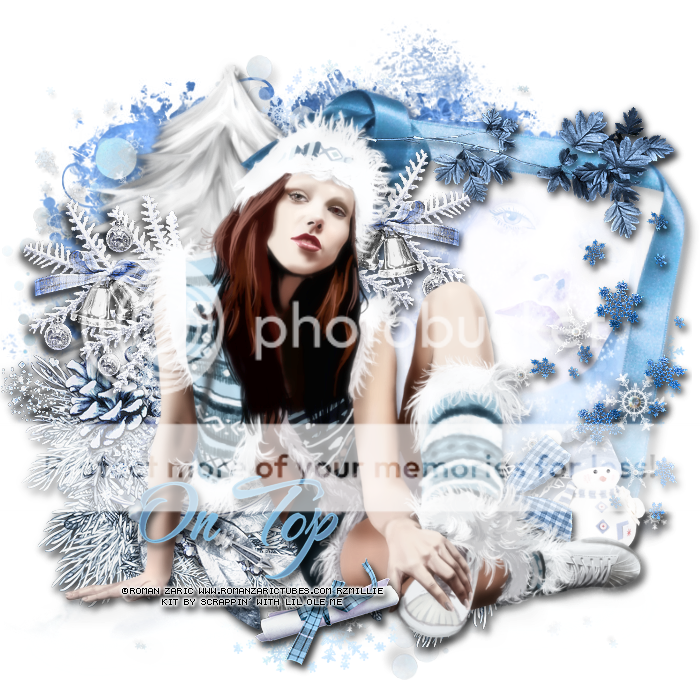
This tag was made with Saly tube by Roman Zaric
You can purchase her HERE
Again I used lovely Winter Joy PTU kit by Scrappin' With Lil Ole Me
You can find it HERE
I also made some snags which I think you all would like.
Please do not alter in any way shape or form.
(This includes adding your own name to the snags I've made. This is very rude)
Click on each image to save full-sized!


Thank you for visiting! :)
Have a good day!
Tuesday, December 3, 2013

*click on image to view full size*
PTU Christmas Sweety
This tutorial was written by me on December 3, 2013.
It was made out of my own creation and any similarity is purely coincidental.
I used pspx5 but any version should work without problems.
If you're doing this tutorial you must have good psp knowledge and be familiar with the tools.
Let's get started!
Artist: Ellie Milk
Scrapkit: Christmas Bunny by Amy Marie's Kits
Mask: Urban Fairytales mask 42
Font: Mistral
*open your mask and minimize in your workspace*
*add drop shadow*
File - New - 700x700 - flood fill w white
Open 84 - resize by 70% - c/p as new layer
Open 28 - resize by 85% - place to right - duplicate mirror
Open 27 - c/p as new layer
Open 58 - resize by 70% - place to the left
Open 76 - resize by 80% - place to the right
Open 69 - resize by 80% - place to bottom right
Open tube - resize to liking
Open 83 - resize to 50% - place to bottom right
Open 77 - resize to 50% - place to bottom right
Open 67 - resize to 50% - place to bottom right
Delete background - merge visible
Add credits and name

Friday, September 20, 2013

*click on image to view full size*
PTU Hooray for Autumn
This tutorial was written by me on September 20, 2013.
It was made out of my own creation and any similarity is purely coincidental.
I used pspx5 but any version should work without problems.
If you're doing this tutorial you must have good psp knowledge and be familiar with the tools.
Let's get started!
Artist: Ellie Milk
Scrapkit: Bree by Amy Marie's Kits
Plugins: Xero - Porcelain
Font: Calendary
*c/p as a new layer unless otherwise noted*
File - New - 700x700 - flood fill w white
Open 58 - c/p and place to bottom left
Open 37 - c/p and place to bottom right
Open 57 - c/p - place to bottom
Open 8 - c/p - place to bottom right
duplicate 8 - flip horizontal - place to bottom right
Open 16 - resize by 50% - sharpen - place to bottom left
Open 39 - c/p - place to right
duplicate 39 - place to left - flip horizontal
Open 67 - c/p - place to bottom
Open 9 - resize by 50% - place to bottom right
Open 45 - resize by 75% - c/p - place to bottom right
Open 68 - resize by 50% - c/p - place to right
Open 56 - place to the left some
Open 51 - c/p - place to your liking
Open 41 - resize by 50% - sharpen - place to left
Open 72 - resize by 50% 2x - sharpen - place to left
Open 71 - c/p - place to bottom
Open tube - resize to fit your tag - c/p - place to liking
Xero - porcelain - default - hit ok - drop shadow tube
Crop your tag - delete background - merge visible
Add your credits and name
Wednesday, September 11, 2013

*click on image to view full size*
PTU Fall Shopping
This tutorial was written by me on September 11, 2013.
It was made out of my own creation and any similarity is purely coincidental.
I used pspx5 but any version should work without problems.
If you're doing this tutorial you must have good psp knowledge and be familiar with the tools.
Let's get started!
Artist: Ellie Milk
Scrapkit: Cynthia by Amy Marie's Kits
Mask: DBV mask 111
Font: At Mahogany Script
File - New - 700x700 - flood fill w white
Open 86 - c/p as new layer - rotate to right w deform tool
Open 37 - c/p as new layer
Open 90 - resize by 50% - c/p as new layer
place to the top right some
Open 91 - c/p as new layer
Click inside frame (91) w magic wand - expand by 5 - new layer
Open paper7 - c/p into selection - deselect
Move paper under frame - add drop shadow to your frame
Open 48 - resize by 50% - sharpen - c/p as new layer
Place to left some
Open 1 - resize by 50% - sharpen - c/p as new layer
Place to right
Open 5 - resize by 50% - sharpen - c/p as new layer
Open 88 - resize by 50% - c/p as new layer - place to left
Open 58 - c/p as new layer - place to bottom
rotate to left a little w deform tool
Open 2 - resize by 50% - c/p as new layer - place to right
Open 72 - resize by 50% - sharpen - c/p as new layer - place to left
Open 52 - resize by 50% - c/p as new layer - place to left
Open 85 - c/p as new layer - place to left
Open 50 - c/p as new layer - place to top
Open 45 - c/p as new layer
Open tube - resize to fit your tag - c/p as new layer
Image - flip horizontal - move to right
Open 79 - resize by 50% 3x - sharpen - c/p as new layer
Place to top left
On background layer
Click on background with magic wand - new layer
Open paper15 - c/p into selection
Layers - New mask layer - From Image
Find your mask in source window - hit ok
Merge group
Open 20 - resize by 90% - c/p as new layer
Delete background - merge visible - add credits and name
Wednesday, August 21, 2013

*click on image to view full size*
PTU Sweet Lady
This tutorial was written by me on August 21, 2013.
It was made out of my own creation and any similarity is purely coincidental.
I used pspx5 but any version should work without problems.
If you're doing this tutorial you must have good psp knowledge and be familiar with the tools.
Let's get started!
Artist: Ellie Milk
Scrapkit: Mamas and Daughters by Amy Marie's Kits
Font: Aquarelle
File - New - 700x700 - flood fill w white
Open 1 - resize by 80% - c/p as new layer
Click inside frame - expand by 5 - new layer
Open pp5 - c/p into selection - deselect
Move paper under frame
Add drop shadow to your frame and merge down to paper
With deform tool rotate to the right some
Open 69 - c/p as new layer - place to the top
Open 86 - c/p as new layer - place to the bottom right
Open 89 - c/p as new layer - place to bottom right
Open 61- c/p as new layer - place to the left some
Open 59 - c/p as new layer - place to the left
Open 24 - resize by 80% - sharpen - c/p as new layer
Place to the top left
Open 23 - c/p as new layer - place to the left
Open tube - resize to fit your tag - c/p as new layer
Move down a little bit
Open 83 - resize by 50% - c/p as new layer
Place to the bottom and right a little bit
On background layer
Open 51 - c/p as new layer - place to top left
Duplicate - move to bottom right
flip horizontal and then flip vertical
Delete background - merge visible - add credits and name
Tuesday, July 30, 2013

*click on image to view full size*
PTU Sweet and Beautiful
This tutorial was written by me on July 30, 2013.
It was made out of my own creation and any similarity is purely coincidental.
I used pspx5 but any version should work without problems.
If you're doing this tutorial you must have good psp knowledge and be familiar with the tools.
Let's get started!
Artist: Ellie Milk
Scrapkit: Anita by Amy Marie's Kits
Mask: Mask 9 by Melissaz Creationz
Font: Rage Italic
*Open your mask and minimize it in your workspace*
File - New - 700x700 - flood fill w white
Open 51 - resize by 50% - sharpen - c/p as new layer
Open 33 - c/p as new layer - place to the right
Open 1 - c/p as new layer - place to the right
duplicate - place to left - flip horizontal
Open 44 - c/p as new layer - place to the left
Open 34 - c/p as new layer - place to right
Open 32 - c/p as new layer - place to right
Open 7 - resize by 50% - sharpen - c/p as new layer
Place to the right - duplicate - place to the left
Open 45 - c/p as new layer - place to bottom
Open tube - resize to fit tag - place to left some
On background layer
Click on background with magic wand - new layer
Open paper19 - c/p into selection
Layers - New mask layer - From Image
Find your mask in source window - hit ok
Merge group - resize mask by 85%
Open 47 - c/p as new layer - place to left
Open 88 - place to the bottom
Delete background - merge visible - add credits and name
Monday, April 8, 2013
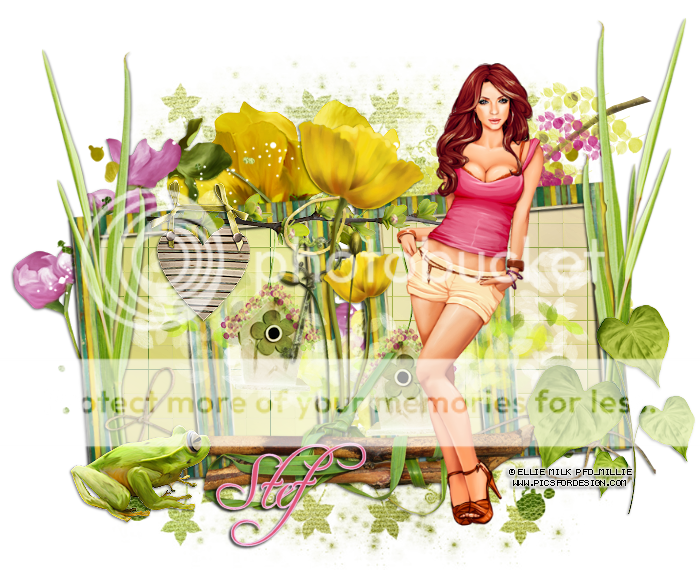
*click on image to view full size*
PTU Spring Beauty
This tutorial was written by me on April 8, 2013.
It was made out of my own creation and any similarity is purely coincidental.
I used pspx2 but any version should work without problems.
Let's get started!
Artist: Ellie Milk
Scrapkit: Spring Beauty by Stef's Scrapkits
Mask: Melissaz Creationz - Mask 19
Plugins: xero - porcelain
Font: freebooter script
*open your mask and minimize it in your workspace*
File - New - 700x700 - fill with white - rename background
Open ele44 - c/p as new layer - place to left and down some
Duplicate - place to the right and up some - merge down
Click inside all frames w magic wand - expand by 7
Open paper3 - c/p as new layer - invert - delete - deselect
Move paper under the frame layer
Add drop shadow to your frame
Open ele41 - c/p as new layer
Open ele01 - resize by 60% - sharpen - c/p as new layer
Open ele10 - resize by 50% 2x - sharpen - c/p as new layer
Place to the left of the frame
Open ele47 - c/p as new layer - place to left line up w frame
duplicate - mirror - line up w right side of frame
Open ele36 - c/p as new layer
Open ele23 - resize by 60% - sharpen - c/p as new layer - place to bottom right
Open ele27 - c/p as new layer - place to the bottom some
Open ele17 - resize by 50% - sharpen - c/p as new layer - place to bottom left
On background layer
Open ele21 - resize by 80% - c/p as new layer - place to the left
Open ele49 - c/p as new layer - place to left - duplicate - mirror
Open ele02 - c/p as new layer - place to the top right
Open ele13 - resize by 60% - sharpen - c/p as new layer - place to top left
Close background - merge visible - open background
Open tube - resize to fit your tag - c/p as new layer - place to the right
Xero - porcelain - blue channel at 0 - hit ok
Click in background layer w magic wand - new layer
Open paper12 - c/p into selection - deselect
Apply your mask - hit ok - merge group
Resize mask by 75%
Delete background layer - crop your tag to your liking - merge visible
add credits and your name
Friday, January 25, 2013

*click on image to view full size*
PTU Eye Love You
This tutorial was written by me on January 25, 2013.
It was made out of my own creation and any similarity is purely coincidental.
I used pspx2 but any version should work without problems.
Let's get started!
Artist: Ellie Milk
Scrapkit: Eye Heart You by Scraps by Danielle
You can find it in her store HERE
OR in ScrapCandy HERE
Mask: any of choice
Font: Love Ness Three
*open your mask and minimize it in your workspace*
File - new - 700x700 flood fill w white - rename background
Open heart frame, c/p as new layer
Open tube, resize to fit your tag, c/p as new layer
Duplicate and move under frame, erase bottom of tube
On top tube erase so that it looks like it's inside the frame
Add 2 -2 75 3 drop shadow to your frame in black
Go to background layer, open paper1, c/p as new layer
With selection tool draw a square around the frame, on paper, invert, delete, deselect
On frame layer, open fan, resize by 85%, sharpen, c/p as new layer, place to top left
Open heart martini, c/p as new layer, place to top right
open flower, resize by 50%, sharpen, c/p as new layer, place to right
Duplicate your flower, move bottom flower up some, merge down
Duplicate and mirror
Open I love you, resize by 50%, sharpen, c/p as new layer, place to the right
Go to the top layer, open cupid teddy, resize by 50%, sharpen, c/p as new layer
Place to bottom left
Go to background layer, open paper10, c/p as new layer
Layers - new mask layer - find your mask name in source window, hit ok, merge group
Delete background, merge visible, add your credits and your name
Thursday, July 5, 2012


My second try at writing a tutorial.
Supplies Used
Tube: Ellie Milk_Hot Blonde
www.picsfordesign.com
Scrapkit: Elise by LeaUGoScraps
www.oscrapshack.com
Plugins: Xero - Porcelain
AAA Frames - Foto Frames
Font: I used MaSexy
New Image - 600x250 px
Flood fill white
rename layer background
Open Pp06
Resize to 700x700
copy and paste as a new layer
rename layer paper
open el59
resize 2x by 50%
Adjust - sharpen
copy and paste as a new layer
Move to the left to your liking
Drop shadow 0, 0, 50, 3
Duplicate layer
Mirror and flip
Merge Down
Rename layer flower
change opacity to 75
Click on paper layer
Copy and paste your tube close up as new layer
Move tube to the right some to your liking
Effects - Xero - Porcelain (default settings)
Change opacity to 50
Change blend mode to Overlay
Open el05
Resize 50% 2x
Adjust sharpen
Copy and Paste as a new layer
(should be above close up tube)
Move it a little to the right
The numbers on the clock should be on top of the tube
or just move it to your liking
Change opacity to 50
Change blend mode to Overlay
Click on flower layer
Copy and paste your tube as a new layer
Move it a little to the left
Click on paper layer
Open el23
Resize 50% 2x
Adjust - Sharpen
Copy and paste as a new layer
Move to your liking
Click on flower layer
Open el27
Resize 50% x2
Copy/Paste as a new layer
Move it down and to the right some
Copy and paste your tube as a new layer
Move it a little to the left
Duplicate your tube
Change opacity to 50
Change Blend mode to Soft Light
Adjust - Blur - Gaussian Blur 3.00
Merge down
Close your tube layer
Copy Merged
*Make an avatar real quick*
File - New - 150x150
Paste as a new layer
Copy and paste your tube
Place to your liking
Merge All
Effects - AAA frames - Foto Frame
5, 0, 0, 1, 0, 0, 0, 50
Add your copyright
Add your name
Save as png
*back to banner tag*
Open tube layer
Merge All
Effects - AAA frames - Foto Frame
5, 0, 0, 1, 0, 0, 0, 50
Add your copyright
Add your name
(For name I used MaSexy Font 36pt Smooth)
Save as png
Thursday, May 31, 2012
Cluster frame made using scrapkit Daisies and Blue Jeans from Mystical Illusionz.
You can get the kit in SATC


You can get the kit in SATC
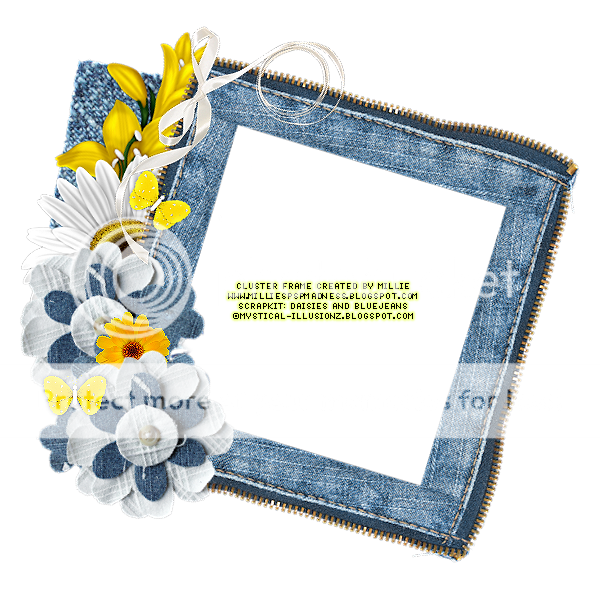
You can download the cluster frame HERE
Here is a snag set I made using the cluster.
Artist is Ellie_Milk and you can find her in PicsForDesign




Subscribe to:
Posts
(Atom)