


Tuesday, October 1, 2013

This tag was made with awesome artwork of KiwiFireStorm!
This tube is called Comtessa lea vampire and you can find it HERE
I used PTU Spooky Skullz by Abstract Creations
Abstract is having a buy 2 get 1 free sale in The Psp Project all month long!
Check it out!
I also made a template.

You can download it HERE

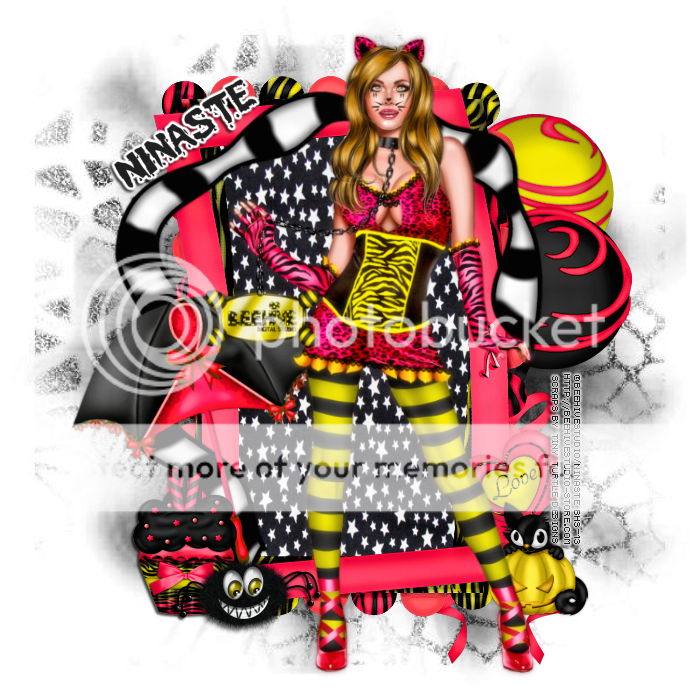
*click on image to view full size*
PTU Stylin' Kitty
This tutorial was written by me on October 1, 2013.
It was made out of my own creation and any similarity is purely coincidental.
I used pspx5 but any version should work without problems.
If you're doing this tutorial you must have good psp knowledge and be familiar with the tools.
Let's get started!
Artist: Ninaste's Launching Free gift tube1
Visit The Beehive Studio during its GRAND OPENING and find out how to get her!
Scrapkit: The Beehive by Tiny Turtle Designs
Mask: Mask 3 from Lexi Creationz
Font: Blood Feast
*open your mask and minimize in your workspace*
*c/p will be copy and paste as new layer unless noted*
File - New - 700x700 - flood fill w white
Open 44 - c/p - Free rotate to right by 90 degrees
Click inside frame w magic wand - expand by 5 - new layer
Open pp1 - c/p into selection - deselect
Place paper under frame - add drop shadow to your frame
Open 77 - resize by 50% 2x - c/p - place to bottom right
Open 72 - resize by 50% 2x - c/p - place to bottom left
Open 51 - resize by 85% - c/p - place to left
Open 20 - resize by 50% - c/p - place to the left
Rotate to left w deform tool
Open 18 - resize by 50% 2x - c/p - place to bottom left
Open 8 - resize by 50% 2x - c/p - place to bottom left
Open tube - resize to liking - duplicate
Adjust - blur - gaussian blur by 3
Change blend mode to screen - opacity to 51
On background layer - click on it w magic wand
new layer - open pp23 - c/p into selection
Layers - New mask layer - From Image
Find your mask in source window - hit ok
Merge group
Open 83 - c/p - place to the right
Delete background layer
Merge visible - add credits and name

*click on image to view full size*
PTU Happy Halloween
This tutorial was written by me on October 1, 2013.
It was made out of my own creation and any similarity is purely coincidental.
I used pspx5 but any version should work without problems.
If you're doing this tutorial you must have good psp knowledge and be familiar with the tools.
Let's get started!
Scrapkit: WitchNFriends by Amy Marie's Kits
Font: 13th ghostwriter
*c/p will be copy and paste as new layer unless noted*
File - New - 851x315 - flood fill w white
Click on background layer w magic wand - new layer
Open pp6 - c/p into selection
Open 61 - resize by 50% - c/p - place to right
Free rotate to the right some w deform tool
Click on frame w magic wand - expand by 5 - new layer
Open pp9 - c/p into selection - deselect
Move paper under frame - add drop shadow to frame
Open 5 - resize by 50% - sharpen - c/p - move to right some
Open 2 - c/p - move to bottom right
Open 37 - resize by 50% - c/p - place to the top
Open 32 - resize by 50% - c/p and place to the right some
Open 34 - resize by 50% - c/p - place to the bottom
Open 46 - c/p - place to the right
Open 42 - c/p - place to the left
Merge visible - duplicate - change blend to screen
add credits and name
Subscribe to:
Posts
(Atom)