


Friday, August 2, 2013

This tag was made with artwork by PinUpToons
I used PTU IBPinuptoonsAugust2013BT
You can find it in CDO

Template #295
You can download it HERE

Thursday, August 1, 2013
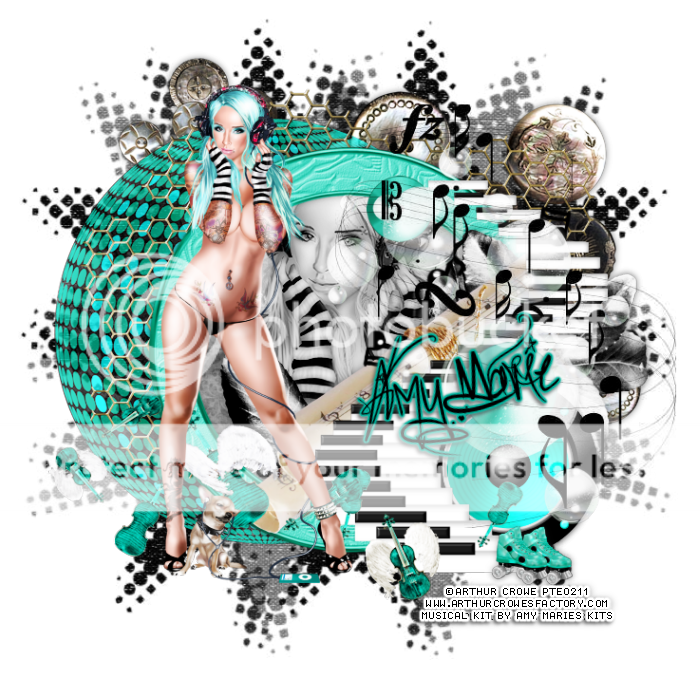
*click on image to view full size*
PTU Love Music
This tutorial was written by me on Aug 1, 2013.
It was made out of my own creation and any similarity is purely coincidental.
I used pspx5 but any version should work without problems.
If you're doing this tutorial you must have good psp knowledge and be familiar with the tools.
Let's get started!
Artist: Arthur Crowe
**tube not available in new store**
Scrapkit: Musical by Amy Marie
Mask: 382 by Vix Masks
Font: Sick Capital Vice
*Open your mask and minimize it in your workspace*
File - New - 700x700 - flood fill w white
Open frame 44 - resize by 85% - c/p as new layer
Click your frame w magic wand - expand by 5 - new layer
Open paper6 - c/p into selection - deselect
Move paper under frame
Open half tube - c/p as new layer
Click inside frame again w magic wand
On tube layer - invert - delete - deselect
Xero - porcelain - 2x
Change blend mode to Luminance (L)
Open 61 - c/p as new layer - place to the right
Open 58 - c/p as new layer - place to the right
Open 66 - resize by 75% - c/p as new layer
Place to the bottom right
Open 83 - resize by 85% - c/p as new layer - place to right
Open 76 - c/p as new layer - place to the right
Open 51 - resize by 75% - sharpen - c/p as new layer
Open 24 - c/p as new layer - place to right
Open full tube - c/p as new layer - place to the left
On background layer
Click on background with magic wand - new layer
Open black paper of choice - c/p into selection
Layers - New mask layer - From Image
Find your mask in source window - hit ok
Merge group - move mask to the top right - duplicate - move to left
merge down - duplicate - move to the bottom - merge down
Open 42 - c/p as new layer - place to the top right
Open 21 - c/p as new layer - place to the left
change opacity to 75
Open 43 - c/p as new layer - place right under frame and paper
Delete background - merge visible - add credits

*click on image to view full size*
PTU Waiting For You
This tutorial was written by me on Aug 1, 2013.
It was made out of my own creation and any similarity is purely coincidental.
I used pspx5 but any version should work without problems.
If you're doing this tutorial you must have good psp knowledge and be familiar with the tools.
Let's get started!
Artist: Angela Newman
Scrapkit: Waiting by Gimptastic Scraps
Mask: mask 19 - moonbeams and spiderwebs
Font: January Script
*Open your mask and minimize it in your workspace*
File - New - 700x700 - flood fill w white
Click on background w magic wand - new layer
Open paper6 - c/p into selection
Layers - New mask layer - From Image
Find your mask in source window - hit ok
Merge group
Open frame 5 - resize by 85% - sharpen - c/p as new layer
Click inside frame w magic wand - expand by 5
Open paper9 - c/p as a new layer - deselect
Move under frame
Add drop shadow to frame
Open paper flower - c/p as new layer - place to the left
Open chained hearts - c/p as new layer - place to top right
Open mailbox - resize by 70% - sharpen - c/p as new layer
Place to the right
Open fan - c/p as new layer - place to the right
w your deform tool - rotate to the right some
Open ribbon - c/p as new layer - place to the bottom
Open tube - c/p as new layer - place to bottom left
Delete background - merge visible - add credits
Subscribe to:
Posts
(Atom)