


Tuesday, September 25, 2012
This tutorial was written by me on September 25, 2012.
Any similarities are purely coincidental.
I used PSPx2
Click on the image above to see it full-sized
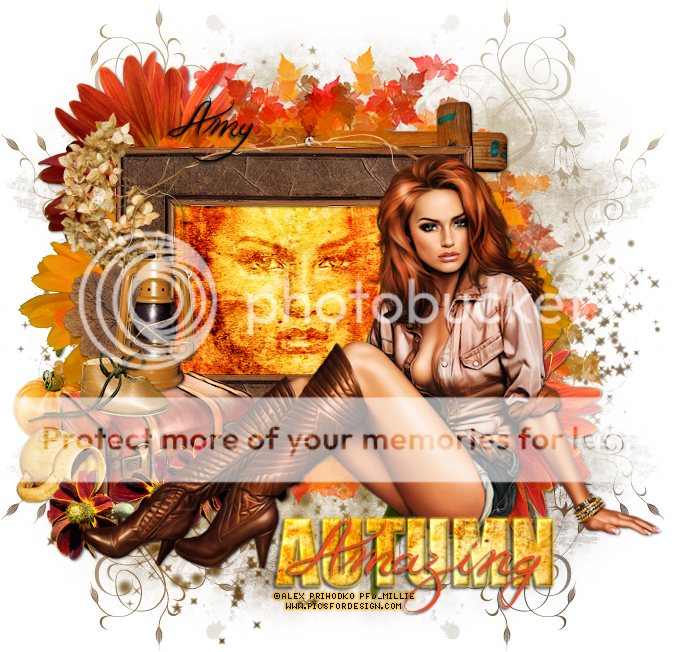
Scrapkit - Amazing Autumn by Gimpstastic Scraps
Tube - Autumn Day by Alex Pridokho in PFD
Mask - Moonbeams and Spiders mask 22
Font - I used Jellyka Western Princess
File - New - 700 x 700 Floodfill w white
Open Frame3 - resize by 65%, Adjust - Sharpen, c/p as a new layer
rename layer frame
Image - Free Rotate - Direction Right, Degrees - Free 90.00
Rotate single layer around canvas layer ticked
Open your tube close up, c/p, move below the frame
Make sure her face is in the middle of the frame
Open paper 1, c/p as a new layer
Go on frame layer and with your magic wand click inside of the frame
Selections - modify - expand by 5
Go to tube layer, selections - invert - delete - invert
Go to paper layer, selections - invert - delete - selections none
Go back to tube layer, change blend mode to Overlay
Duplicate tube and change opacity to 50
Go back to frame layer and add drop shadow of 1, 1, 50, 3
Open frame4, resize by 90%, adjust - sharpen, c/p as new layer right above white layer
Duplicate frame4, image - mirror and move to the right some
Go to frame layer, open suitcase, resize by 50%, adjust - sharpen, c/p as new layer
Move suitcase to the left of the frame and add drop shadow
Open shoe, resize by 50%, then by 75%, adjust-sharpen, c/p as a new layer
Move the shoe to sit on top of the suitcase, add drop shadow
Back to frame layer, open leaf 4, resize by 50% 2x, adjust - sharpen, c/p as new layer
Move the leaf to your left and place it to your liking, add drop shadow
Duplicate leaf, image - mirror, move to where you like best on right side of frame
Open lantern, adjust - sharpen, c/p as new layer, add drop shadow
Move to the left, see my tag for placement
Go to frame layer, open flower 8, c/p as a new layer, move to the left
Go to background layer, open flower7, c/p as a new layer
Move flower to the left, add drop shadow, duplicate, image - mirror
Go to background layer, open flower6, c/p as a new layer, move up some, add drop shadow
Duplicate flower and move it to the lower right of the frame
Go to background layer, open frame1 resize by 75%, adjust-sharpen, add drop shadow
See mine for placing
Go on layer with the suitcase, open mug, resized 50%, then 75%, adjust-sharpen, add drop shadow
Move mug so its next to the suitcase, see mine for placement
Open flower1, resize by 50%, adjust - sharpen, c/p as new layer
add drop shadow, and place in front of suitcase, duplicate layer, and move next so its flowers in a row
Open tomato, resize by 50% 2x, adjust - sharpen, c/p as a new layer
Move tomato below suitcase and place to the left some, see mine for placement
Close background layer and merge visible
Open your tube, resize as necessary and c/p as a new layer
Place to your liking
Duplicate tube, change blend mode to soft light, opacity 50
On the bottom tube add a drop shadow
Open paper 1 again and minimize
Using Impact Font 72pt, null foreground, pattern background to paper1
In the bottom right
Write AUTUMN, covert to raster layer, add inner bevel, and a drop shadow of 2 -2 75 3
Use Jellyka Western Princess Font and write Amazing across autumn in black
Go to back ground layer and make it visible
Open paper 9, c/p as new layer and apply your mask
You can add any more elements you want and after that you are done
Erase background layer and merge visible
Crop image to your liking
Add your copyright and your name and we finished
Subscribe to:
Post Comments
(Atom)


0 comments:
Post a Comment