


Sunday, November 3, 2013
*click on image to view full size*
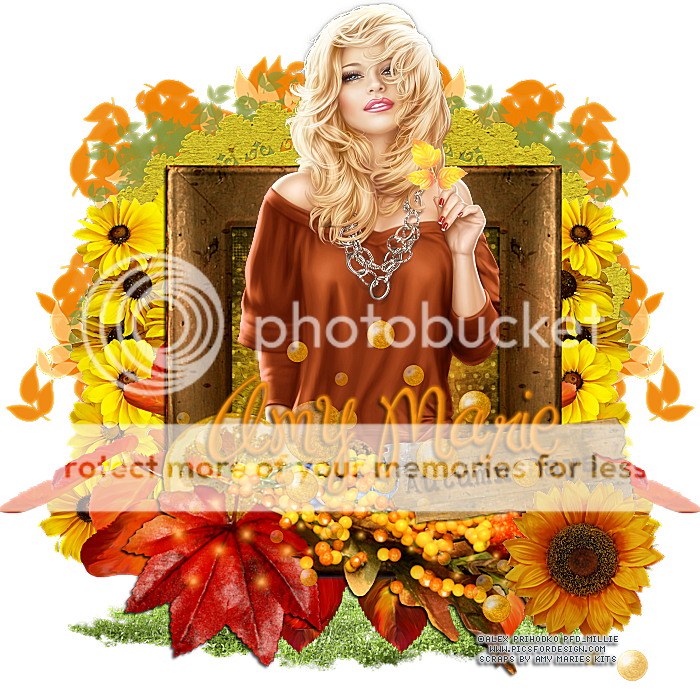
PTU Autumn Days are Here To Stay
This tutorial was written by me on November 3, 2013.
It was made out of my own creation and any similarity is purely coincidental.
I used pspx5 but any version should work without problems.
If you're doing this tutorial you must have good psp knowledge and be familiar with the tools.
Let's get started!
Artist: Alex Prihodko
Scrapkit: Autumn Beauty by Amy Marie's Kits
Font: Ma Sexy
File - New - 700x700 - flood fill w white
Open 17 - resize by 85% - place to the bottom
Click inside your frame w magic wand - expand by 5 - new layer
Open paper2 - c/p into selection - deselect
Move paper under frame
On frame again
Open tube - resize to your liking - duplicate tube
Adjust - gaussian blur 3 - hit ok
Change blend mode to screen - opacity to 50 - merge down
Duplicate your frame (17) and move it so its layer above tube
With your eraser tool erase top of frame so its not covering tube
Add drop shadow to the frame under tube
Back to top layer
Open 32 - resize by 50% - place to the right
rotate to the left some w your deform tool
Open 22 - place down some
Open 33 - resize by 50% - place to the bottom right
On background layer
Open 88 - place to left - duplicate - mirror
Open 71 - place to the top some
Open 37 - place to the right - duplicate - mirror
Open 21 - place to the bottom
Open 11 - place to bottom left - duplicate - mirror
Delete background - merge visible
Add credits and name

Subscribe to:
Post Comments
(Atom)


0 comments:
Post a Comment