


Tuesday, April 30, 2013


Monday, April 29, 2013

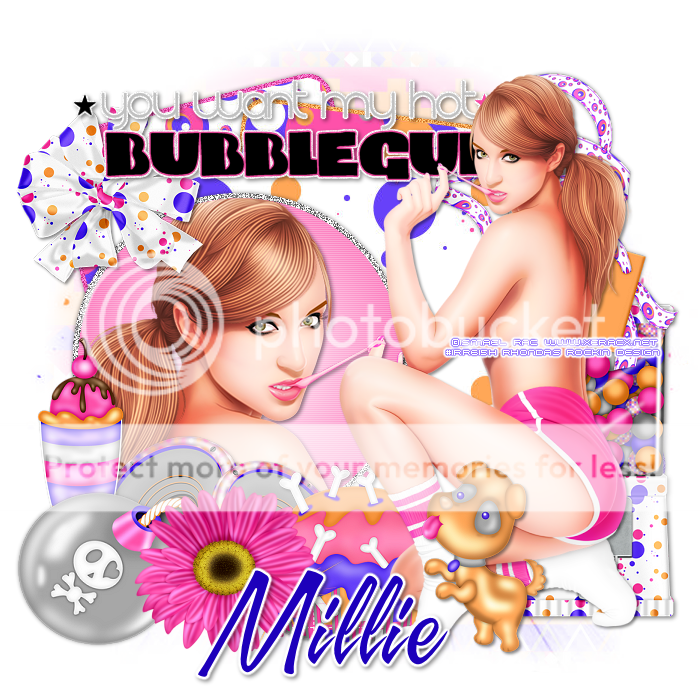
PTU Tutorial called Hot Bubblegum made by Rhonda using my template #202!
Thanks so much for my tag Rhonda and for always using my templates in your creations!
You can find this tutorial on her blog HERE
You can find this tutorial on her blog HERE

*click on image to view full size*
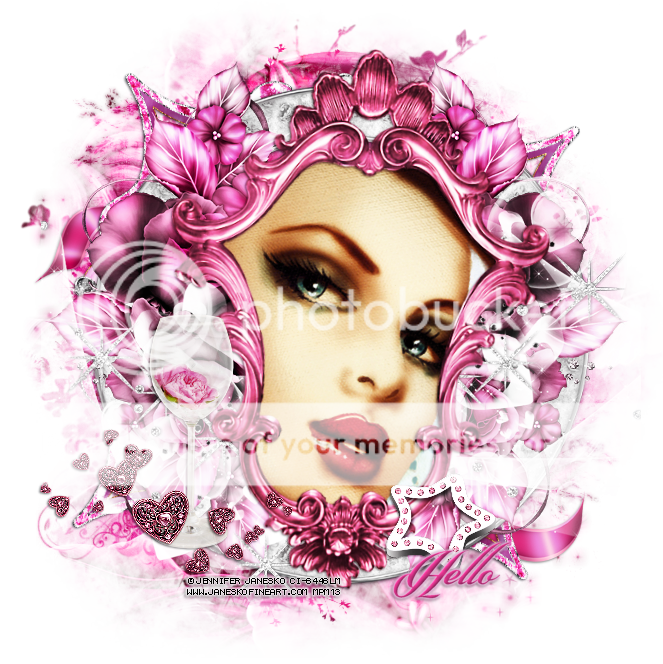
PTU Beautiful Spring
This tutorial was written by me on April 29, 2013.
It was made out of my own creation and any similarity is purely coincidental.
I used pspx2 but any version should work without problems.
Let's get started!
Artist: Lilly by Pandora's Creations
Scrapkit: Spring Beauty by Stefs-Scrapkits
Mask: MB and SW mask 33
Plugins: Xero - Porcelain
Font: Allure
*open your mask and minimize it in your workspace*
File - New - 700x700 - fill with white - rename background
Open ele49 - c/p as new layer - place to left - duplicate - mirror
Open ele48 - c/p as new layer - place down some
duplicate - move to the left - duplicate mirror
close background - merge visible - open background
Open ele46 - resize by 65% - c/p as new layer
Place to the right - duplicate - mirror - merge down
duplicate - change blend mode to screen
Open ele34 - c/p as new layer - place to bottom left - duplicate and mirror
Open ele53 - resize by 50% - sharpen - c/p as new layer
Place to the right - duplicate - mirror
Open ele41 - c/p as new layer - place to the bottom
Open ele20 - resize by 70% - sharpen - c/p as new layer - move down some
Open ele52 - resize by 65% - sharpen - c/p as new layer
Place to the bottom left - duplicate - mirror - merge down
Duplicate - resize by 50% - move down some
Open ele27 - c/p as new layer - place to the bottom
Open tube - resize to fit your tag - c/p as new layer
Place to the bottom some
Xero - porcelain - blue channel to 0 - hit ok - sharpen
On background layer - click inside it w magic wand - new layer
Open paper17 - c/p into selection - deselect
Layers - new mask layer - from image
Find mask in source window - make mask from source luminance - hit ok
Merge group - resize mask by 80% - place to left of tag - duplicate - mirror
Delete background layer - merge visible
Crop tag to your liking - add credits and your name
Thanks for trying my tutorial

Sunday, April 28, 2013

*click on image to view full size*
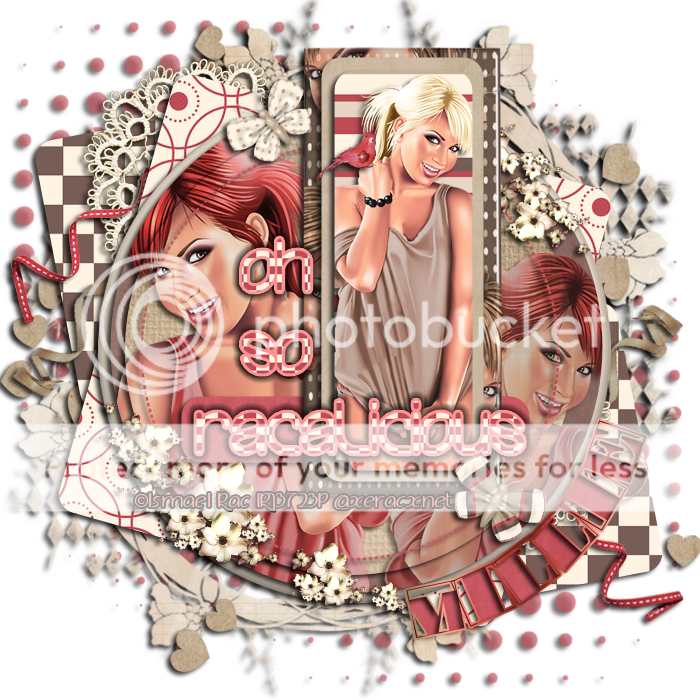
Title: FTU All Natural
This tutorial was written by me on April 28, 2013.
It was made out of my own creation and any similarity is purely coincidental.
I used pspx2 but any version should work without problems.
Let's get started!
Artist: Ismael Rac
Scrapkit: All Natural by Candy's Treats
Mask: mask of choice
Plugins: xero - porcelain
Font: Before the Rain
*open your mask and minimize it in your workspace*
File - New - 700x700 - fill with white - rename background
Open smudge - c/p as new layer
Open string circle - c/p as new layer
Open string - c/p as new layer
Open beads - c/p as new layer - place to left
duplicate - move to the right
Open tag 1 - c/p as new layer - place to the left
Open flower spray - c/p as new layer - place to the right
duplicate - mirror
Open flower small cluster - c/p as new layer - place to bottom of frame
Open frame 1 - resize by 50% - c/p as new layer - place to the left
Free rotate to the left by 19 degrees
Open your tube - c/p as new layer - place under frame
Open paper block 2 - c/p as new layer - place under tube
Click inside frame w magic wand - expand by 3
On tube layer - invert - delete - invert
On paper layer - invert - delete - deselect
On tube layer - xero - porcelain - default - change blend to screen
Open Natural1 - resize by 70% - sharpen - c/p as new layer
Place to the bottom left
Open wordart1 - resize by 50% - c/p as new layer - place to bottom left
Open tube - resize to fit your tag - c/p as new layer - place to the right
Xero - porcelain - default - duplicate - change blend to screen - opacity to 50
On background layer
Open paperblock3 - c/p as new layer
Layers - mask layer - from image - apply your mask - hit ok - merge group
Resize mask by 80% - sharpen
Delete background layer - merge visible - add credits and your name
Tuesday, April 23, 2013

Rhonda made this fabulous FTU tut called I Love Music.
She used one of the templates I made for the Inspired by Elias Blogtrain.
If you want to give it a shot then go by her NEW BLOG Rhonda's Rockin Designz
Thank you so much for using my temps xx Love the tag!

New Pre-Made blog w signature now available for sale at Scrap Candy!
It was made with the fabulous work of Ismael Rac!
*Trying out my brand spankin' new blog layout license* LOL
I used awesome kit by Stef's Scrapkits!
I am also offering a custom blog service with any Rac tube of choice.
Check these out at Scrap Candy!
Thanks so much for stopping by :)
Monday, April 22, 2013


My friend Jean made this beautiful tutorial called Good Morning.
She used one of my templates from A Silent Spring Blogtrain!
If you like this tutorial you can find it on her blog HERE

Jeannine made another fantastic tutorial using my template #207.
If you want to try this tut you can find it on her blog HERE
Thanks for using my templates and the beautiful tags girls! xx


Thank you all for entering!
I really loved all the results and I couldn't make up my mind which is why it took me so long :)
I sent the tags to 5 different people besides me for voting for a total of 6 votes.
Here are the entries!


The winner with 3/6 Votes is Lee!!!
Congratulations hon! Please send me your info so that I can email customer service!
Thank you all again for playing and keep an eye out for another contest sometime!
Saturday, April 20, 2013

*click on image to view full size*
PTU Coffee Disfunction
This tutorial was written by me on April 20, 2013.
It was made out of my own creation and any similarity is purely coincidental.
I used pspx2 but any version should work without problems.
Let's get started!
Artist: Scott Blair
*got this tube when he was selling in MPT*
Scrapkit: Wild About Coffee by Candy's Treats
Template: 03 by me in the ScrapYourHeartOut Blog Train for April
You can find it HERE
Mask: any of choice
Plugins: Eyecandy - gradient glow
Font: Digs My Heart
*open your mask and minimize it in your workspace*
Open Template03 - duplicate - close original
Make your background visible
Change canvas size to 700x700
Flood fill background w white
Go to layer 1 - click in it w magic wand
Open paper13 - c/p as new layer - invert - delete - deselect
Duplicate layer - mirror - move to the right some more
Go to layer 2 - click in it w magic wand
Open beige gun paper2 - c/p as new layer - invert - delete - deselect
Open bg3 - c/p as new layer - place to right - rotate it left a little w deform tool
Merge layer 4 down to 3 - click on both strips w magic wand
Open paper11 - c/p as new layer - invert - delete - deselect
Go to layer 5 - click in it w magic wand
Open paper14 - c/p as new layer - invert - delete - deselect
Open cluster4 - c/p as new layer - place to the bottom
Open tube - c/p as new layer - move down some
Open butterfly - c/p as new layer - place to the right
Open scatter - c/p as new layer
Open flower11 - resize by 50% - sharpen - c/p as new layer - place to left
Open ele6 - c/p as new layer - place to the left
Go to layer 6 - move to the bottom right
Effects - Eye Candy - Gradient Glow
Set glow to 3.00 and set color to fat - hit ok
Add drop shadow
Go to background layer - click in it w magic wand - new layer
Open paper14 - c/p into selection - deselect
Apply your mask - merge group
Delete background layer - merge visible - add credits and your name
Thanks for trying my tutorial
Friday, April 19, 2013
Here's all the goodies you can get this month on the
Scrappin' Your ♥ Out Blog Train!
Here's my part of the train!
I made 4 templates and I hope you like them.

You can download them HERE
Follow the train by clicking the links below, if you get lost, click on the blinky to get back to Headquarters.


Have you missed a Bonus Tube??
Well then this is for you!
For every $8 dollars you spend between April 19th through April 30th you get to pick a missed bonus tube!
Just email your receipt and the name of the bonus tube you want to customer service.
Visit www.romanzarictubes.com
Thursday, April 18, 2013

*click on image to view full size*
FTU Pretty Fairy
This tutorial was written by me on April 18, 2013.
It was made out of my own creation and any similarity is purely coincidental.
I used pspx2 but any version should work without problems.
Let's get started!
Artist: Tony Tzanoukakis
Scrapkit: FTU Estrellita by Gimptastic Scraps
Mask: 111 by Designs by Vaybs
Plugins: Xero - Radiance
Font: Mea Culpa
*open your mask and minimize it in your workspace*
File - New - 700x700 - fill with white - rename background
Click inside background layer w magic wand
Open paper4
Layers - New Mask Layer - From Image
Find mask in source window - hit ok
Merge group
Open frame4 - resize by 85% - sharpen
c/p as new layer
Open your tube - c/p as new layer - place under frame
Place to your liking
Click inside your frame (inside all squares) w magic wand
Selections - expand by 1
On tube layer - invert - delete - deselect
On tube - xero - radiance - change blend to luminance (L) - opacity 84
Duplicate - blend to screen - opacity to 55
Add a light drop shadow to your frame
Go to mask layer
Open tree2 - c/p as new layer - place to top right - duplicate - mirror - merge down
with your eraser - erase the parts that are inside the frame
Duplicate tree - change blend to screen
On frame layer
Open grass - c/p as new layer - place to bottom of frame
Open seeds2 - c/p as new layer - place to the right
Open lantern - resize by 70% - c/p as new layer - place to top right
Open mushroom house - resize by 50% - c/p as new layer - place to bottom right
Open branch 4 - place to the bottom of the frame
Open tube - resize to fit your tag - c/p as new layer
Place to your liking - duplicate - xero - radiance
Change blend to overlay - opacity to 68 - merge down
Delete background layer - merge visible - add credits and your name
Thanks for trying my tutorial :)
Wednesday, April 17, 2013
You wanna win a Rac tube pack? ($5.50 GV)
All you have to do is tag the template below with a RAC tube and post your tag under comments on this post :)
*Please leave the direct link to your image so that I can grab it*
Please make sure you have all the correct copyrights or I will disqualify it.
You may make more than one tag!
Please put Millie on the tag.
I will pick a winner on Sunday April 21, 2013!
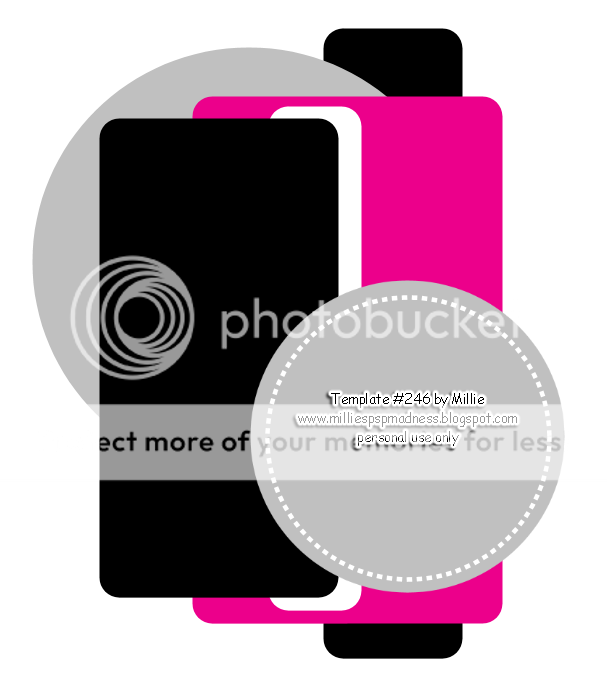
Template 244
You can download it HERE


This tag was made with this Hot and Sexy tube called Francesca!
She is available for purchase in SATC!

I used FTU Party Princess from Sweet Tooth Scraps.
You can find it in Scrap Candy.

This tag was made with the 2013 Kiss tube by Ismael Rac
I also used the matching scrapkit.
I made template 243

You can download it HERE

This tag was made with the awesome work of Zebrush.
You can find it in Pics for Design.
I used PTU Feel the Music scrapkit by Niqui's Design.
You can find this kit in Pics for Design as well or in Scrapz Dreams Shop

Monday, April 15, 2013
Hello and Welcome to April's Fantastically Free Blog Train!
This month's theme is Inspired by PinUpToons!
Here is my part!
I made 4 templates for you all.
I hope you like them and can use them!

You can download them HERE
*templates fixed*
*templates fixed*
Make sure you go by all the other stuff.
There are some fabulous goodies available for all.
Also leave them some love for all their hard work providing you freebies!
*****************************

*****************************
Sunday, April 14, 2013

This tag was made with an awesome tube by Pandora-Creations.
Her name is Storm and you can find her in PicsForDesign.
I used PTU by Toxic Desirez called Bubble Gum.
I used a template created by me #242

You can download it HERE
Friday, April 12, 2013

Thursday, April 11, 2013

*click on image to view full size*
PTU No Coffee No Workee
This tutorial was written by me on April 11, 2013.
It was made out of my own creation and any similarity is purely coincidental.
I used pspx2 but any version should work without problems.
Let's get started!
Artist: Pinuptoons
Scrapkit: Wild About Coffee by Candy's Treats
Fabulous brand new kit. Its definitely a must have!
Mask: mask of choice
Font: Amethyst Script
*open your mask and minimize it in your workspace*
File - New - 700x700 - fill with white - rename background
Open beans circle - c/p as new layer
Open bg1 - c/p as new layer - place to right some
Open stain - c/p as new layer
Open ele20 - c/p as new layer
Open flower 10 - c/p as new layer - place to the left
Open grass - c/p as new layer - place to the right
duplicate - change blend to screen - opacity to 56
OPen leaves2 - resize by 50% then by 75% sharpen
c/p as new layer place to the left and down some
duplicate - change blend to screen - opacity to 65 - merge down
duplicate - mirror
Open your tube - c/p as new layer
Open cluster5 - c/p as new layer - place to bottom of tube
Open cluster1 - c/p as new layer - place on top of cluster 5
Open wordart 5 - resize by 50% - c/p as new layer
Place to the bottom and w your deform tool rotate to the left some
Open bg3 - c/p as new layer - place to bottom of tag
rotate a bit and drag it down until is the layer right above the background
Go to background layer
Click inside it w magic wand - new layer
Open paper 12 - c/p into selection - deselect
Apply your mask - merge group
Delete background layer - merge visible - add credits and your name
Wednesday, April 10, 2013
I am now doing blog makeovers!
I am selling for Scrap Candy.

I have permissions/license from the following Scrap Makers for Makeovers
Evol Angel Scrapz
Inzpired Creationz
Irish Princess Designs
Kizzed By Kelz
Rissa's Designs
Scraps By Danielle
Starz Kreationz
Inzpired Creationz
Irish Princess Designs
Kizzed By Kelz
Rissa's Designs
Scraps By Danielle
Starz Kreationz
Sweet Tooth Scraps
Tiny Turtle Designs

Blog License from Ismael Rac
Special Permission from Arthur Crowe, Roman Zaric, and Tony Tzanoukakis
*exclusive for Scrap Candy*
Tiny Turtle Designs

$20.00 for a layout with a tube!
Blog License from Ismael Rac
Special Permission from Arthur Crowe, Roman Zaric, and Tony Tzanoukakis
*exclusive for Scrap Candy*
Pre-Made Blog Layouts


The pre-made blog layouts are available as supplies last.
Meaning that there is only one of each.
Once is bought is gone until I make some new ones.
If you want to see examples of layouts I've already installed contact me and I'll be happy to show you!
You can find my service HERE
Subscribe to:
Posts
(Atom)


