


Thursday, December 13, 2012
*click on image to view full size*
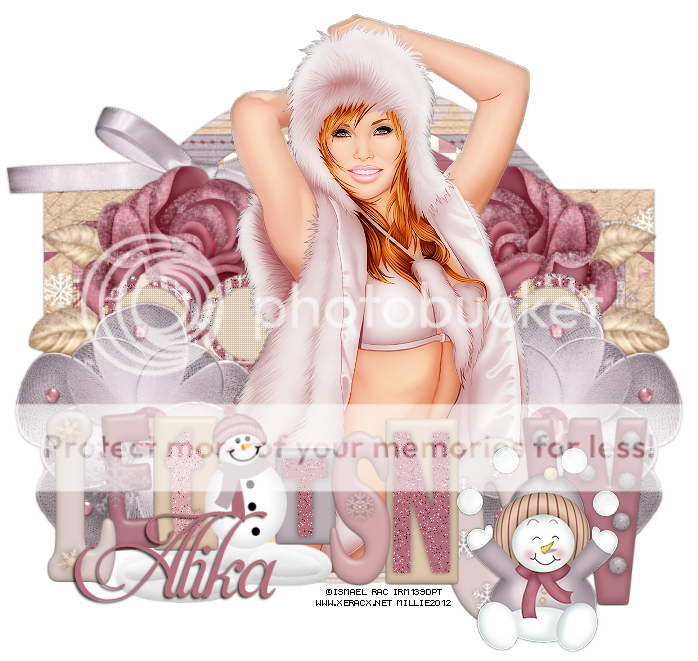
PTU Winter Bliss
This tutorial was written by me on December 13, 2012.
It was made out of my own creation and any similarity is purely coincidental.
I used pspx2 but any version should work without problems.
If you're doing this tutorial you have psp knowledge.
Let's get started!
Artist: Ismael Rac
Scrapkit: Dashing Through The Snow by Alikas Scraps
You can find this kit in O'Scrap Candy Shack
Template: 150 by me HERE
Plugins: penta - color dot, xero - porcelain
Font: I used Aphrodite
Open template, duplicate, close original
Delete cr layer, make your background visible
Go to layer 1, selections all, float, defloat, c/p paper4 as new layer, invert, delete, deselect
Go to layer 2, selections all, float, defloat, c/p paper3 as new layer, invert, delete, deselect
Go to layer 3, selections all, float, defloat, c/p paper1 as new layer, invert, delete, deselect
Go to layer 4, selections all, float, defloat, c/p paper8 as new layer, invert, delete, deselect
Go to layer 5, selections all, float, defloat, c/p paper12 as new layer, invert, delete, deselect
Open as62, c/p as new layer, place to the left
Go to layer 6, open as20, c/p as new layer, place so it covers left circle
Duplicate, mirror
Go to layer 7, effects, penta - color dot (default)
Open as32, c/p as new layer, place on top of circles on layer 7
Open as86, c/p as new layer, place to the left, duplicate, mirror
Open your tube, resize it to fit your tag, c/p as new layer
Effects, xero, porcelain - change blue channel to 0
Duplicate your tube, change blend to soft light
Open as77, c/p as new layer, move down some so its covering tube cut off
Open as19, resize by 50%, sharpen, c/p as new layer, place to the bottom right
Delete background layer, merge visible, add credits and your name
Thanks for trying my tutorial :)
Subscribe to:
Post Comments
(Atom)


loved the tut millie as always jean
ReplyDeletety so much jean xo
ReplyDelete